




600x600 Tiles: A Practical Guide for Renovators
by Shivam Tayal 09 Oct 2026 0 Comments
You're in the showroom, holding two samples, and both look fine until you start thinking about the rest of the project. One feels too busy, the other feels too plain, and the core question isn't style at all. It's whether 600x600 tiles suit the room, the finish, the set-out, and the way the floor will be used in Melbourne conditions.
That's the right way to judge this format. A 600 square tile is not just a look, it's a planning decision that affects waste, grout lines, slip safety, and installation quality. Get it right and the floor looks calm, modern, and deliberate. Get it wrong and you end up paying for cuts, rework, or a finish that doesn't suit the space.
Why 600x600 Tiles Keep Showing Up in Renovations
A lot of Melbourne homeowners pick up a 600x600 sample because it looks like the safe middle ground. It's big enough to feel modern, but not so large that it dominates a standard room. In practice, that's exactly why it keeps appearing in bathrooms, laundries, kitchens, and open-plan living areas.
A square format also makes layout easier to think about. The room reads as a grid, the tile count is straightforward, and the finish can be matched across multiple zones without the floor looking chopped up. That matters when you're trying to carry one surface from a hall into a kitchen or from a living room into a powder room.
The other reason it keeps winning is simple. It gives you the large-tile look without forcing every room into the problems that come with oversized formats. If you want a cleaner floor but don't want to turn the job into a substrate correction exercise, 600x600 tiles are often the most sensible starting point.
Practical rule: if you want one tile size to work across a home, start by checking whether 600x600 can be set out cleanly in the visible rooms before you look at anything larger.
What a 600x600 Tile Is
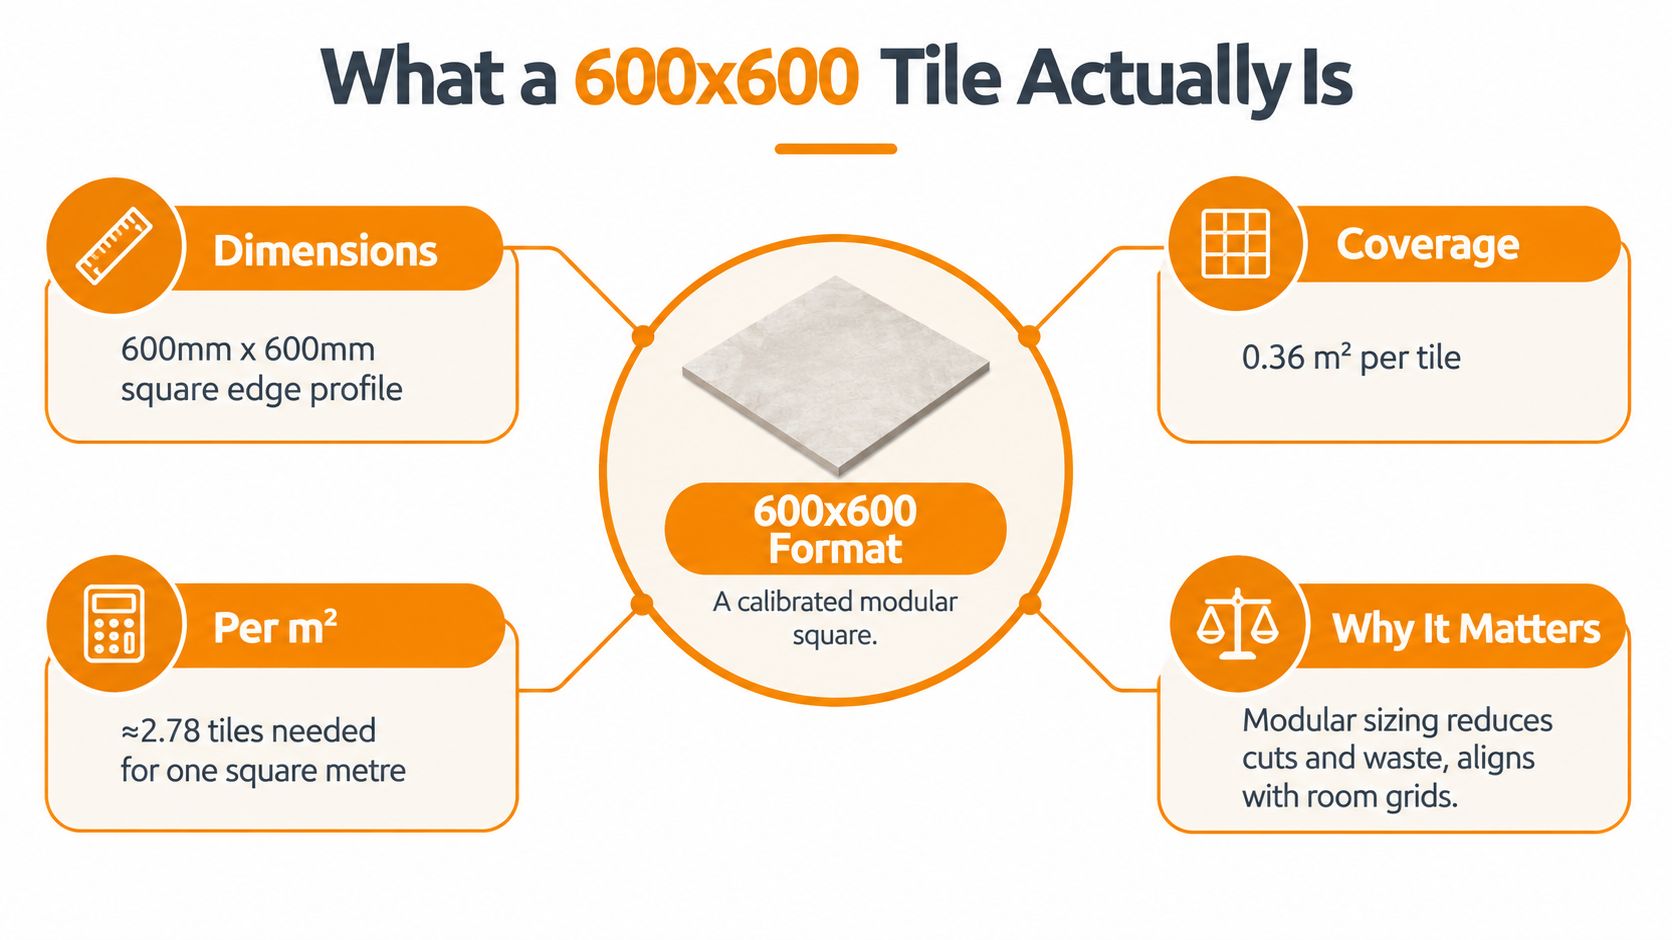
A 600x600 tile is a square format with calibrated edges, so it repeats cleanly across a floor. Each tile covers 0.36 square metres, so you need about 2.78 tiles per square metre for basic coverage, since 0.6 x 0.6 = 0.36 square metres per tile.
That is why the size is easy to plan around. You can turn a room into area, then into tile count, without guesswork. A 10-square-metre order comes to about 27.8 tiles before waste, so the buying decision stays practical.
What changes the feel once it's installed
Rectified edges let tiles sit with a tighter joint, which gives the floor a cleaner, more continuous look. Pressed edges usually leave a fuller joint and a softer visual line. On a tile this size, that edge choice shows up fast because every grout line carries more weight in the finished floor.
Finish matters just as much. A matt, gloss, or honed surface can all come in the same size, but they behave differently under light and underfoot. Porcelain and ceramic are not interchangeable just because they share a 600 square face, so treat the format and the body material as separate calls.
Batch consistency matters too. A mixed lot can throw off colour and calibration, and that gets obvious across a big run of square tiles. For a floor that reads cleanly, check the batch before you check the price.
A large tile does not make a room look better on its own. It makes flatness, batch selection, and set-out mistakes easier to see.
600x600 Compared to Other Common Tile Sizes
The reason I recommend 600x600 tiles for most residential floors is balance. A 300x600 tile gives you more layout flexibility, but it can look busier and push you into more grout lines than many renovators want. A 600x1200 tile looks more expansive, but it demands tighter substrate prep and more care from the installer. An 800x800 tile pushes even harder on flatness, handling, and risk.
Here's the blunt version. If you want a modern floor that still behaves like a normal renovation product, 600x600 is the sweet spot. It's large enough to reduce visual clutter, but not so large that every subfloor imperfection turns into a visible problem. Larger formats can be great in the right project, but they punish sloppy prep.
For most homes, the decision comes down to three things. Can the room take the size without awkward cuts, can the installer keep the substrate flat enough, and do you want the visual scale of a larger tile? If the answer to any of those is shaky, 600x600 is the safer choice.
| Choosing a Tile Size for a Residential Floor | |||
|---|---|---|---|
| Size | Tiles per m² | Best Suited To | Watch Out For |
| 300x600 | More pieces per square metre | Smaller rooms, easier set-outs | More grout lines, busier look |
| 600x600 | ≈2.78 | Most residential floors, open-plan areas, balanced visual scale | Needs sensible set-out and batch consistency |
| 600x1200 | Fewer pieces per square metre | Long rooms, premium open spaces | Flatness, lippage, handling |
| 800x800 | Even fewer pieces per square metre | Large, well-prepared areas | Substrate tolerance, weight, installation risk |
If you're comparing large-format options in more depth, this guide to large-format tiles is worth reading before you commit.
Calculating Quantities and Real-World Waste
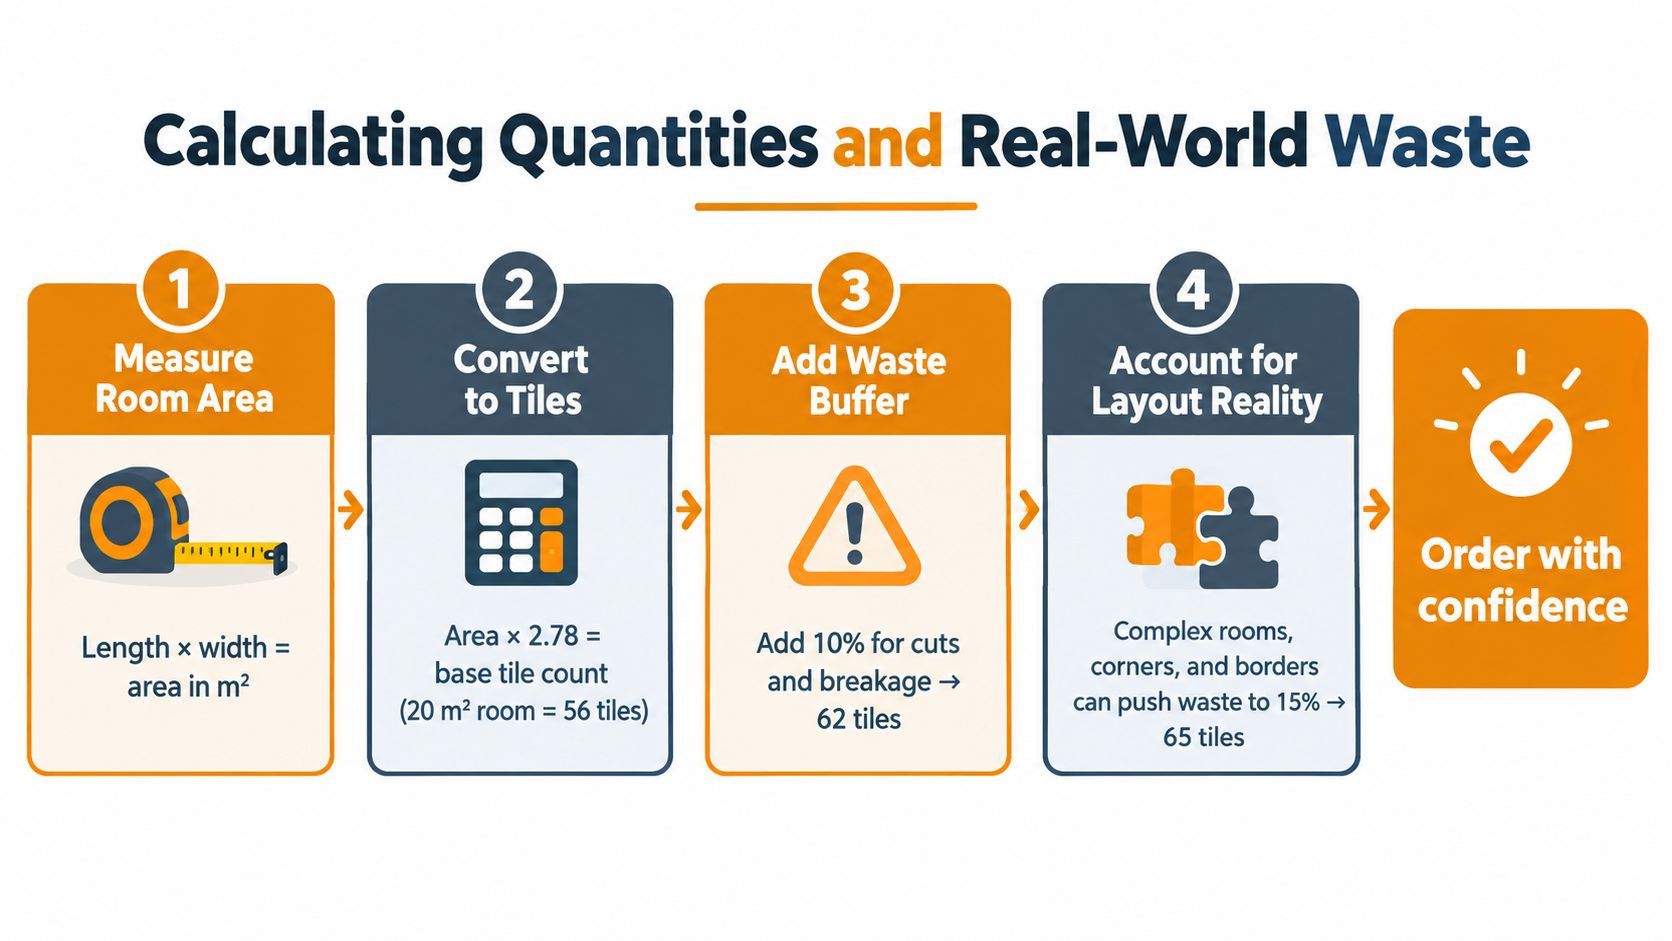
Start with the room area in square metres, then multiply by 2.78 to get the base tile count before waste. A 20-square-metre room needs about 56 tiles before cuts or breakage, based on the 0.36 square metre coverage of each 600 square tile.
That is only the starting number. Door reveals, nib walls, floor wastes, columns, and awkward room shapes change what you can actually use. Straight lay rooms are the easiest to order for. Diagonal set-outs and cut-heavy spaces chew through more tiles and leave offcuts that are harder to reuse.
Don't trust the blunt 10 percent rule
A 10 percent allowance suits a simple room, but it does not suit every layout. Diagonal layouts often need around 15 percent, and cut-heavy rooms can push toward 20 percent. That matters because a room that looks tidy on paper can burn through spare tiles once the cuts start around the edges.
Set the full tiles where they will be seen first. Start in the most visible zone, then use offcuts at the perimeter where the room gets chopped up. That is how you keep the set-out clean and reduce waste without fighting the architecture.
Construction waste is a real issue in Australia, so smarter set-out also means less disposal. Tiles are part of that problem. Order for the room you have, not the neat rectangle you wish you had.
Best Rooms and Finishes for a 600x600 Layout
A 600x600 floor works best when the finish suits the room instead of fighting it. In open-plan living, I'd go for matt porcelain or a low-sheen finish because it gives you the clean, broad surface people want without turning the room into a glare trap. In bedrooms, you can usually push the look smoother and softer because the floor isn't dealing with constant moisture.
Wet areas need a more disciplined approach. For bathrooms and laundries, the brief points to P3 to P4 under AS/NZS 4586, with P4 generally preferred where regular water contamination is expected. That's the part people get wrong most often. A polished tile might look fine in a showroom and still be a poor choice once the floor gets wet.
Match the room to the finish
- Living areas: choose a matt or low-sheen surface for a broad, calm result.
- Bathrooms and laundries: insist on the exact AS/NZS 4586 slip result, not just a nice-looking sample.
- Alfresco and pool-adjacent areas: use a more textured option with an appropriate slip classification.
- Bedrooms: a smoother finish can work well if the room stays dry.
The key is not to rely on appearance alone. A polished and a matt version of what looks like the same tile can behave very differently underfoot, and the slip classification is product-specific. If you want a broader showroom perspective, Western Bathroom Renovations upgrades is a useful reference point for how large tiles are being handled in bathroom projects.
Installation, Movement Joints and Grout for Large Tiles
Large tiles expose bad preparation fast. Fewer grout lines give you a cleaner look, but they also reduce the surface texture that helps disguise minor issues, so substrate flatness matters more, not less. If the floor is out, 600x600 tiles will show it in the form of lippage, hollow spots, or a finish that looks patchy once the light hits it.
Movement joints are essential. Under AS 3958:2023, internal floors generally need intermediate joints at maximum 4.5 metre centres when a floor dimension exceeds 9 metres, or when direct sunlight affects a dimension exceeding 6 metres. External tiled areas require 4.5 metre spacing in any direction, and the joints must continue through the tile and adhesive bed with a flexible sealant or proprietary movement system, not rigid grout.
If you're comparing installer approaches, a good place to cross-check the practical side of expansion detailing is this tile expansion joints guide. It's the detail most homeowners skip, then regret later.
What to ask your tiler before they start
- Substrate flatness: ask how they'll check plane before laying.
- Adhesive coverage: ask how they'll avoid hollow spots on a large format.
- Joint positioning: ask where movement joints will land in relation to thresholds, columns, and sunlit edges.
- Grout choice: ask whether the joint type suits rectified edges or pressed edges.
- Curing time: ask how they'll protect the floor while the adhesive sets.
For a renovation, the biggest mistake is treating movement joints like a cosmetic issue. They're not. They're what stops strain from cracking grout, tenting the field, or breaking the bond over time.
Cutting, Handling and Visual Layout Options
The cutting stage is where the job either feels controlled or turns messy. Straight cuts on 600x600 tiles are usually handled with a wet saw or a decent rail-style cutter, while smaller finish cuts around door jambs and fixtures need more patience than people expect. A square tile looks simple until it meets a crooked wall, a drain, or a transition strip.
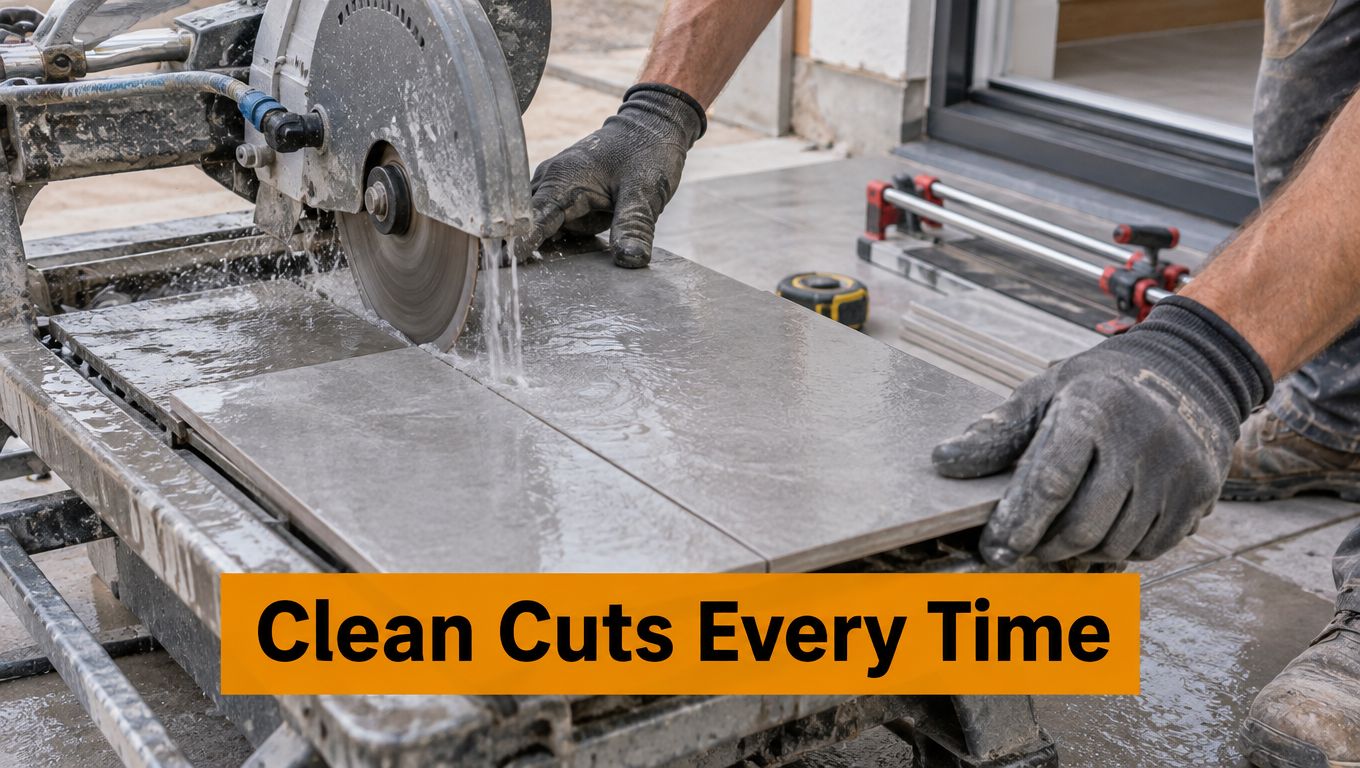
A contractor-grade cutter is worth borrowing or buying if the room has a lot of straight cuts and the tiles are suitable for score-and-snap work. This contractor grade tile cutting tool is the sort of gear that makes sense when you're doing more than a tiny patch job.
Three layouts, three different jobs
A straight stack bond gives you the cleanest modern result. It works well in open-plan spaces because the grid reads clearly and the eye doesn't get distracted by diagonal movement.
A 45-degree diagonal can rescue an out-of-square room. It hides awkward wall angles better than a straight set-out, but it usually creates more waste and more labour.
A bookmatched or vein-continued layout suits marble-look porcelain when the pattern is meant to flow across two or four tiles. That's the premium look, but it only works if the tile pattern and batch consistency are handled carefully.
One of the practical calls here is whether the layout earns its own cost. A neat stack bond is often enough for a family home. Diagonal and bookmatched patterns make sense when the room geometry or the design brief justifies the extra effort.
The video below is useful if you want to see how clean cutting changes the final look in real work.
Buying, Samples and Trade Pricing in Melbourne
Buy the tiles from the same production batch if you can. That's especially important with a large format, because colour and tone differences show more clearly across a broad floor. Keep a few spare tiles from the same batch for future repairs, and don't leave that to chance after the installer has packed up.
I'd also sample before you commit. A $15 five-sample pack is a small cost compared with the cost of getting the colour, finish, or slip feel wrong in your own light. A free 15-minute design consultation from home is useful if you're trying to decide whether the layout should stay straight or shift to a different set-out.
For buyers who want more structure, Tiles Mate Pty Ltd supports Melbourne projects with clear per-square-metre and per-box pricing, local delivery, and trade access through TilesMate Pro for B2B pricing and sourcing support. Their Melbourne tile shop guide is also a practical starting point if you're comparing supply options before placing the order.
A good purchase checklist is simple. Confirm the slip rating, check the batch number, verify the quantity with waste built in, and make sure the finish suits the room you will be tiling. Do that before you pay, not after the pallets arrive.
Tiles Mate Pty Ltd helps Melbourne renovators, builders, and designers choose tiles with less guesswork and fewer costly mistakes. If you're planning a floor with 600x600 tiles, visit Tiles Mate Pty Ltd to compare finishes, request samples, and line up the right quantity before the job starts.