




LED Mirrors: The Ultimate Buying Guide 2026
by Shivam Tayal 07 Oct 2026 0 Comments
You shave before work, lean towards the vanity, and discover that the single ceiling light has put a shadow under your eyes and across your jaw. Makeup looks different on each side of your face, skincare application becomes guesswork, and the bathroom feels harsher than it did when you planned the renovation. This is a common result of relying on ambient lighting for a task that needs light in front of you.
An LED mirror changes the arrangement, not just the appearance. It places controlled illumination at the mirror plane, where you need it for shaving, grooming and applying makeup. For a Melbourne bathroom renovation, however, appearance is only one part of the decision. The mirror is also an electrical appliance in a wet area, so its location, protection, wiring method and certification need the same attention as the tiles and tapware.
Why LED Mirrors Transform Daily Bathroom Routines
A ceiling light illuminates the room from above. Your face sits below it, which means your brow, nose and chin can cast shadows over the very areas you're trying to see. A downlight positioned behind your head can make the problem worse, especially in a narrow Victorian bathroom where the vanity is close to a wall or existing plumbing limits the layout.
An LED mirror puts light around or beside the reflective surface. A well-diffused perimeter emits light across the face instead of concentrating it at one point above the head. The result is not just a brighter room. It is more even task lighting, with fewer dark patches when you are shaving, shaping brows, applying foundation or checking the finish of a skincare product.

The difference between ambient and task lighting
Consider a morning shave. Under a ceiling fitting, you may tilt your head repeatedly to find a clear view of your jawline. With illumination distributed around the mirror, the light follows the viewing area, so you can work in a more natural position. That consistency matters more than decorative brightness.
The same principle helps with makeup and hair styling. A mirror that creates a bright halo but leaves the lower face in shadow hasn't solved the problem. Look for a diffused design with controlled output rather than exposed points of light. Poorly distributed LEDs can create glare, hotspots and uneven colour on the skin, even when the mirror looks impressive in a product photograph.
Practical rule: Judge an illuminated mirror by the quality of light on your face, not by the fact that it has a touch button or a glowing edge.
The broader Australian lighting market provides useful context. Government and industry records describe a national move away from inefficient residential lighting, with LEDs dominating market sales since 2017 and household lighting accounting for about 3% of household energy use in 2023, compared with approximately 7% in 2014, according to the Australian lighting industry submission on energy-efficiency regulation. An LED mirror doesn't make every bathroom efficient by itself, but it combines a mirror and task light in one fitting, using a technology that is already familiar across Australian homes.
If the rest of the room still feels dim, review the ceiling, wall and vanity layers as well. A practical guide to ideas to brighten your bathroom can help you consider the whole lighting plan rather than expecting one mirror to compensate for every poorly positioned fitting.
Understanding LED Mirror Specifications and Quality Markers
Product listings often emphasise watts, touch sensors and an attractive frame. Those details matter, but they don't tell you whether the mirror will provide useful grooming light or suit its proposed position. Ask the supplier for the complete electrical and optical specification, then compare products on the same basis.
What the technical terms mean
IP rating describes protection provided by the enclosure against solid objects and water. IP44 is commonly discussed for bathroom mirrors because it offers protection against splashing, but it doesn't make an ordinary mains-powered fitting suitable for immersion. The correct rating still depends on the mirror's precise position, the installation instructions and the relevant wet-area requirements.
Colour temperature affects the character of the light. Warm light can feel comfortable in a residential bathroom, but a neutral or cooler white is often more useful for grooming because it gives the face a clearer, less amber appearance. Don't choose by the product photograph alone. Ask for the stated colour temperature and check whether it is fixed or adjustable.
Colour rendering information indicates how accurately the light presents colours. This matters when you apply makeup, assess skin tone or choose clothing near the vanity. A mirror with a pleasing brightness but weak colour quality can make products appear different once you leave the bathroom.
Lumens and watts answer different questions. Lumens describe the light output, while watts describe electrical input. A low wattage doesn't automatically mean good illumination, and a high lumen figure doesn't guarantee that the light is distributed evenly. Australian LED efficiency rules include minimum average luminous efficacy requirements, so the manufacturer should provide measured lumens, driver input power and other product documentation. The Australian LED lighting efficiency framework provides the regulatory context, but the mirror's own test and installation documents remain essential.
LED Mirror Specification Comparison
| Specification | What It Controls | Typical Grooming Range | Key Question for Supplier |
|---|---|---|---|
| IP rating | Resistance to water and solid-object entry | Bathroom-rated enclosure suited to the proposed location | Is the complete fitting certified for my exact installation zone? |
| Colour temperature | Whether light appears warmer, neutral or cooler | Neutral to cool white for clear grooming visibility | Is the colour temperature fixed, adjustable or affected by dimming? |
| Colour rendering | How accurately skin, makeup and tile colours appear | High-quality rendering suitable for face-level tasks | What colour-rendering information has been measured for this model? |
| Lumens and watts | Light output compared with electrical input | Even, useful light rather than maximum brightness alone | What are the measured lumens and driver input power? |
| Dimming and controls | Brightness adjustment and switching behaviour | Adjustable output for morning, evening and shared use | Does it work with an external dimmer, or only its own touch control? |
A touch switch is convenient, but it can be awkward with wet hands or when the mirror is connected to a separate wall switch. Confirm whether the fitting is hardwired, plug-in, sensor-operated or compatible with the electrician's proposed switching arrangement. Also request the rated life, driver location and warranty conditions before you approve the order.
Sizing and Placement for Bathrooms and Vanities
The right mirror can still look wrong if it is too wide, mounted too high or forced into a tile layout that was never planned around it. Start with the vanity, wall width and viewing position. In most bathrooms, a mirror slightly narrower than the vanity creates a calmer proportion and leaves a visible margin at each side. A full-width mirror can work, but it needs careful coordination with adjacent walls, cabinets, lights and splashback details.
Measure the finished vanity, not only the cabinet carcass. Include the benchtop overhang, basin position, side panels and any wall-mounted tapware. Mark the centreline of the basin and the centreline of the wall, then check whether those lines agree. In older Melbourne homes, walls and plumbing aren't always perfectly centred, so a drawing that looks symmetrical may not match the installed room.
Set the mirror against the room, not the catalogue
Mounting height should support the main users while leaving sensible clearance above the basin and tap. Centre the reflective area around the users' normal eye level, then confirm that the light is aimed at the face rather than the top of the head. A tall mirror can provide a strong vertical composition, but only if its lower edge won't interfere with the tap, splash zone or cleaning access.
Tile geometry changes the decision. A mirror edge that cuts through a decorative grout line can make an otherwise expensive wall look accidental. Before tiling, mark the mirror's actual finished dimensions, including the frame, rear brackets and any required clearance. Check whether a feature tile can finish cleanly at both sides or whether the design needs a border tile, a centred mosaic panel or a deliberate change in tile direction.
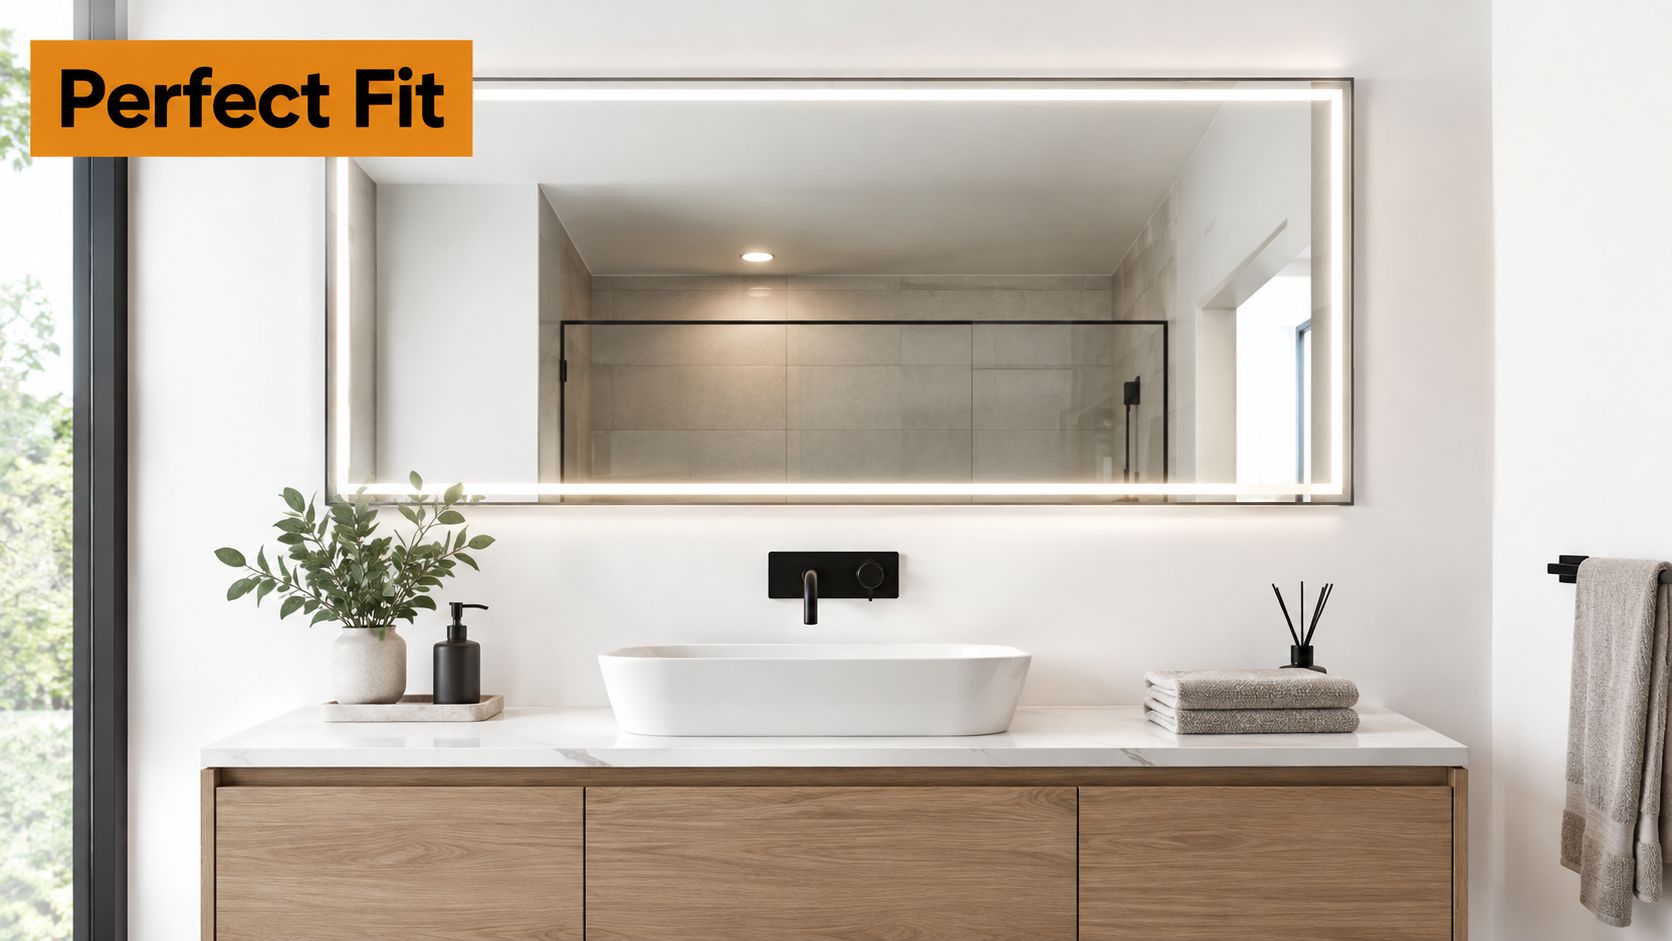
A useful site sequence
- Draw the finished wall. Show the vanity, basin, tap, mirror, wall lights, cabinets, tile joints and power connection on the same elevation.
- Confirm the physical product. Use the supplier's dimensioned drawing rather than an online thumbnail. Allow for the frame, mounting cleat, cable exit and any driver enclosure.
- Dry-set the tile pattern. Lay out the visual centre and check where cuts fall at the mirror edges. Small adjustments to the mirror position may save an awkward sliver of feature tile.
- Coordinate trades early. The electrician needs the connection position before the tiler closes the wall, while the tiler needs the final mirror dimensions before setting out the finished surface.
A Victorian renovation often involves retained plumbing, uneven walls and existing cornices. Don't force a standard mirror size into a heritage room if it creates a bad tile cut or blocks a cabinet door. A slightly different width, selected before rough-in, can produce a cleaner result than an expensive late alteration.
Installation Approaches and Electrical Considerations
The choice between hardwired and plug-in installation affects the appearance, access and compliance of the entire vanity wall. A plug-in mirror can offer flexibility during a cosmetic update, but a visible lead and socket may undermine a clean tiled finish. Hardwiring gives a more integrated result, yet it requires coordination before the wall is finished and must be completed by a licensed Australian electrician.
Hardwired and plug-in options
| Approach | What works | Where it falls short |
|---|---|---|
| Hardwired mirror | Concealed cable, clean wall appearance and integration with a wall switch | Less flexible after tiling, with electrical work required before final installation |
| Plug-in mirror | Easier replacement and useful for some non-fixed arrangements | Visible cable, socket-location constraints and possible incompatibility with the wet-area position |
| Surface-mounted cable solution | Can suit a retrofit where opening the wall isn't practical | More visible, harder to detail neatly and still subject to product and location requirements |
For a fixed fitting, the electrician will assess the cable route, connection point, isolation arrangement, driver position and circuit protection. A rear cable exit needs to align with the wall rough-in and the mirror's mounting hardware. If the driver sits behind the mirror, leave the access and ventilation arrangement specified by the manufacturer. Hiding a driver in an inaccessible cavity may create service and warranty problems later.
Australian wet-area zones determine the electrical protection required. Zone 1 covers the area directly above a bath or shower to 2.25 m, while Zone 2 extends horizontally 600 mm beyond Zone 1. Equipment in these zones generally requires at least IPX4/IP44 protection against water splashes, and bathroom final sub-circuits require 30 mA residual-current-device protection, as set out in Australian bathroom wiring guidance for AS/NZS 3000 wet areas.
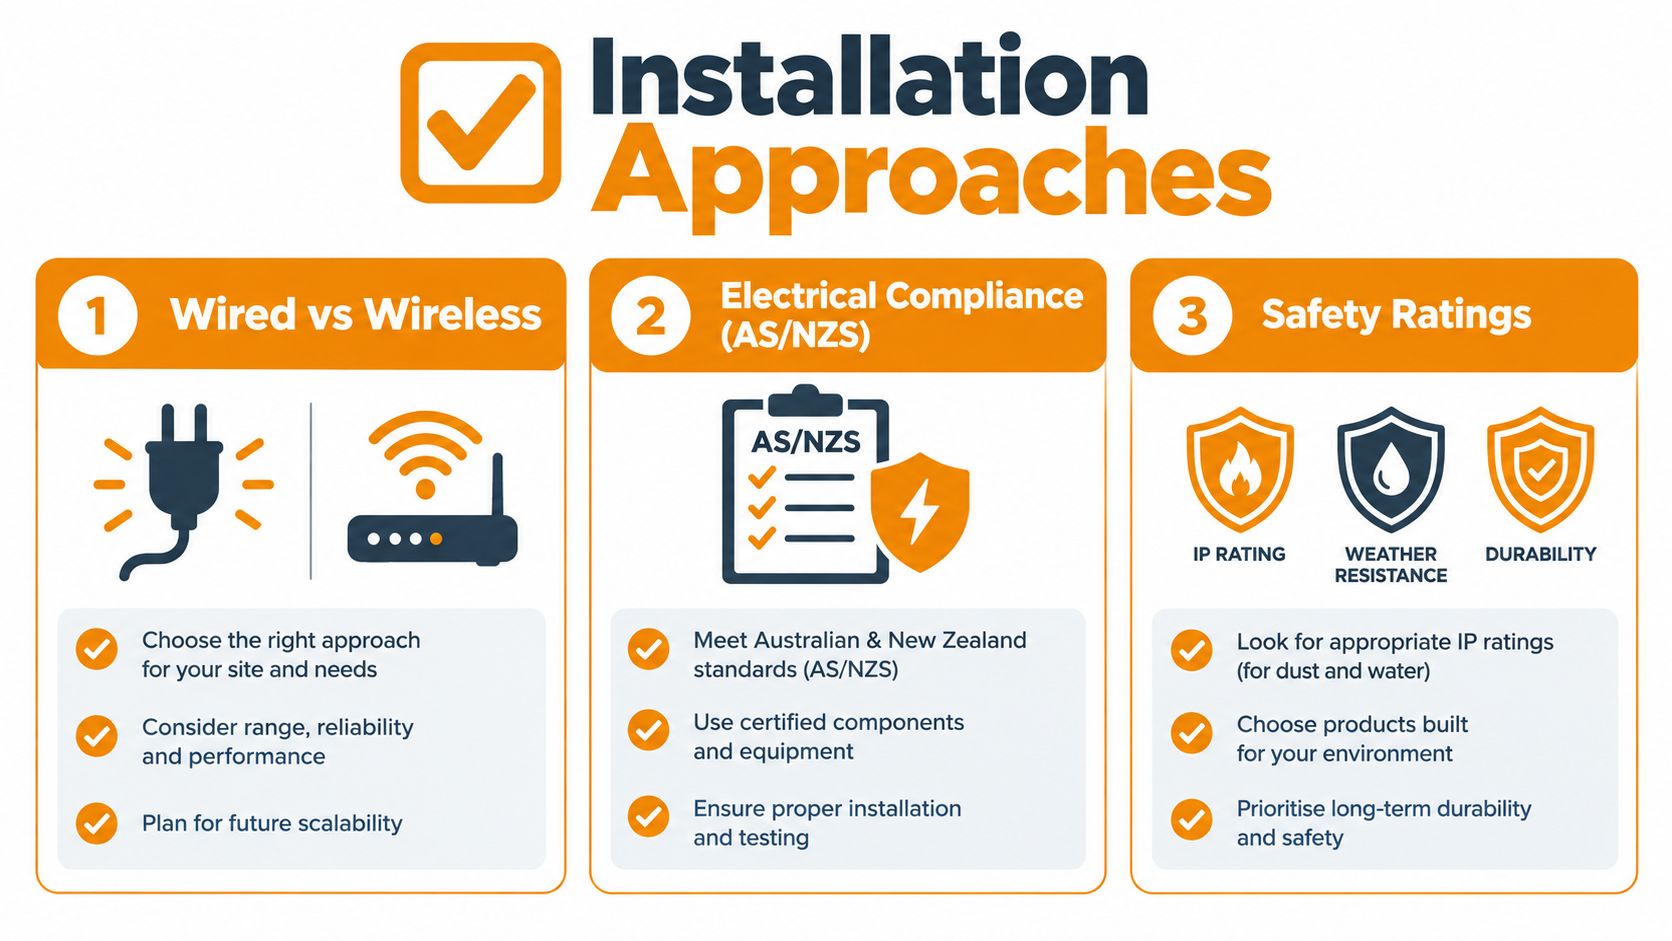
The label isn't the approval. “Water resistant” is marketing language. Your electrician needs the product's certification, complete IP information and installation instructions for the mirror's actual position.
A mirror near a shower shouldn't be selected only because a listing says IP44. The enclosure, driver, cable entry and switch arrangement all form part of the installation. IP44 protects against splashing, but it doesn't make a standard fitting suitable for immersion or for every bathroom zone. Zone 0 has stricter requirements, including low voltage and IPX7 protection.
For a useful visual overview of mirror considerations, you can also review this bathroom mirror installation guide.
The homeowner can measure the wall, compare products and identify the preferred switch location. The homeowner shouldn't undertake fixed bathroom wiring, alter a circuit, connect a mains fitting or assume that a plug-in option removes all wet-area obligations. Use a licensed electrician for the electrical connection and ask them to review the product documents before the mirror is purchased.
Integrating LED Mirrors with Tile and Finish Choices
An illuminated mirror sits directly against the most visible finish in the bathroom, so its frame and light colour should be chosen with the tile schedule rather than after it. A marble-look porcelain wall with strong veining may need a quiet mirror frame and restrained light output. A small natural stone mosaic may benefit from a simple frameless profile that lets the pattern remain the focus.
Gloss, honed and textured surfaces respond differently to perimeter illumination. Gloss tiles can reflect the LED source and create visible glare if the mirror sits too close or the diffuser exposes bright points. Honed surfaces usually soften reflections, while deep texture can create small shadows around the mirror edge. Sample boards are more reliable than screen images because tile shade, light reflection and grout colour change under the actual bathroom lighting.
Build a coherent finish schedule
Match the mirror frame to the established hardware family, but don't assume every metallic finish is interchangeable. Brushed brass, aged brass, chrome, brushed nickel and matte black each produce a different relationship with grout, stone and tapware. If the tap, shower trim and cabinet handles already have a strong finish, a mirror with another prominent frame colour can make the vanity wall feel crowded.
Use the following order when coordinating the specification:
- Start with the feature surface. Decide whether the tile is the visual anchor or whether the mirror should carry more of the attention.
- Check reflection behaviour. Hold a tile sample near the proposed mirror and view it under the intended lighting. Look for glare, strong hotspots and distracting reflected grout lines.
- Keep junctions intentional. Align mirror edges with tile modules, vanity ends or a planned border. Don't leave the tiler to improvise around brackets and cable exits.
- Protect the finish. Confirm how the mirror frame should be cleaned and whether sealant, grout haze or construction dust can damage its coating.
A marble-look porcelain tile can make an oval or pill-shaped mirror feel softer, while a linear kit-kat or stacked tile may suit a rectangular mirror with a simple perimeter. Textural mosaics need accurate cutting around power points, wall niches and mirror supports. The most successful installations treat the mirror as part of the elevation, not as a loose object hung after the tiling is complete.
For help comparing tile materials, formats and finishes before you commit to the mirror size, use this guide to choosing bathroom tiles. Bring the mirror drawing, vanity elevation and hardware samples into the same design review.
Smart Buying and Specification Checklist for Melbourne Renovations
Buy the mirror only after you know where it will sit, how it will connect and what the finished wall will look like. A supplier's product photograph can't answer those questions. The specification should connect the electrical plan, vanity elevation, tile set-out and cleaning requirements.
Request the documents before ordering
Ask for the following in writing:
- Installation diagram: Confirm mounting points, clearances, cable exit, driver position and wall requirements.
- Electrical details: Request input voltage, driver input power, switching method and whether the fitting is fixed or plug-in.
- Wet-area evidence: Check the complete IP rating, certification marking and any test evidence supplied for the fitting.
- Optical information: Confirm measured lumens, colour temperature, colour-rendering information and dimming compatibility.
- Maintenance terms: Read the warranty conditions, especially those covering moisture, incorrect installation, unauthorised wiring and damage to the frame or diffuser.
The Regulatory Compliance Mark and installation instructions deserve more attention than a generic “bathroom safe” badge. Your electrician should compare the documents with the proposed location, while your builder or tiler should work from the final mirror dimensions rather than a provisional product link.
The Melbourne renovation checklist
Measure the finished vanity and wall. Account for basin placement, tapware, cabinets, cornice, skirting, tile joints and the mirror frame. A minor change to width or height can prevent a difficult feature-tile cut.
Confirm the exact wet-area position. Measure the mirror's relationship to the shower and bath, then have the electrician determine the applicable zone and product suitability. Don't treat IP44 as a universal approval.
Choose light for faces, not photographs. Compare colour temperature, colour rendering and diffusion. A mirror that looks bright in a showroom may still cast uneven light if its LEDs aren't properly diffused.
Decide the wiring method before tiling. Hardwired fittings need a planned cable path and connection point. Plug-in products still need careful consideration of socket position, leads and wet-area placement.
Coordinate the finish schedule. Match frame, tapware and cabinet hardware without allowing the mirror to compete with a strong tile pattern. Confirm sealant and cleaning requirements with the installer.
Cost planning also needs to include electrical preparation, wall repairs, tile set-out and installation labour, not only the mirror itself. A broader bathroom renovation cost breakdown can help you identify where a seemingly simple vanity upgrade gains extra trade work.
A homeowner should have the product documents reviewed before purchase. An interior designer should place the mirror, tile module and hardware on the same elevation. A builder or trade buyer should confirm lead times, warranty terms and electrician access before the wall is closed. Treat the LED mirror as a regulated electrical appliance that happens to include a reflective surface, and the installation is far more likely to remain safe, serviceable and visually tidy.
Tiles Mate Pty Ltd supplies porcelain and natural stone tiles, mosaics, flooring and outdoor finishes from its Melbourne operation, with samples and design guidance available for bathroom planning. Visit Tiles Mate Pty Ltd to compare tile finishes and coordinate your LED mirror, vanity wall and broader renovation specification before ordering.