




Porcelain Mosaic Shower Floor: A Melbourne Buyer's Guide
by Shivam Tayal 09 Nov 2026 0 Comments
The most common advice about a porcelain mosaic shower floor is that small tiles are automatically safer because they have more grout joints. That's an incomplete way to choose a wet floor. A mosaic can look reassuring underfoot and still be the wrong product for the shower.
For a Melbourne renovation, start with the wet-area system: waterproofing, drainage, the tested surface finish and the installation specification. Choose colour once those decisions are settled. You'll get a better-looking floor when the tiler isn't trying to make a decorative selection solve a drainage problem.
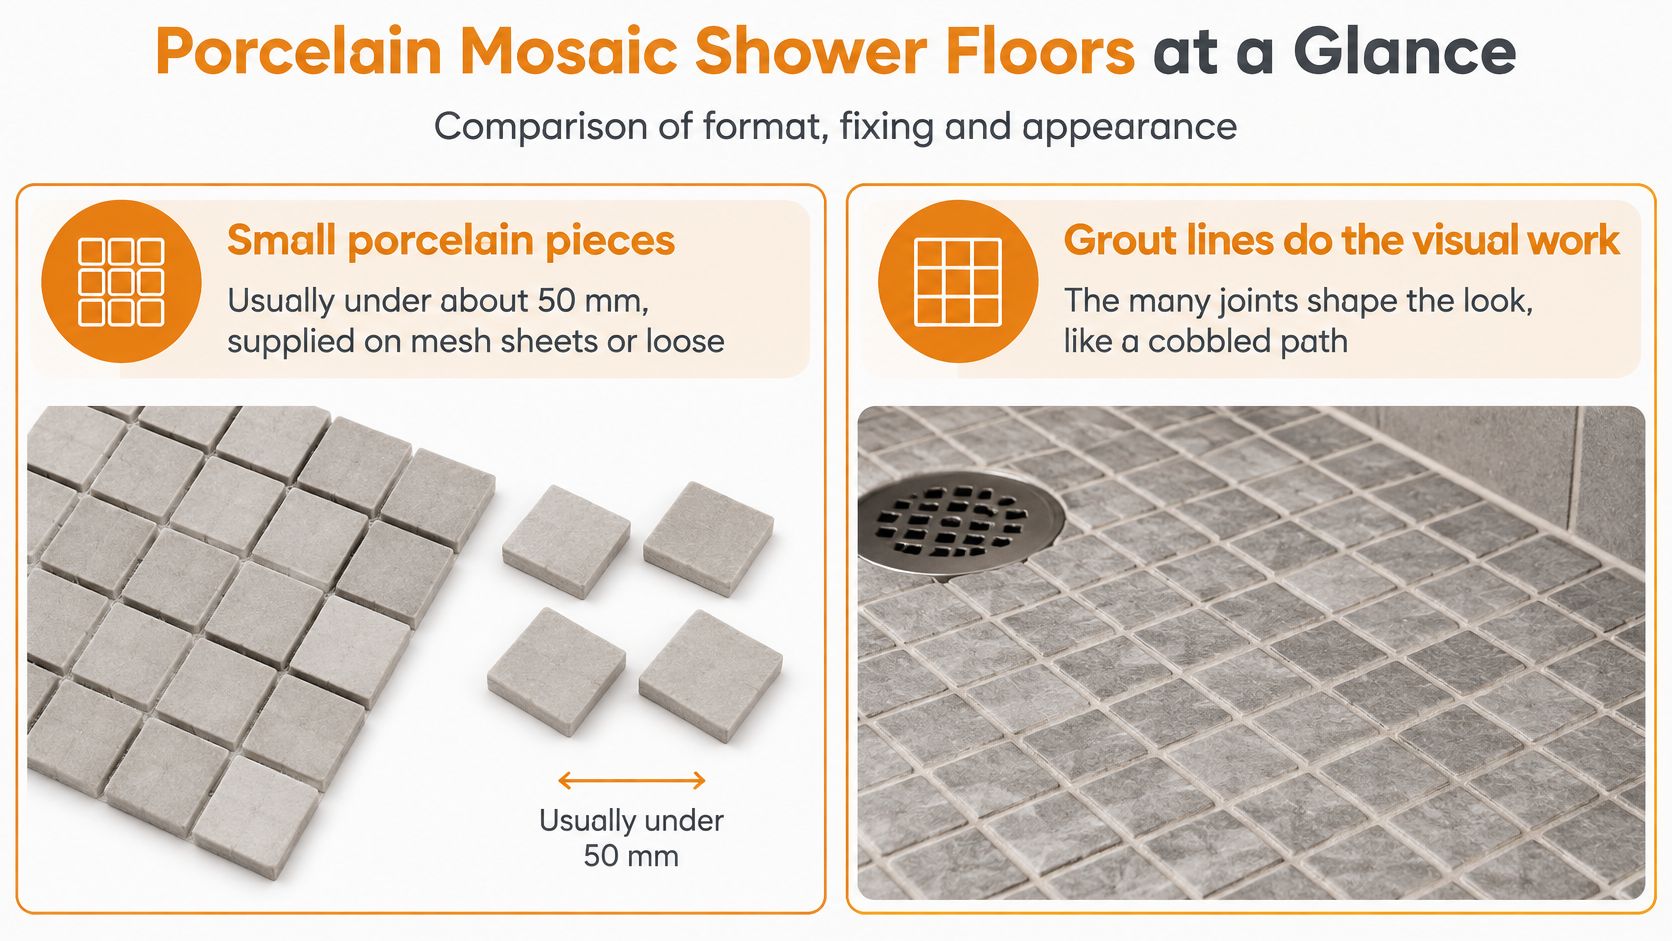
Porcelain Mosaic Shower Floors at a Glance
A porcelain mosaic shower floor consists of small porcelain pieces, supplied on backing sheets or loose, with grout joints separating the individual tiles.
Think of a cobbled path rather than a single slab. The separate pieces can accommodate changes in the floor's plane, while the joints make a strong contribution to the appearance. The backing helps the installer position the pieces, but it doesn't turn them into a rigid tile.
Mosaic formats compared for a shower floor
| Format | Typical piece size | Grout joints | Cutting around a waste | Best fit |
|---|---|---|---|---|
| Penny round | Small discs on mesh, confirm dimensions on the product sheet | Very many | Fiddly, with individual pieces removed and trimmed | Curved or traditional looks |
| Hexagon | Small hexagons on mesh, confirm dimensions on the product sheet | Many | Moderate, cutting individual hexagons or separating sheets | Modern or patterned floors |
| Sheet-mounted square | Small squares on backing sheets, confirm tile and sheet dimensions | Moderate to many | Usually the simplest layout, with individual perimeter pieces cut | Most domestic showers |
Choose the format around the waste layout, not just the showroom display. A central point waste requires the surrounding floor to approach it from different directions. A linear waste along an edge can permit a simpler arrangement, provided the shower design supports it.
Penny rounds introduce another detail: the curved edges leave changing widths of exposed grout. A poorly planned perimeter can finish with awkward fragments or conspicuous grout pockets. Square mosaics make straight boundaries easier to organise, although the installer still needs to cut the actual tiles, not merely trim the backing.
Practical rule: Ask to see the mosaic layout drawn around the actual waste before approving the format.
Check sheet boundaries as carefully as individual pieces. If the gaps between sheets differ from the gaps within them, the finished floor can reveal a grid of sheet outlines. Dry-laying helps the tiler identify that problem before adhesive makes adjustments difficult.
Porcelain or Natural Stone for the Shower Floor
| Factor | Porcelain | Natural stone |
|---|---|---|
| Water absorption | Dense fired body with low absorption | Assess the specific stone and its suitability for repeated wetting |
| Sealing | Usually unnecessary on the tile itself | A stone-specific sealing programme may be required |
| Acidic cleaners | Use only products approved for the tile, grout and fittings | Can etch marble and limestone |
| Slip resistance | Specify the exact finish and tested classification | Specify the exact finish and tested classification |
| Look | Controlled appearance, including marble-look finishes | Natural veining, colour changes and individual markings |
| Routine upkeep | Straightforward washing and residue removal | Careful cleaning plus any specified sealing |
Choose porcelain for predictable appearance and simpler upkeep. Choose stone for its individual character when you accept the care requirements. Neither material should be selected for a shower floor on appearance alone.
Marble, travertine, limestone and slate aren't interchangeable. They differ in surface structure, sensitivity and the way they respond to cleaning. A stone that works beautifully on a bathroom wall isn't automatically a sensible choice beneath wet feet.
Separate tile care from grout care
Porcelain's dense body doesn't remove the need to maintain its joints. You can select an easy-care tile and still create a demanding floor if the grout is poorly specified, unevenly finished or difficult to reach with a brush.
Stone needs a more coordinated specification. The stone, grout, sealer and cleaner must work together, and a sealer won't prevent every kind of marking. In particular, sealing shouldn't be confused with protection against acid etching.
Our guide to a bathroom with stone tile can help you assess where natural material belongs in the wider room.
If you want marble veining without a stone-care routine, consider marble-look porcelain. If genuine stone is central to the design, ask for a honed or textured option with documented wet-use suitability. Porosity and slip resistance are separate questions: a less absorbent tile isn't necessarily a safer walking surface.
Slip Ratings and Grout Joints for Wet Feet
Grout joints can help with footing, but they don't prove a tile is slip-resistant. A shower floor works as a system: the tile surface, grout joints, falls and waterproofing all matter. Specify wet-slip performance before choosing a colour or pattern.
Look closely at the texture, then check the product documentation. A textured appearance alone does not confirm how the tile performs underfoot.
Minimum slip rating by shower location
P3 is a general benchmark for domestic bathroom floors, while P4 or P5 may be considered for wetter shower-recess applications. Treat these as starting points, not universal specifications. The required rating depends on the project and the tile's tested performance.
| Shower location | Suggested minimum | What to check |
|---|---|---|
| General domestic bathroom floor | P3 benchmark | Matt or textured finish with relevant test evidence |
| Wet shower recess | P4 or P5 benchmark | Wet-slip test result for the exact finish supplied |
| Accessible or modified bathroom | Project-specific specification | Designer or occupational therapist's assessment |
| Polished or gloss finish | Not a default choice | Test evidence establishing suitability before use |
Ask for the product's AS 4586 classification, the wet-slip test method and confirmation that the result applies to the finish you are ordering. A textured sample and a polished version from the same collection are not equivalent specifications. A photograph or a description such as “suitable for bathrooms” cannot replace test information.
Matt and textured surfaces are sensible starting points. In many residential bathrooms, matt or lappato finishes are favoured for floors because they stay easy to clean and offer sufficient slip resistance. The finish name alone does not establish suitability for a shower, so check the specific product's evidence.
Specify the surface in use
Soap film, body oils, shampoo and cleaner residue affect contact between feet and tile. Even a tested surface needs effective drainage and regular cleaning. A heavily textured tile may offer more grip, but its grooves can take more brushing to clear deposits.
This video provides visual context for the installation discussion.
Record these details with the tile selection:
- Product identity: Exact finish name and matching test documentation.
- Barefoot use: Confirmation that the proposed application has been considered.
- Joint specification: Grout type and joint width agreed with the tiler.
- Cleaning method: Approved products that won't leave waxy deposits.
Use this mosaic tile guide to compare shapes and joint patterns. Make the safety decision from the technical sheet, not from appearance alone.
Waterproofing and Falls Come Before the Tile
Colour is the last decision, not the first. A porcelain mosaic is the skin of the shower floor: it takes the feet, the soap and the daily wear. The membrane underneath is what holds water in the wet area. Grout and a surface sealer cannot replace a missing membrane, a drain that does not connect to that membrane, or a junction left open at the wall.
The Australian Building Codes Board's waterproofing guidance explains that NCC 2022 permits AS 3740:2021 as a Deemed-to-Satisfy pathway for housing wet areas. For an enclosed shower, the waterproofed zone includes the floor and extends at least 150 mm above finished shower-floor level, or at least 25 mm above the maximum retained-water level where relevant.
Wet-area requirements for a mosaic shower floor
| Requirement | Value or specification | Applies to |
|---|---|---|
| Waterproofed zone above shower-floor level | At least 150 mm above finished shower-floor level | Enclosed shower |
| Waterproofed height above retained water | At least 25 mm above the maximum retained-water level | Where retained water applies |
| Fall to floor waste | Falls formed in the floor so water reaches the waste | Shower floor |
| Waterproofed extent from shower rose | Unenclosed-shower boundary set out before tiling | Unenclosed shower |
| Wall waterproofing height | Required height above the floor substrate for walls, junctions and penetrations | Shower walls, junctions and penetrations |
Those heights describe the waterproofed zone, not the edge of a pretty mosaic sheet. In a hobless renovation there is no raised kerb to stop a splash from travelling. The designer has to decide where water can go, then place the membrane and water stops so they contain it. A visible tile border is only a pattern. It is not a waterproofing line.
Understand the layers
Start with a stable substrate. A screed, or another preparation named in the specified system, forms the falls. The membrane then sits in its designed position in that stack and must join the waste fitting before any sheet goes down. Compatible adhesive, mosaic sheets and grout come after that connection is made.
Picture the stack as a roof: the mosaic is the outer cladding, and the membrane is the weatherproof layer. Cladding from one supplier and a membrane from another can each be sold for bathrooms and still fail where they meet. There is no single layer order that fits every proprietary system. The waterproofer and the tiler need to agree on one assembly.
Before installation, obtain written confirmation of:
- Drain compatibility: Membrane connection to the puddle flange or specified drain assembly.
- Floor preparation: Stable substrate and verified falls.
- Junction detailing: Corners, perimeter transitions and penetrations treated as specified.
- Material compatibility: Adhesive and grout suited to the substrate, membrane and mosaic backing.
A beautifully grouted surface can conceal a poorly detailed wet area. Inspect the work while the important layers are still visible.
Our bathroom floor tiling guide covers the wider floor preparation. For the shower, have the tiler record the agreed membrane, drainage and junction checks in writing before the first mosaic sheet is laid.
DIY or Professional Installation Compared
The useful distinction isn't whether you can stick a mosaic sheet down. It's which tasks alter the wet-area system, and whether you can demonstrate that the completed work complies.
| Task | Homeowner involvement | Professional contribution |
|---|---|---|
| Waterproofing | Don't proceed without appropriate competence and compliance documentation | Specifies and installs the membrane system, with records |
| Forming falls | Requires suitable levels and a reliable checking method | Establishes and records drainage before covering it |
| Cutting around the waste | Possible with appropriate equipment and practice | Produces controlled cuts and an orderly drain perimeter |
| Grouting | Manageable with careful product selection and technique | Delivers consistent compaction and joint finish |
| Inspection and handover | Owner must organise evidence and rectify defects | Contract identifies inspection, rectification and warranty obligations |
Where DIY makes sense
A careful homeowner may undertake limited maintenance, such as replacing damaged grout, where the underlying assembly is sound. Use a grout-removal tool with depth control and work cautiously around the waste and junctions.
Re-tiling is a different proposition. Removing bonded mosaics can damage the membrane even when the original waterproofing was serviceable. Have the exposed assembly assessed before assuming you can replace the decorative layer.
When to appoint a tradesperson
A new membrane, changed falls or relocated waste warrants qualified help. Confirm the practitioner's registration or licensing requirements for the actual scope rather than assuming every tiling contractor undertakes every wet-area task.
Ask for a quote that identifies the waterproofing system, floor preparation, waste connection, tiling and warranty terms. If separate contractors undertake these tasks, nominate who checks the interfaces. A cheap installation quote isn't comparable with a complete wet-area quote when it excludes the work most difficult to repair later.
How to Lay a Porcelain Mosaic Shower Floor
A sound installation starts before the adhesive is opened. The Victorian Building and Plumbing Commission's wet-area guidance states that shower floors require waterproofing and a floor waste, with falls between 1:80 and 1:50; it also identifies a 1500 mm horizontal radius from the shower rose for an unenclosed shower and shower-wall waterproofing to at least 1800 mm above the floor substrate.
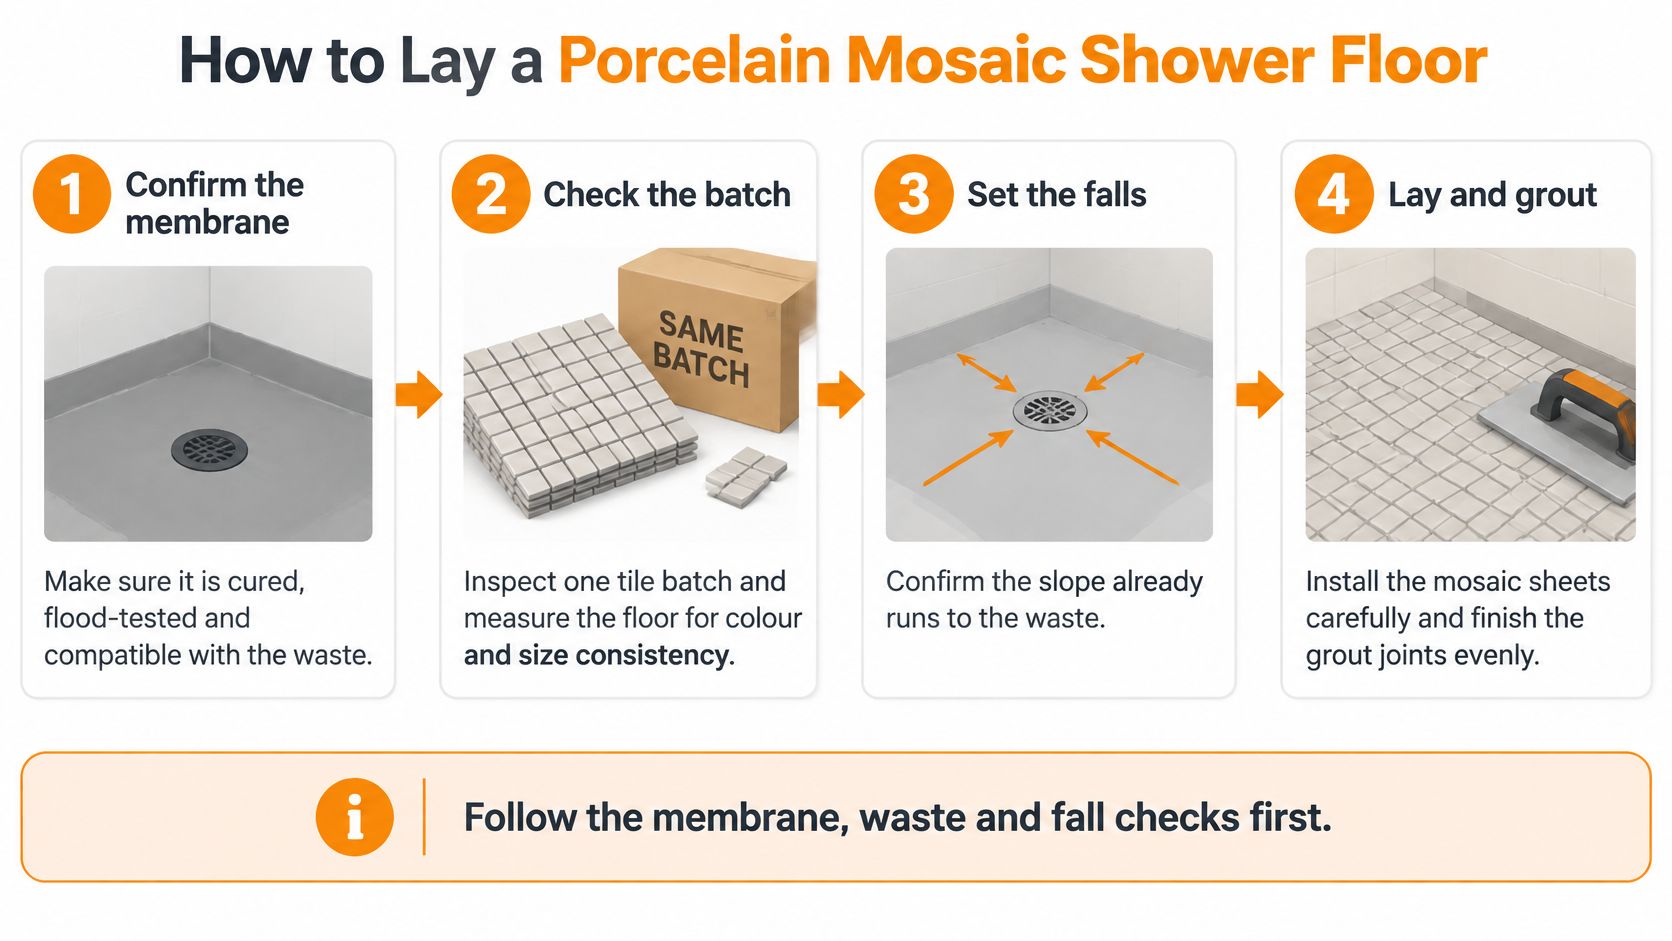
Use the installation sequence to check workmanship, not as a replacement for the project's waterproofing specification.
Installation sequence
- Accept the prepared assembly. Confirm membrane curing, required testing and drain compatibility. Arrange any flood test through the responsible practitioner using the membrane system's procedure, rather than improvising one.
- Inspect the tile batch and verify quantities before opening adhesive. Tiles from different batches can differ slightly in colour and size, so we recommend having your tiler verify all measurements before placing an order.
- Dry-lay the sheets. Establish the visible alignment from the shower entrance, then work out cuts at the drain and perimeter. Avoid leaving narrow fragments where feet will bear on an edge.
- Spread compatible adhesive with the recommended notched trowel. Check that the sheet backing is approved for the installation and doesn't obstruct the required bond.
- Bed the sheets evenly. Use a suitable flat beating block or grout float without forcing adhesive through the joints. Lift a sheet periodically to check coverage, and remove excess adhesive while it's workable.
- Cut the waste perimeter with a suitable wet saw or mosaic-cutting equipment. Fully support trimmed pieces, avoid exposed sharp edges and keep the drain opening accessible.
- Allow the adhesive to cure. Keep traffic off the surface for the product's specified period. Premature grouting can disturb small pieces that appear firm but haven't developed their intended bond.
- Assemble the installation record before covering remaining details. Include substrate photographs, membrane documentation, measured falls, drain connection, batch identity and clear photographs of the laid joints.
- Compact compatible grout into the joints. Work it into the spaces rather than skimming the surface. Remove residue with controlled sponge washing so you don't wash joints hollow.
- Cure the grout and apply sealer only where specified. Finish movement joints with the specified flexible sealant, not rigid grout, and respect the complete system's return-to-service instructions.
If a leak appears
Don't assign responsibility from the location of the visible stain. A membrane defect, drain connection, substrate movement or installation error can produce similar symptoms.
The waterproofer's membrane work, tiler's installation, builder's coordination and retailer's supplied product are distinct scopes. Responsibility depends on the cause, contracts and applicable obligations, not who touched the floor last. Preserve records and arrange an investigation before destructive repairs remove the evidence.
Styling, Upkeep and Costs in Victorian Bathrooms
Let grout establish the pattern
Choose a blending grout when you want a quieter floor. Use deliberate contrast when the hexagons, penny rounds or square grid should remain visible from the doorway.
Compare the grout beside the actual tile, not against a screen image. A strong contrast also makes uneven joints and sheet boundaries easier to notice, so an intricate pattern deserves careful setting out.
Carry a colour from the mosaic into a larger wall tile rather than repeating every small shape across the room. That gives the shower definition without making the whole bathroom visually busy.
Clean for traction as well as appearance
Use a pH-neutral cleaner, a soft nylon brush for grout and thorough rinsing. Remove loose grit first so you're not dragging it across the finish, and keep the waste clear of hair and product residue.
Pay attention to corners and the spaces around the drain frame. If these remain wet or collect soap, investigate the cause rather than repeatedly covering the symptom with stronger chemicals.
Maintenance check: New cracking, persistent dampness or loose pieces need assessment. Resealing isn't a repair for movement or a failed membrane.
Only reseal grout where its manufacturer specifies it. Some grout systems don't require sealing, and adding an unsuitable coating can complicate cleaning.
Compare complete installed costs
The biggest budget uncertainty often lies beneath and around the tiles. Substrate repairs, waterproofing and detailed labour can change the scope more substantially than choosing a different colour.
Ask for an itemised allowance covering:
- Material quantity: Measured area and layout-specific cutting allowance.
- Mosaic format: Sheet-mounted or loose pieces and the setting time involved.
- Preparation: Substrate repairs, screed and formation of falls.
- Wet-area work: Membrane, junctions, water stops and drain integration.
- Detailing labour: Waste cuts, perimeter pieces and movement joints.
- Finishing: Adhesive, grout, sealant and any specified sealer.
- Supply arrangements: Delivery and applicable homeowner or trade pricing.
Compare quotes against the same scope. A tile-only price doesn't tell you what a compliant, finished shower will cost.
Request Samples and a Spec Sheet Before You Order
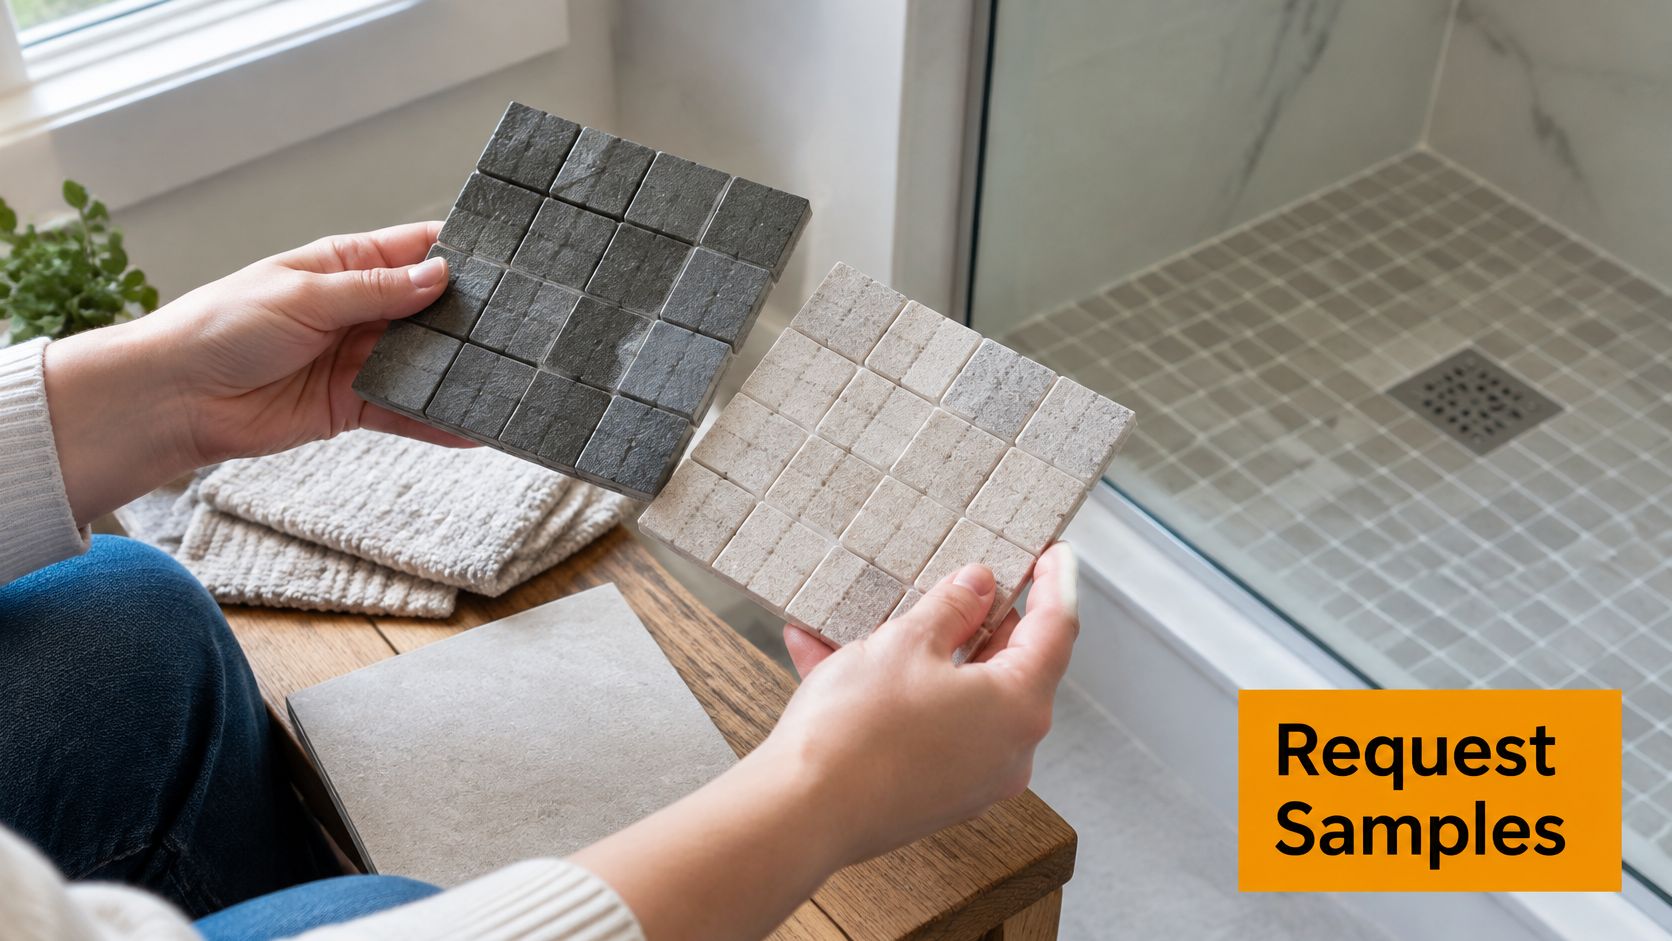
Set the shower's performance requirements before choosing a colour. A sample shows how a tile looks and feels, but it cannot confirm wet-slip performance by touch, and wiping it with water is not a substitute for a documented test.
Check the sample in the bathroom's own light. Then request its technical sheet, with the finish, test method and intended use clearly identified.
Bring a plan showing the enclosure, waste position and accessibility requirements. These details help the designer or tiler assess the tile as one layer of the wet-area system, alongside the falls and waterproofing.
Keep the evidence with the selection
Compare a blending grout with a contrasting option, and inspect the sample both dry and damp. Have the tiler confirm that the proposed adhesive and grout suit the tile and shower conditions. Base the order on the documented specification, not the sample alone.
Tiles Mate offers a $15 pack of five samples and a free 15-minute design consultation from home. Trade buyers can use TilesMate Pro for B2B pricing and personalised sourcing.
Tiles Mate Pty Ltd supplies porcelain and natural stone tiles and mosaics, with selection support for Melbourne bathroom projects. Visit Tiles Mate Pty Ltd to arrange samples and a consultation, then use the shower plan to narrow the finish before the tiler finalises the wet-area specification.