




Travertine Mosaic Tiles: Uses, Finishes and Slip Ratings
by Shivam Tayal 12 Nov 2026 0 Comments
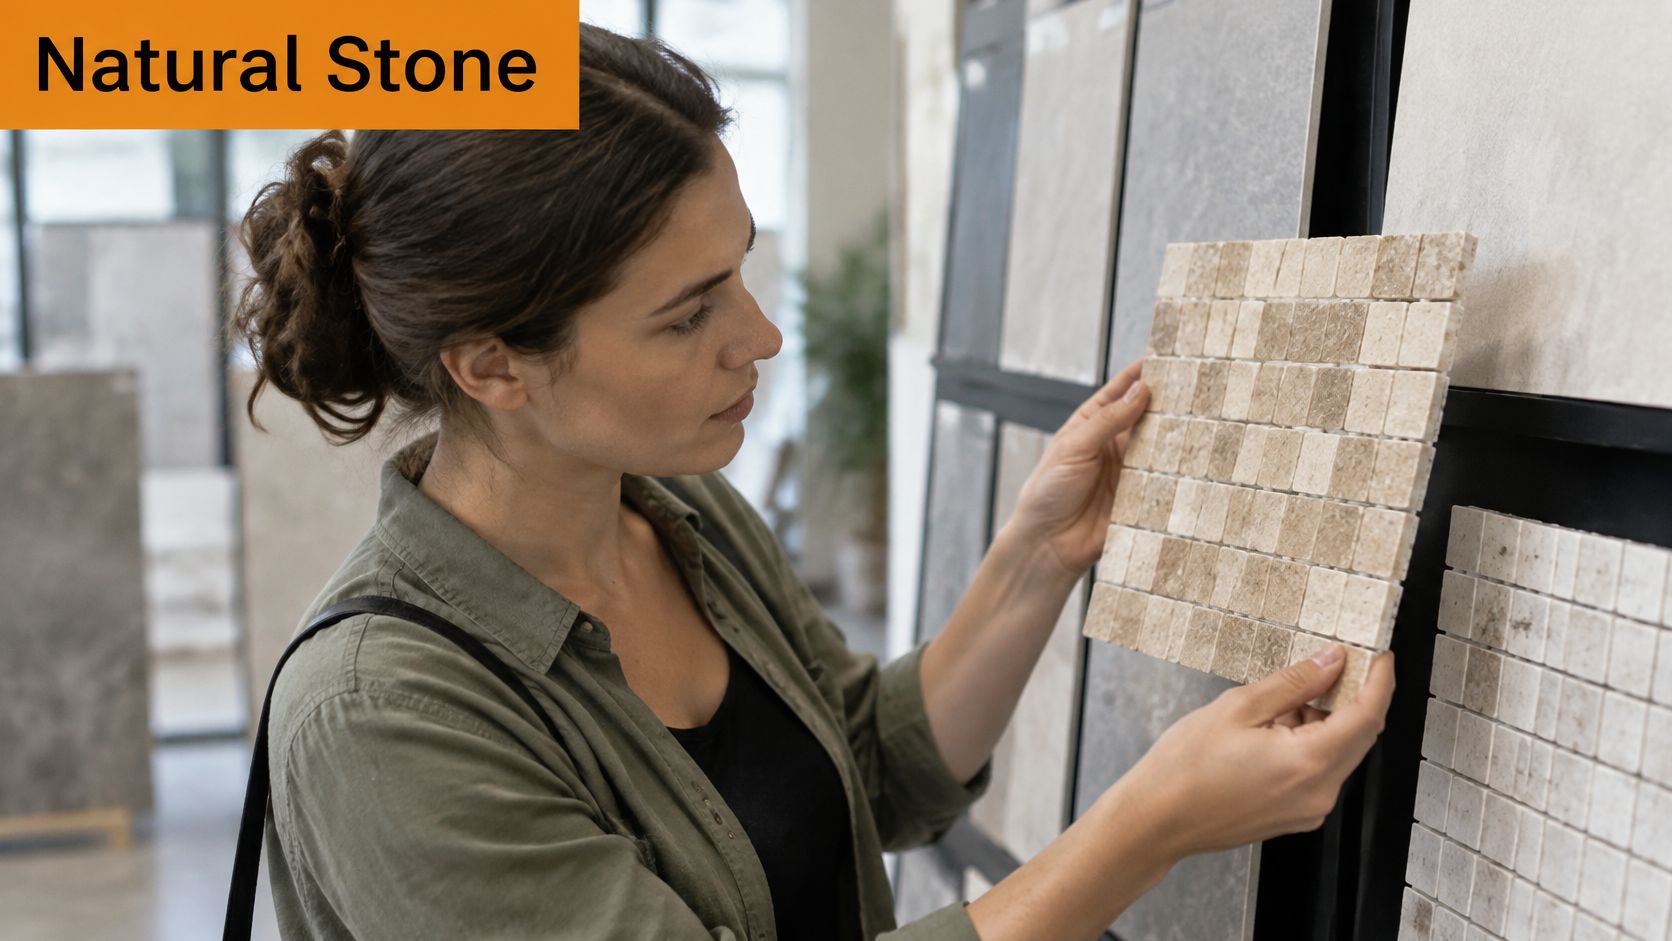
You're holding a 300 mm square sheet of beige mosaic under the showroom downlights, tilting it to watch the banding shift. It's warm, it's natural, and it looks exactly right for the ensuite floor. What the sample board doesn't tell you is whether that sheet grips under a wet foot, who fills the pits in the stone, or why your tiler will charge more to lay it than the ceramic sheet on the next rack.
Travertine mosaic tiles are small-format natural stone. That one fact changes almost everything about how you specify, install and maintain them, and it's the reason a showroom conversation about colour needs to become a conversation about test reports before money changes hands.
If you take one idea from this guide, take this one. The stone's name is not a safety rating. The number you need belongs to the exact finished sheet you're buying, and you should ask for it before you fall in love with the look.
What Travertine Mosaic Tiles Are and Why the Stone Matters
A renovator picks a warm beige mosaic off a sample board for an ensuite floor. Weeks later the sheets arrive and the tiler asks the question nobody raised in the showroom: is this the wet-area version, and do you have the test report? The tile is beautiful. It's also cut from stone that behaves nothing like the ceramic the renovator used in the last bathroom.
A sponge with a hard skin
Travertine is a sedimentary stone, laid down over long periods by mineral-rich springs and then quarried in blocks. Colour runs from cream through gold and tan to grey, usually with soft banding where the deposits layered up. The feature that matters most for a bathroom is the one you can't see from standing height: the stone is full of natural voids and pits, the cavities left where gas or organic material interrupted the deposit.
The easiest way to picture it is a sponge that set hard. Water, oil and soap can travel into those cavities while the face of the stone still feels solid and smooth. That's why the pits get filled before wet-area use, and why a sealer on top of an unfilled void is doing much less than the label suggests.
Why the mosaic format changes the arithmetic
A travertine mosaic sheet is made of small chips, commonly 20 to 50 mm across, glued to a mesh backing in sheets around 300 by 300 mm. Because the pieces are small, grout lines make up a much bigger share of the finished floor than they would with 600 by 600 tiles. That changes drainage, underfoot feel and the amount of maintenance surface you're signing up for.
Natural variation comes with the material. Tiles are natural products and may show slight variations in shade or size, so a sheet that reads a shade lighter than its neighbour is normal rather than a fault. Plan for it in the layout instead of hoping it won't happen.
This isn't a niche product in Australia
Travertine is a routine local specification, not an exotic import. Australia's marble and travertine market reached 668,000 tonnes of consumption in 2024, according to IndexBox's marble and travertine market overview. Plenty of Melbourne bathrooms, balconies and pool surrounds already use it.
Working rule: treat travertine mosaic as a natural stone surface with a test certificate, not as a ceramic mosaic with a stone pattern. Almost every decision that follows depends on that distinction.
Where Travertine Mosaics Work and the Slip Rating to Ask For
A bathroom floor, shower recess and exposed patio may all use travertine, but they face different amounts of water and wear. Choose the mosaic for each location by checking the tested wet-slip rating of the exact finished sheet, not by relying on the stone name or appearance.
| Location | Typical wet-slip rating to ask for | Finish that may suit | Key check |
|---|---|---|---|
| Bathroom floor | P3 to P4 | Tumbled or textured | Confirm the test covers the exact sheet |
| Shower recess or shower floor | P4 or higher | Textured, tested for wet use | Check the rating for the finished mosaic |
| Laundry floor | P3 to P4 | Textured or matt | Allow for soap and water spills |
| Alfresco or entry | P4 | Textured, exterior rated | Check suitability for rain, dirt and foot traffic |
| Pool surround | P4 to P5 | Tumbled, tested for wet use | Confirm the rating suits a persistently wet area |
| Indoor wall or splashback | Not a pedestrian floor | Honed or polished | Choose for appearance and ease of cleaning |
Reading the P-scale in plain language
The wet-pendulum classification in Australia's AS 4586 framework runs from P0 to P5. Higher classifications indicate greater resistance to slipping when wet. Australian guidance on natural stone tile options describes the framework; typical targets are P3 to P4 for bathroom and laundry floors, P4 for exposed alfresco and entry areas, and P4 to P5 for pool surrounds and other persistently wet outdoor locations.
The rating needs to match the finished pedestrian surface. A test for a different product, finish or installation does not establish the rating of your chosen mosaic. Tile size alone tells you nothing about slip resistance, and a general claim that natural stone is “slip resistant” is not a P classification.
Match the rating to each surface
A renovation with an ensuite, laundry, balcony and paved entertaining area has four different exposure conditions. One mosaic may not be suitable for all four. Check the required rating for each location before ordering, rather than assuming a single product will work everywhere.
Tumbled or textured travertine can have a more suitable surface profile for wet floors than polished stone, but appearance is only a starting point. Ask for verified testing of the exact finished sheet for the intended use. Advice on travertine tiles for outdoor areas can also help clarify the exposure considerations for an exterior project.
What to ask the supplier and tiler
Request test documentation for the exact mosaic sheet and confirm that its tested finish suits the intended wet-area use. Installation matters too: AS 3958:2023 covers tiling, while AS 3740 covers waterproofing of domestic wet areas. Your tiler should account for the requirements that apply to the project.
For a wall or splashback, check whether the sheet is rated for floors before extending the design underfoot. A smooth wall-grade mosaic should not be assumed suitable for a wet floor. A guide to safer hardwood floors for Denver homes discusses how a timber topcoat affects grip, though travertine mosaics require their own product-specific slip testing.
Finishes and Layouts That Change the Look
A honed mosaic can look calm and understated in a bathroom, while the same stone in a tumbled finish feels more rustic. Finish also affects grip, so choose by appearance only after checking the tested slip rating for the exact finished sheet.
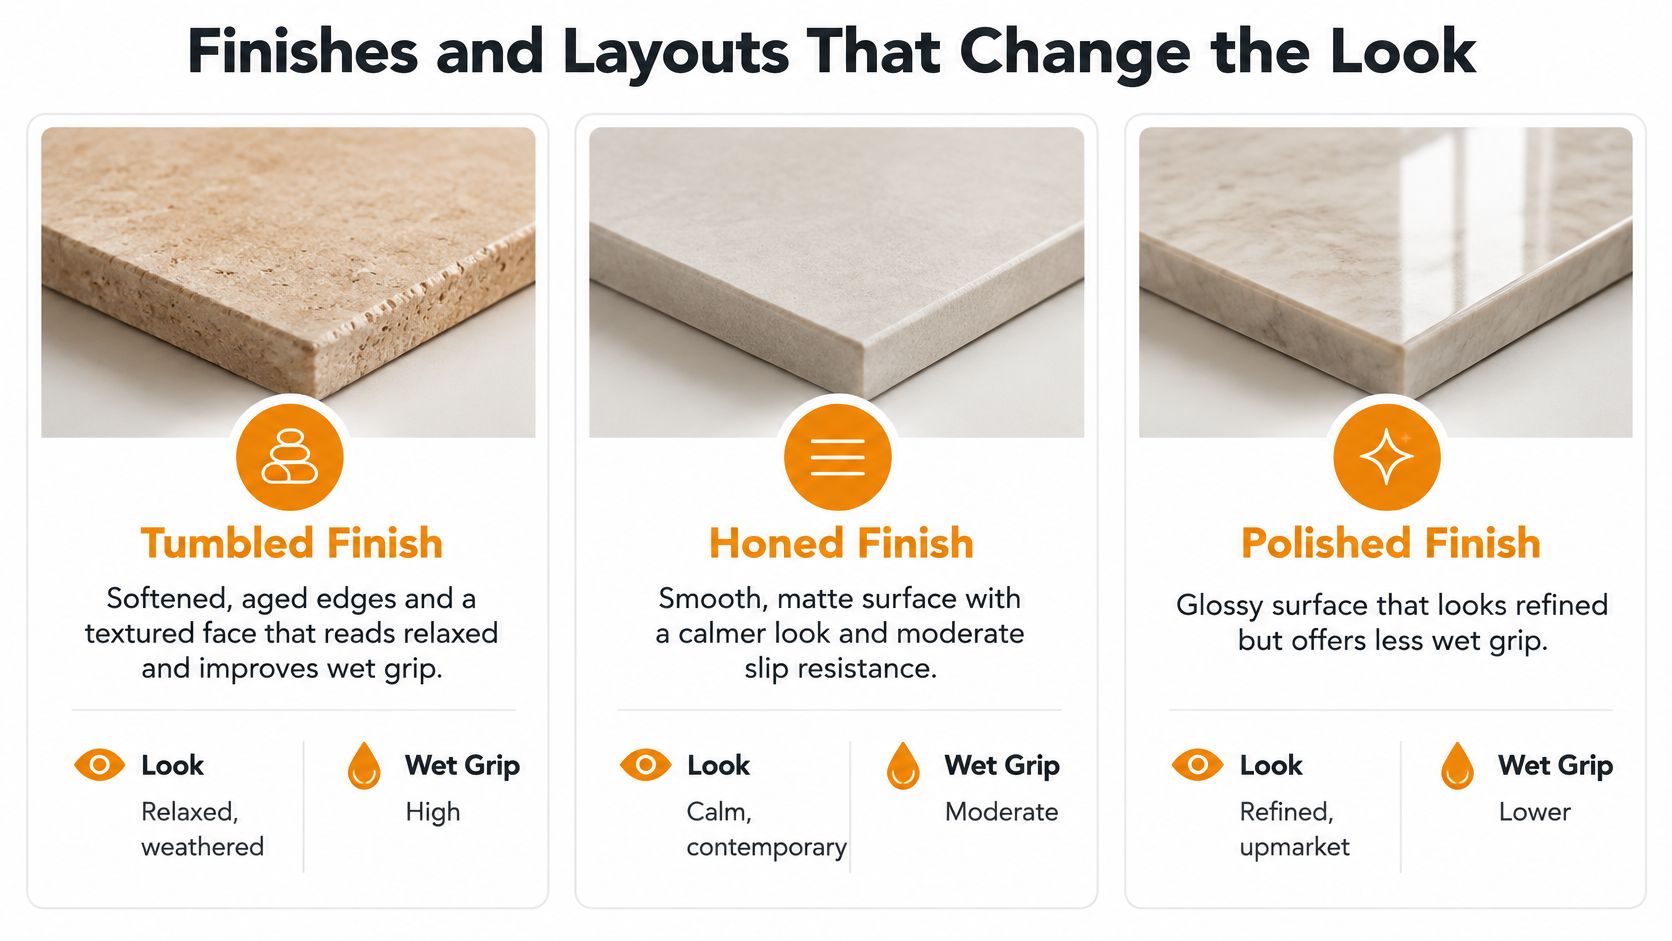
| Finish | Look | Wet grip | Best location |
|---|---|---|---|
| Tumbled | Softened, aged edges and textured face | Can provide more surface texture, but check the exact sheet's tested rating | Bathroom floors, alfresco and pool surrounds, if its rating suits the use |
| Honed | Flat matt face with filled pits | Depends on the tested rating | Floors where the rating is suitable |
| Polished | Glossy and reflective | Do not assume it is suitable for wet floors; check the tested rating | Walls and splashbacks |
What each finish does to a room
Tumbled stone has rounded chip edges and a textured face. It creates a relaxed, slightly aged look that suits coastal or Mediterranean palettes. Its texture may help with grip, but the stone name and appearance cannot confirm safety underfoot. Ask for the tested slip rating of the exact finished sheet.
Honed stone has a flat, matt face, often with filled pits. It gives a quieter look and is generally easier to wipe clean than a heavily textured surface. Matt or lappato finishes are often chosen for bathroom floors because they are easier to clean and typically offer better slip resistance. The exact sheet's tested rating still needs to suit the intended use.
Polished stone reflects light and makes the banding appear deeper. Water can make a polished surface slippery, so it is usually better suited to walls and splashbacks than wet floors. A glossy finish alone does not tell you how a particular mosaic performs when wet.
For a closer look at how these finishes are produced and where each may be used, watch this walkthrough.
Layouts, and the grout decision people leave too late
Running bond and stack bond make a regular grid that keeps attention on the stone. Herringbone adds movement and can suit a long, narrow ensuite. Hexagon and fan shapes create a defined feature, such as inside a shower or behind a vanity. Whatever the layout, check the tested slip rating for the exact finished sheet before using it on a floor.
Grout colour changes how strongly the pattern reads. Matching grout softens the joints, while contrasting grout makes each line more visible. Choose the grout and finish together, then view a sample in the room's actual light: a beige that looks warm in the morning may appear pink by dusk.
Pros, Limits and Trade-offs Before You Commit
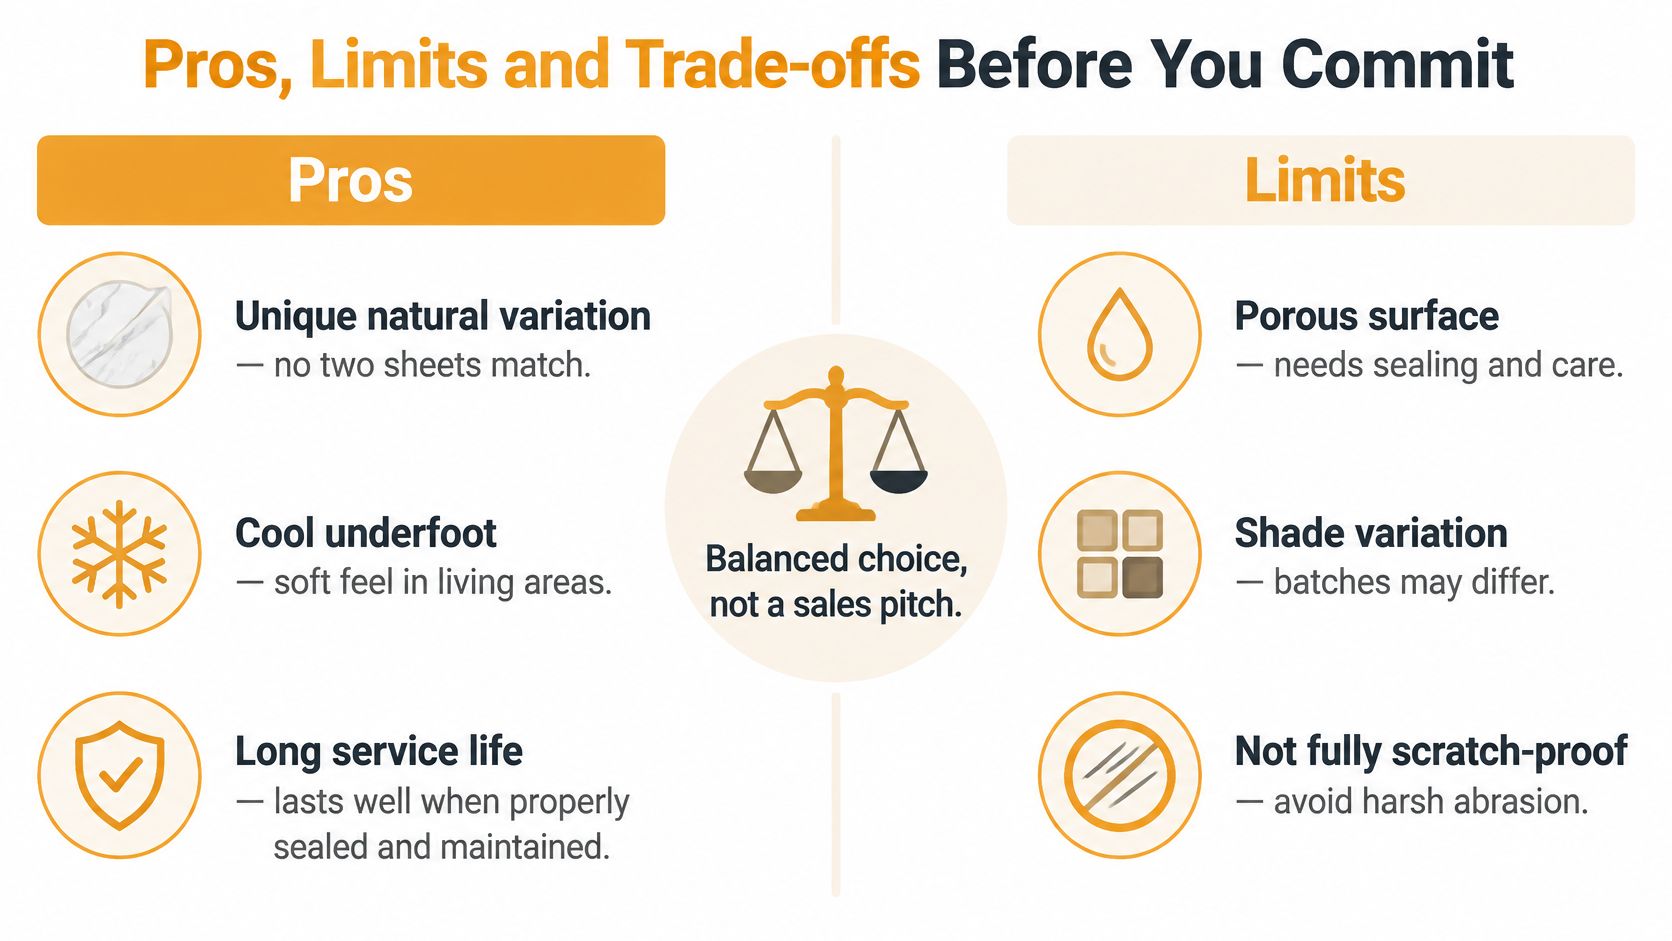
Travertine earns its place in plenty of homes. It also asks for more from you than ceramic does, and the honest version of this conversation names both.
The strongest argument for it is that no two sheets match. Genuine banding, subtle colour movement and a surface that catches light differently from every angle give you something a printed porcelain can only imitate. Add the cool, soft feel underfoot on a warm day and the extra grip that comes from all those grout lines, and you have a floor that performs as well as it looks in the right setting.
Set that against what the stone does over ten years.
Where travertine will test you
Porosity is the main one. Oils, red wine, soap scum and iron-rich water can mark unsealed stone, and the marks sit in the body of the tile rather than on the surface. Acidic cleaners etch it, dulling the finish in splashes that never quite blend back in.
Voids trap dirt if they're left open, which is why filling isn't optional in a wet area. The slip rating has to be tested rather than assumed, and that paperwork is on you to request. Installation costs run higher than for standard ceramic, because filling, sealing and careful setting out all take time.
A contrarian point worth hearing: a heavily textured surface is not automatically the best choice. Deep texture can be harder to clean, less comfortable underfoot and more prone to holding grime. Grip has to be weighed against cleanability and comfort, not chosen in isolation.
The four-way test
Before you sign off on a finish, weigh these together rather than one at a time:
- Cleanability: can you mop it without a brush and a lot of patience?
- Barefoot comfort: does the texture feel good at 6am on a cold Melbourne morning?
- Drainage: does water move toward the drain, and do the grout joints help or hinder?
- Verified test results: does the sheet's documentation cover the room you're putting it in?
Travertine works beautifully in a bathroom when the maintenance burden is accepted as part of the product choice rather than discovered afterwards. If that trade doesn't appeal, a porcelain travertine-look mosaic gets you most of the visual result with far less upkeep.
How to Install and Maintain Travertine Mosaic Safely
A safe installation depends on the order of the work. Fill and seal the stone's natural voids before the mosaic is used in a wet area, and let each product cure as directed before applying the next.
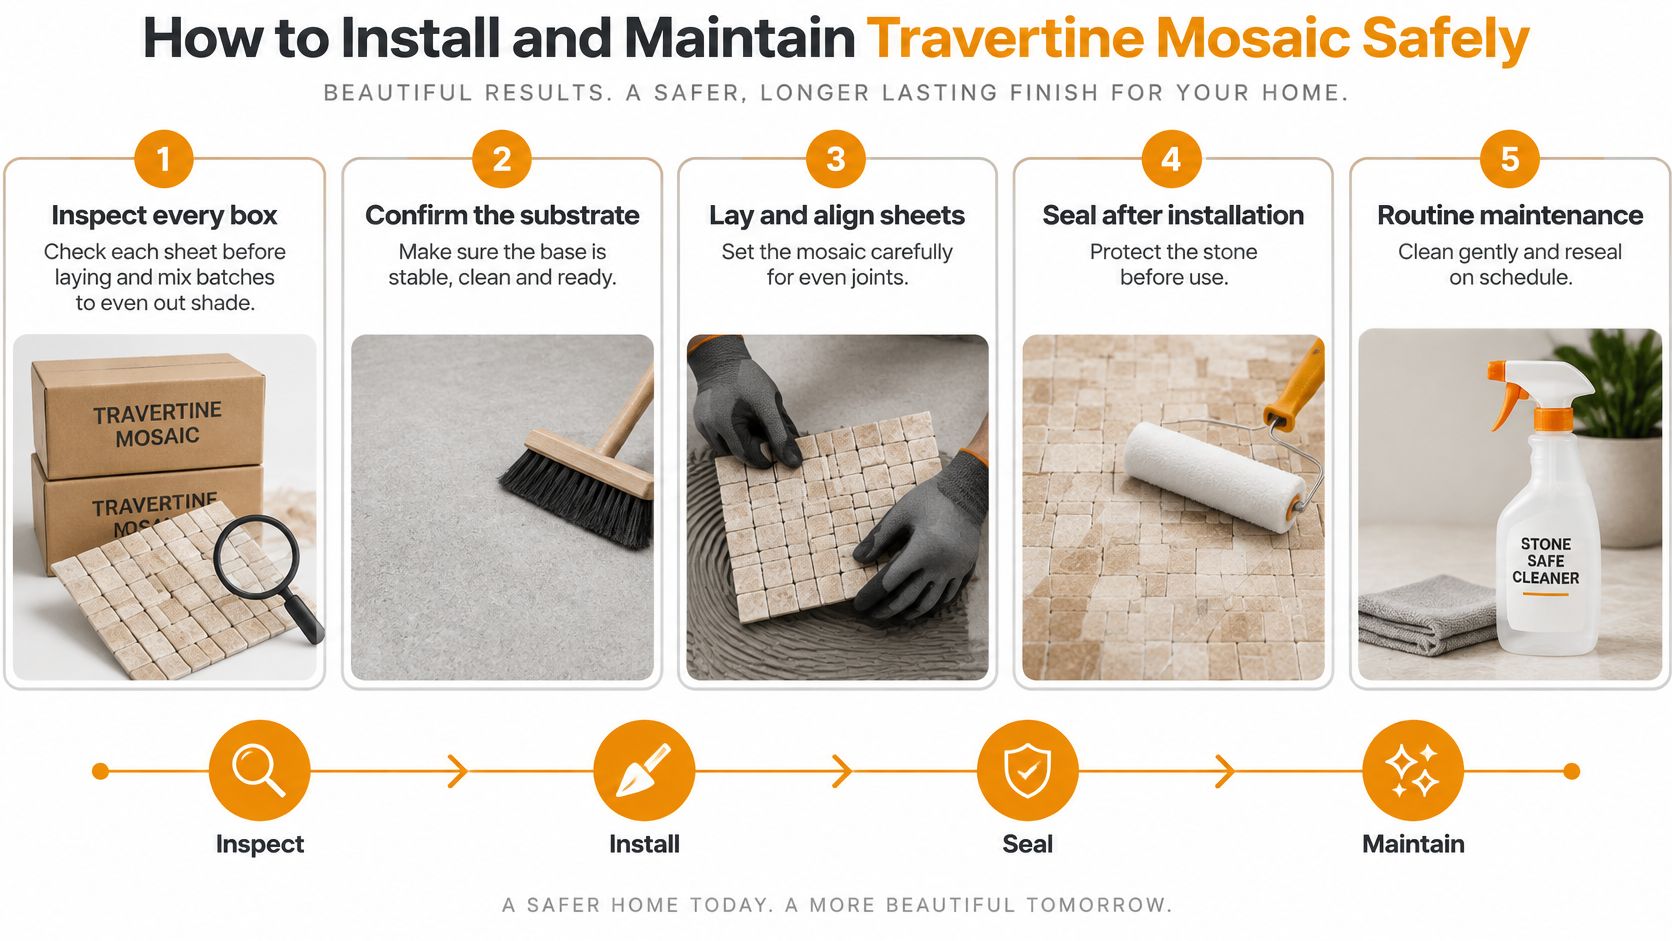
- Inspect the sheets before laying. Check for cracks and compare the colour across the boxes. Mix sheets from different boxes as you work, rather than leaving the remaining sheets until the final rows, where a change in shade can form a visible band.
- Check the substrate and waterproofing. Wet areas need a membrane to AS 3740 and a flat, stable surface for bonding. Confirm the fall to the drain before laying: mosaic sheets follow the shape of the substrate, so they cannot correct a poorly formed fall.
- Fill the natural voids. Use a filler compatible with the grout and sealer, then allow it to cure fully. Travertine's pores and voids need filling and sealing before wet-area use; otherwise, water and residue can collect in them.
- Bond the sheets with a suitable adhesive. Follow AS 3958 for bonded installation and keep the joints even from sheet to sheet. Check the layout as you go, since misaligned joints can make the finished floor look uneven.
- Grout after the adhesive has set. Use a compatible grout and follow its curing instructions. Grouting too soon can disturb the sheets and leave hollow spots.
- Seal after the grout and filler have cured. Follow the sealer manufacturer's instructions for application and reapplication. A guide to sealing natural stone tiles explains the process in more detail.
- Clean with a pH-neutral cleaner. Avoid acidic bathroom products, which can damage natural stone.
The handover schedule nobody hands over
Maintenance needs clear ownership after installation. Record the details at handover so the homeowner knows what was applied and what to check:
- Before installation: inspect the boxes and confirm the batch and shade variation.
- At handover: record the sealer used, when it was applied, and its curing time.
- Ventilation: run the extraction fan during and after showers.
- Regular checks: look for dull patches, water marks near the shower threshold, and loose or crumbling grout.
Sealer helps reduce staining, but it does not make travertine waterproof. The membrane behind the tile protects the structure; filling and sealing the stone's voids helps limit water and residue collecting on its surface.
Cost Drivers and Trade Procurement Considerations
Two quotes for the same bathroom can differ by thousands and still both be fair. The difference is usually in what's been priced, not in how much the tiles cost. Work through these five lines when you compare.
- Product cost, priced per square metre and per box. A tumbled sheet and a honed sheet in the same colourway may not cost the same, so quote the finish you want and hold the batch.
- Preparation cost. Filling voids, sealing, and waterproofing to AS 3740 all add materials and labour that a standard ceramic mosaic never asks for. If a quote doesn't mention them, they're either missing or buried.
- Installation cost. Small pieces and careful set-out for even shade and straight grout lines take longer than full-size tiles. Time is the line that moves most between installers.
- Waste and spares. The 10 per cent allowance plus a couple of spare boxes belong in the total order, not in a hopeful afterthought.
- Trade procurement checks. Before committing, ask for the test report, batch and shade control details, lead times, minimum order quantities and the sample policy.
Quote like for like: same sheet, same finish, same test report, same quantity, with filling, sealing and labour on separate lines. Our breakdown of natural stone tiles price helps you sanity-check what each line should look like before you compare two suppliers.
Specifications, Ordering and Samples Before You Buy
A 10 m² bathroom needs more than 10 m² of mosaic. Allow for cuts and waste, then check the coverage printed on the box before calculating how many boxes to order.
| Specification | Typical reference value | What to confirm |
|---|---|---|
| Mosaic sheet size | About 300 x 300 mm | Sheet size stated on the product information |
| Chip size | About 20 x 20 mm to 50 x 50 mm | Consistency across the sheet and batch |
| Tile thickness | About 8 to 10 mm | Suitability for the planned installation |
| Grout joint width | About 2 to 3 mm | How the joint affects cleaning and the finished surface |
| Coverage per box | Printed on the box in m² | Calculate from floor area plus about 10 per cent waste |
| Samples | One physical sample per finish | Compare shade and chip consistency |
The box maths, worked once
For a 10 m² bathroom, add about 10 per cent for cuts, corners and waste. That gives roughly 11 m² of mosaic. Divide by the coverage printed on the box and round up to whole boxes. If a box covers 1.78 m², order seven.
Calculate by box coverage, not sheet count. The number of sheets in a box varies between products, so check the stated coverage to avoid falling short.
Ordering is where the rating gets confirmed, not assumed
Choose travertine mosaic tiles by the tested wet-slip classification for the exact finished sheet, not by appearance or stone name alone. Australian slip-resistance practice uses AS/NZS 4586:2013, which classifies new pedestrian surfaces using the wet pendulum method, as practical guidance on tile floor coverings explains. A smooth mosaic in the same colourway is not automatically suitable for a shower floor.
Order samples to compare shade and chip consistency. Tiles from different batches can vary slightly in colour and size, so Tiles Mate recommends having your tiler verify all measurements before placing an order. Sample tiles let you see and touch the finish under your own lighting.
Keep a spare box or two for future repairs, and confirm lead times before demolition starts.
The decision rule, in order: confirm the tested slip rating for the exact sheet and finish, check that it suits the room, then choose the look and maintenance level you can manage.
Tiles Mate Pty Ltd supplies natural stone mosaics, porcelain lookalikes and slip-rated pavers from its Truganina location. A $15 pack of five samples lets you check shade and chip consistency in your own bathroom light. Bring your room list to a free 15-minute design consultation to discuss suitable finishes for each surface. Visit Tiles Mate Pty Ltd to order samples or book a consultation.