



Backlit LED Bathroom Mirror Buying Guide
by Shivam Tayal 28 Oct 2026 0 Comments
You've chosen the vanity and tiles, and now you're comparing mirrors that all look impressive with their lights switched on. The cheaper round mirror seems sensible, but the larger model promises adjustable colour and anti-fog glass. Neither product photo tells you whether the mirror belongs beside your shower or whether you'll be able to replace its driver later.
A backlit LED bathroom mirror should earn its place through useful lighting, documented wet-area suitability and sensible controls. The glow matters, but the electrical components behind the glass and the way your bathroom removes steam matter more.
What Australian Buyers Pay in 2026
Australian backlit LED bathroom mirror prices in 2026
| Source and model type | Shape or format | Listed price AUD | Notable features |
|---|---|---|---|
| Buildmat entry frameless | Round | 180–280 | Basic LED bathroom mirror |
| Beacon Lighting | Round | 495 | LED backlit |
| Beacon Lighting | Arch or rectangle | 595 | LED backlit |
| Beacon Lighting | Oval | 695 | LED backlit |
| Beacon Lighting | Race-track, one-metre format | 895 | Colour-shifting backlight and anti-fog |
| Buildmat premium double vanity | Double vanity | 500–900+ | Backlit and frontlit LEDs, adjustable colour temperature, demister pad |
| Cook and Bathe Ablaze Premium RS | Premium | 1,065 | Cool-light model |
| Cook and Bathe premium | Premium | 1,459 | Premium LED mirror |
These published Australian retail examples are buying guides, not a quote for your bathroom. Treat them as mirror supply prices and budget separately for delivery, installation by a licensed electrician and any wall preparation. The demister also adds a running cost when you use it.
Moving from an entry mirror to a premium model may buy more glass, forward-facing illumination, adjustable colour temperature and a heated demister pad. Those features serve different purposes: width accommodates the vanity, front lighting helps you see your face, and the pad keeps a viewing area clear after showering.
A shaving cabinet changes the comparison again. You're buying storage, hinges, internal clearances and a deeper mounting arrangement, rather than a flat wall mirror. Compare like with like before deciding that one supplier is expensive.
Spend on what you'll use
For a single basin, a smaller mirror with good face lighting can be more useful than a wide mirror with a decorative halo. For a double vanity, check whether both users can stand comfortably within the illuminated area. A wide mirror isn't automatically well lit across its whole face.
Adjustable colour is worth considering when the bathroom serves different routines. You might prefer a softer setting at night and neutral light for shaving in the morning. However, a complicated touch sequence becomes frustrating if every adjustment means cycling through settings you don't want.
Ask to see the controls demonstrated, or read the operating instructions before ordering. Check whether the mirror remembers its previous setting after the wall switch is turned off. Also establish whether its demister works independently, rather than assuming a premium price guarantees separate controls.
Budget rule: Pay for documented performance and service access before paying for a more dramatic halo.
Allow for the work behind the glass
An existing power point doesn't necessarily make installation straightforward. The electrician still needs to assess its location, the mirror's connection method and whether the proposed arrangement suits the bathroom.
A new shaving cabinet may require backing, recess framing or changes to the wall lining. Moving a cable after tiling can involve more than an electrical visit, especially if the work disturbs waterproofing.
Use our bathroom renovation cost breakdown to consider the mirror within the wider renovation budget. Keep the mirror supply, electrical work and wall preparation as separate allowances so you can see what each option costs.
Before accepting a low price, obtain the installation manual and electrical specification sheet. An undocumented IP rating or an unidentified driver isn't a bargain you can safely resolve after delivery.
How to Place and Wire It Safely
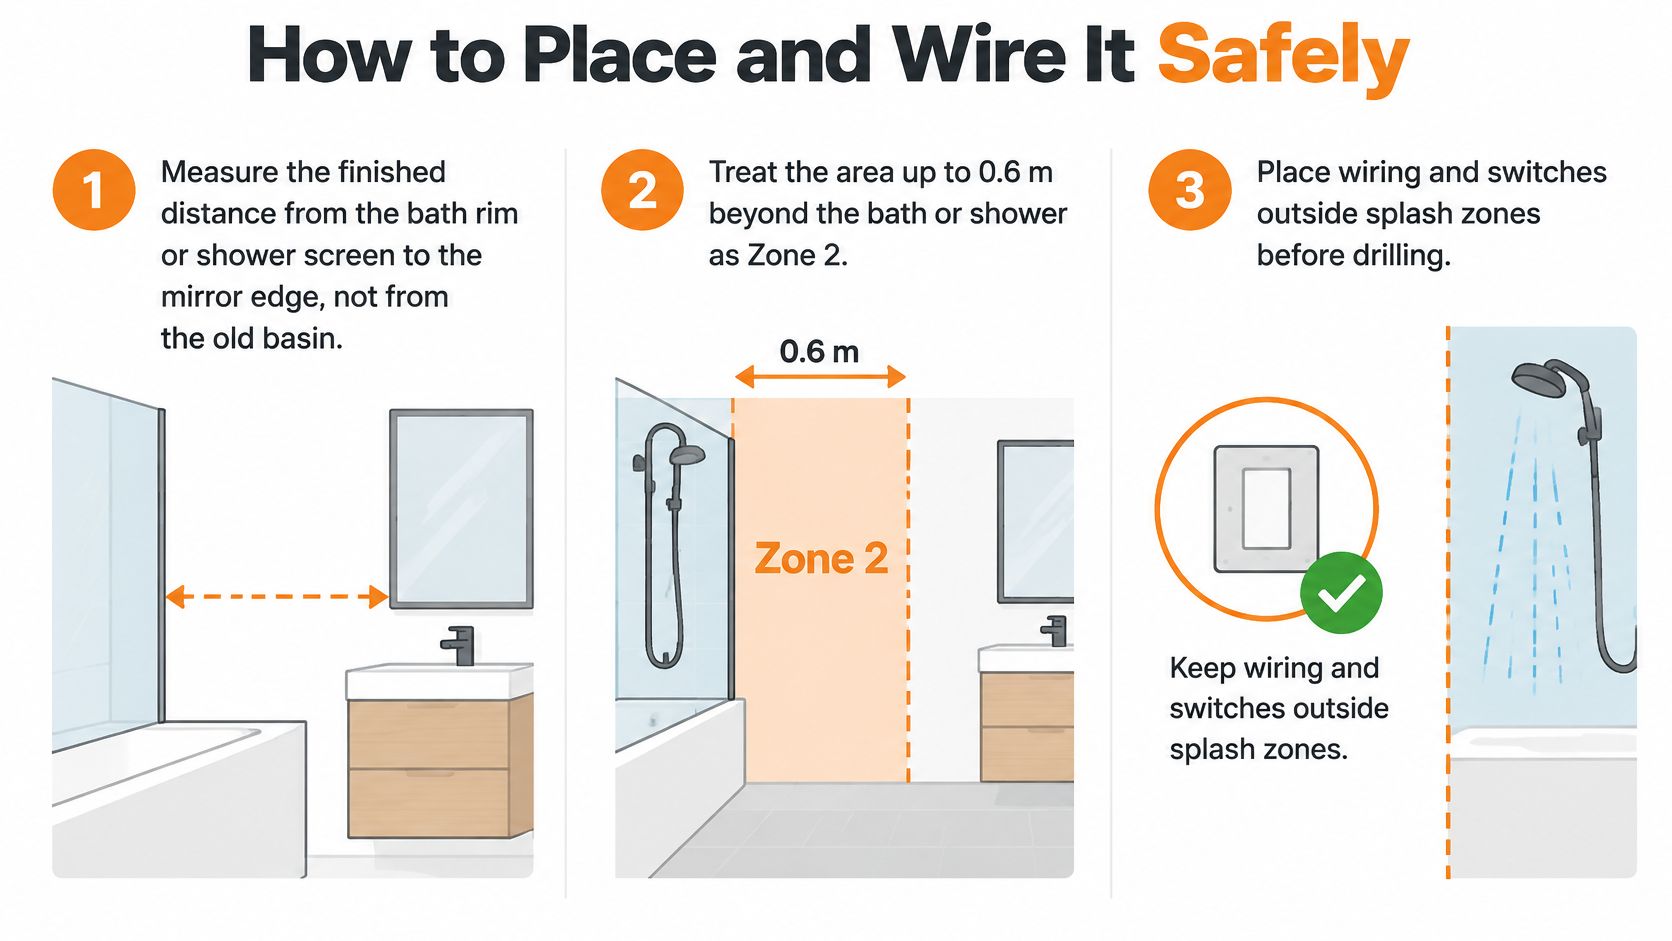
Start with the finished bathroom layout, not the position of the old mirror. A wider vanity, a changed shower screen or thicker wall finishes can alter the available space. Mark the proposed mirror outline with painter's tape before anyone drills.
The placement sequence below helps organise the discussion with your electrician.
Establish the position
- Measure from the finished wet-area features. Use a tape measure to record the distance from the bath rim or shower arrangement to the nearest mirror edge. Don't measure from the old basin and assume it represents the electrical zone. Give the electrician a sketch showing the screen, shower outlet, vanity and proposed mirror.
- Have the zone assessed before ordering. Under AS/NZS 3000:2018, Zone 2 generally extends up to 0.6 m beyond the bath or shower zone, and equipment and accessories there require at least IPX4 protection where applicable. Shower configuration affects the assessment, so a tape measurement alone isn't a compliance decision. Your electrician must establish the actual zone and confirm the product's suitability under the current Wiring Rules.
- Keep it out of direct shower spray. Splash protection doesn't make a mirror a shower fitting. Water directed at the controls, edges or rear enclosure is different from incidental splashing. A vanity beside a frameless shower deserves particular attention because the decorative appearance of the mirror doesn't change its electrical function.
- Check what's behind the tile. Identify whether the wall is masonry, cement-sheet lining or a framed wall. For a stud wall, plan suitable backing or a noggin at the mounting points. Select anchors for the substrate and the manufacturer's stated mirror weight, rather than trusting tile alone to carry the load.
Plan connection and future access
- Choose the cable and control positions before drilling. Ask the licensed electrician to plan the fixed wiring, assess RCD requirements and nominate an appropriate isolation arrangement. Put wiring and switches outside splash exposure where the design permits. The electrician should also confirm that a wall switch won't defeat the intended independent controls.
- Make the driver serviceable. The driver converts the electrical supply into what the LEDs need. Its location should allow safe replacement without breaking tiles or cutting through waterproofing. Ask how the mirror comes off its brackets and whether the cable leaves enough access for the electrician to disconnect it safely.
- Protect the whole assembly. Obtain documentation covering the driver, touch switch, demister pad and cable entry, not merely the glass front. The electrician should make the connection using the specified sealed entry and verify the completed installation. Homeowners shouldn't open or alter fixed bathroom wiring.
A mirror beside a frameless shower needs an electrical assessment, not reassurance that it's sold as a bathroom product.
Permit planning is a separate question from product suitability. For an example of how renovation scope can affect approvals overseas, Aureli Construction's bathroom permit guide provides useful context. It isn't Victorian regulatory advice, so confirm local requirements with your building surveyor or relevant authority.
Keep the installation manual, electrical documentation and purchase record together. Those documents help a future electrician identify components without having to guess what's concealed behind the glass.
Specs That Separate a Useful Mirror
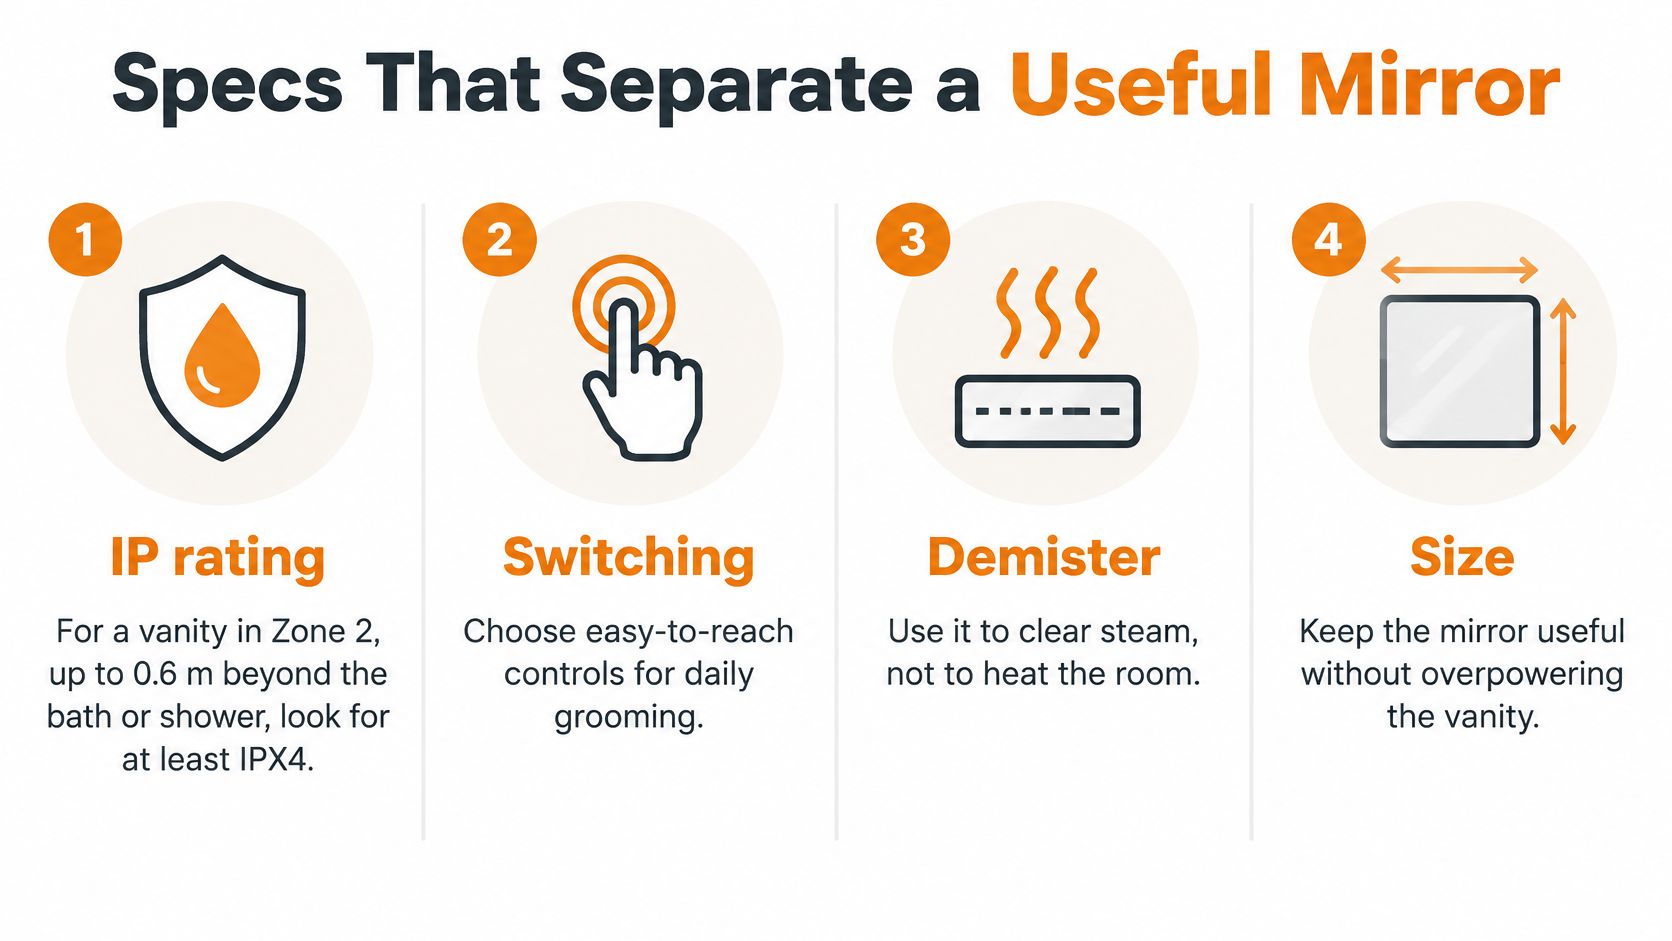
A glossy product page can make quite different mirrors look interchangeable. Compare the specification sheets instead, and distinguish between information the supplier states and features you're assuming from the photograph.
Use this checklist to keep everyday usability in view.
Spec targets for a backlit LED bathroom mirror
| Spec | Practical target | Why it matters | Reject if |
|---|---|---|---|
| IP rating | Documented suitability for the assessed zone, including electrical components and entries | Protects more than the visible glass | Only the glass is described, or no IP rating is stated |
| CRI | A stated high colour-rendering specification | Helps skin and makeup colours look natural | CRI is missing or colour accuracy is unsupported |
| Colour temperature | Warm beside timber and brass; neutral for grooming, with Kelvin values stated | Helps coordinate light with finishes | It says only cool white without a Kelvin figure |
| Light wattage | Separate stated lighting input; compare similar mirror widths | Identifies electrical consumption | Wattage isn't stated |
| Demister load | Separately documented pad load, coverage and control | Makes its operation predictable | One switch forces both functions on |
| Driver | Compatible, electrically isolated where specified, serviceable and protected at the entry | Supports safe operation and future replacement | Driver type and location are undocumented |
Read brightness claims carefully
Wattage measures consumption, not useful light on your face. Ask for light-output information where available, but also check whether the LEDs face forward or illuminate the wall behind the mirror. A bright halo can coexist with disappointing grooming light.
Colour rendering and colour temperature aren't interchangeable. A warmer light isn't automatically more accurate, and a cooler light isn't automatically better for makeup.
Confirm that mounting brackets suit the wall and that controls remain reachable above the basin. If the sheet doesn't identify the IP rating, colour temperature and driver arrangement, leave the mirror off the wet-room shortlist until those details are supplied.
Light Energy and Fog Control
You step out of the shower and want to shave before leaving for work. The mirror light comes on, but the glass is fogged and the cabinet handles are damp. Switching on a demister can help you see; it can't remove the steam that caused the problem.
Separate illumination from moisture removal
Australian Government lighting guidance states that LEDs use about 75% less energy than halogen bulbs and last 5 to 10 times longer. That makes LED illumination a sensible alternative to inefficient vanity lighting, but it doesn't establish the running cost of a particular mirror.
A backlit halo mainly washes the surrounding wall. Frontlit elements direct more light towards the user, so a combined design can offer atmosphere and grooming illumination. Don't remove an existing task light until you're satisfied that the replacement lights your face adequately.
The diagram highlights the separate jobs of the light and heated pad.
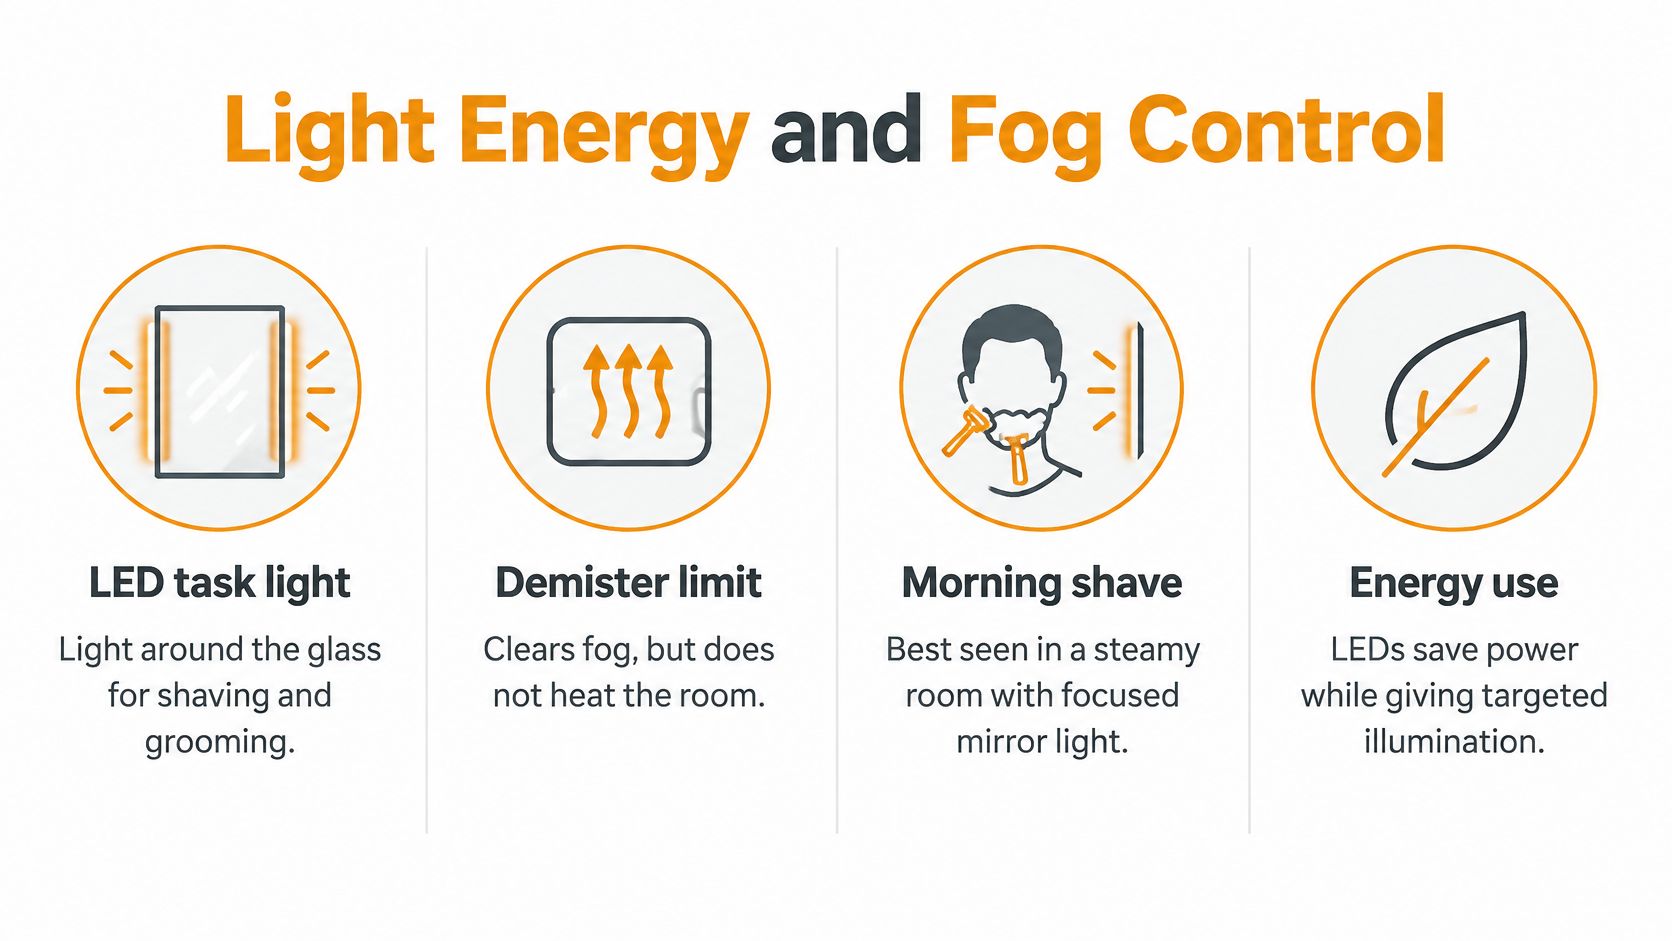
The demister heats a section behind the glass and may take time to clear it. It won't dry tiles, cabinetry, unheated mirror edges or a cold external wall. Neither the pad nor the LED lighting should be treated as bathroom heating.
The Australian Government energy-saving guide recommends running the exhaust fan before, during and after showering, and keeping the bathroom door closed while showering. The room also needs an effective discharge path and replacement air so the fan can move moist air out.
Diagnose the pattern
Fogging symptoms, causes and fixes
| What you see | Likely cause | Fix |
|---|---|---|
| Centre clears, edges stay wet | Pad covers only part of the glass | Expect a viewing patch; improve ventilation rather than increasing light output |
| Whole mirror stays fogged | Fan off, weak or discharging into roof space | Run the fan around showering; confirm outdoor discharge and make-up air |
| Fog returns shortly afterwards | Continuing steam exposure or shower steam escaping | Close the bathroom door while showering and keep the screen shut |
| Fog worst on one side | Cold external wall | Ventilate longer; don't rely on LED heat |
| Patch never warms | Demister unwired, failed or inadequately sized | Have an electrician check the pad circuit and assess damaged seals |
| Haze when dry | Cleaner residue or etched glass | Clean gently; avoid abrasive pads and strong acid |
For a useful explanation of extractor installation considerations, Forward Electrical provides a guide for Dublin homeowners tackling bathroom ventilation. Use it to understand the questions to ask, while your Australian electrician assesses the local installation.
Your actual electricity cost depends on the lighting input, operating hours, tariff and demister use. Separate controls let you clear the glass without leaving unnecessary functions running.
Sizing Shapes and Tile Pairing
Consider a Melbourne bathroom with a single basin and stacked large-format wall tiles. The mirror needs to sit comfortably within that tile field without crowding the shower screen, niche or side wall. Start by taping its outline onto the finished-wall drawing.
This vanity shows how a square mirror can follow the cabinet's geometry.
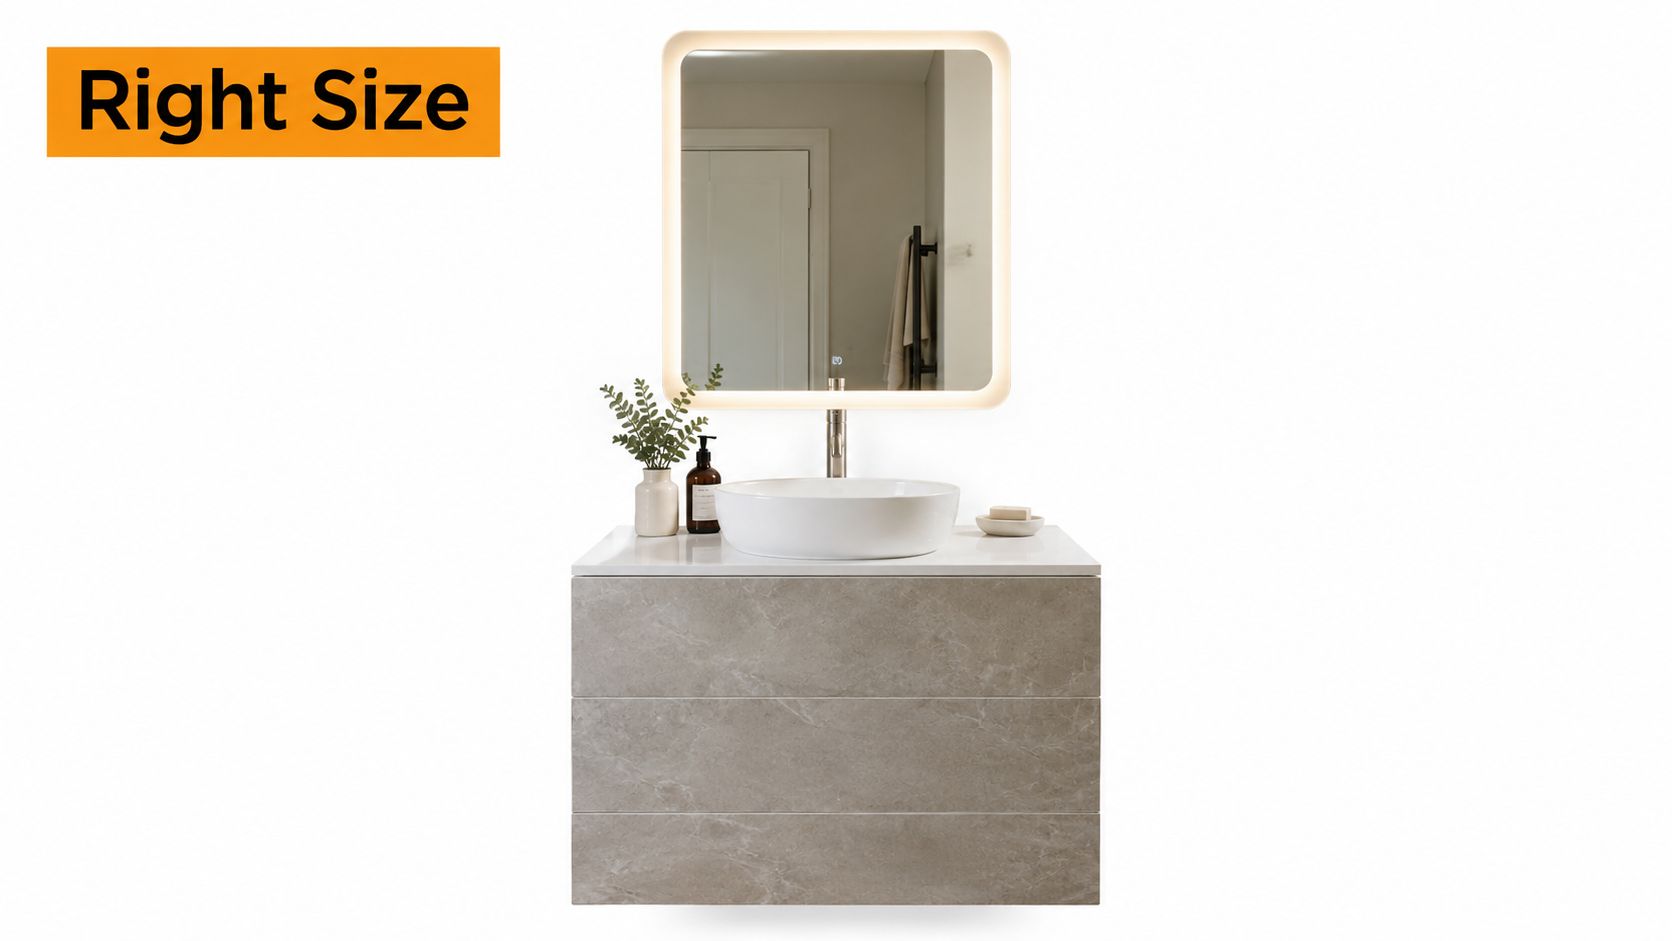
In the March Consumer Intentions Study reported by realestate.com.au, 21% of the 1,534 people surveyed planned to renovate their bathroom. For your own renovation, an illuminated mirror can add functionality without requiring a larger vanity.
Fit the household and the wall
- Width: A mirror slightly narrower than a single vanity often looks settled. Over a double vanity, test one broad mirror against matched mirrors centred on each basin.
- Height: Mark the viewing area for the people who'll use it, including seated users where relevant. Check tap clearance and access to the controls.
- Shape: Rectangular glass follows a stacked tile layout; an arch or pill softens a strong grid.
- Finish: Gloss can reflect the halo strongly. Matt and textured surfaces scatter light differently, so assess a sample beside the intended light colour.
Chrome can work with cooler neutrals, while timber and brushed gold often benefit from warmer illumination. Don't choose floor tiles merely to match the halo: check their suitability and slip rating for the intended floor location.
For layout options, use our bathroom mirror guide. When comparing surface characteristics, tile advice from H-Towne & Around Remodelers offers another perspective on balancing appearance with practical selection.
Use the video as visual context while assessing proportions.
Where possible, coordinate the mirror outline with full tile modules. Avoid leaving narrow cuts exposed at its edges, and check that striking stone-look veining won't be awkwardly interrupted.
Maintenance and Common Questions
Questions before ordering
Can I install it myself?
You can help plan the layout and mark the proposed outline, but fixed bathroom electrical work belongs with a licensed electrician. Agree on who supplies the backing and mounting work so those responsibilities don't fall between trades.
Will it raise the power bill?
Compare the stated electrical loads with the lighting you're replacing and your likely operating routine. An automatic shut-off can be convenient, but check its actual behaviour rather than assuming the demister turns itself off.
Can the LED or driver be replaced later?
Only if the manufacturer supports replacement and the components can be accessed safely. A replaceable driver doesn't necessarily mean the LED strip is replaceable, so request part details and service instructions for both.
Does anti-fog mean the whole mirror stays clear?
No. Ask for the heated area shown on a drawing, then check whether that area aligns with where you'll stand. The useful viewing patch matters more than the anti-fog label.
Which cleaner should I use?
Follow the mirror manufacturer's care instructions and use a mild, non-abrasive product compatible with nearby stone and metal finishes. Apply it to a soft microfibre cloth rather than spraying heavily around switches and edges.
A repeatable upkeep routine
- Keep water off the lower edge. Wipe away droplets with a soft cloth so water doesn't remain against the seal.
- Inspect without dismantling. Look for new edge haze, lifting seals, corrosion or moisture around controls.
- Keep the fan grille clean. Remove surface dust according to the fan's instructions, without opening electrical components.
- Stop using faulty functions. Flickering, unusual switch behaviour or a demister that no longer operates needs professional assessment. Isolate the unit safely and arrange an electrician.
Service precaution: Don't remove a mirror to investigate a fault while its electrical supply remains connected.
For trade buyers, our personalised guidance can help coordinate finish decisions from initial inspiration to final installation. Confirm the mirror model, mounting arrangement and electrician's scope before quoting the job. Record cable positions before the wall is closed so later servicing doesn't begin with guesswork.
Confirm Shape Zone and Tile Match
Order the mirror when you can describe how it will work in the finished bathroom, not just how it looks online. A suitable choice has a confirmed position, usable illumination, accessible controls and a wall layout that supports it.
Put the decision on paper
Write down these details before paying a deposit:
- Finished wet-area distance: Record the bath or shower arrangement and the proposed mirror edge, with the electrician's zone assessment.
- Width and tile alignment: Show the mirror against the vanity, grout lines, niche and screen on the same drawing.
- Light specification: Record the stated Kelvin settings and CRI, then choose the setting you expect to use for grooming.
- Control behaviour: Confirm whether the light and demister operate separately and what happens when the wall supply is switched off.
If documentation is missing, pause the purchase. It's easier to change a shortlist than to return a heavy mirror after discovering that it doesn't suit the installation.
Test the finish before committing
Our LED mirror shapes include arch, pill and rectangular, with shaving cabinets and wall mirrors among the listed types. Choose between them according to the storage requirement and wall geometry, rather than treating every illuminated mirror as the same product.
Our guide to choosing bathroom tiles can help you narrow the wall finish before matching it to the light. View samples upright, because a tile lying flat on a table won't reflect the halo in the same way as a tiled wall.
We provide personalised advice from initial inspiration to final installation. Bring the mirror specification sheet, vanity dimensions and a photo or drawing of the shower arrangement to the design discussion. Builders should settle the electrical scope before tiles are fixed, while homeowners can use samples to decide whether the proposed glow feels comfortable alongside the chosen surface.
Tiles Mate Pty Ltd offers LED mirrors, bathroom finishes, tile samples and personalised design guidance to help coordinate your vanity wall. Visit Tiles Mate Pty Ltd to compare suitable shapes and arrange a consultation with your tile samples and mirror shortlist in hand.