




Round LED Mirror 800mm: How to Choose the Right One
by Shivam Tayal 27 Oct 2026 0 Comments
You're standing in a half-tiled bathroom with a tape measure, a vanity on order, and a phone full of screenshots of the same Round LED Mirror 800mm. It looks right in every photo. The problem is that none of those photos show your door swing, your tapware spout, your electrical zone, or the stud position behind your tiles.
That's where most mirror regrets start. Fit, wiring, fixing and ventilation aren't afterthoughts. They're the buying decision.
Check Whether an 800mm Round Mirror Fits Your Vanity
An 800mm round mirror is 800mm across, so it suits a 750mm to 900mm vanity best. It overhangs a 600mm vanity by 100mm on each side, and it covers about two-thirds of a 1200mm double vanity's span. If your vanity falls outside that sweet spot, the circle can still work, but you'll feel the compromise every day.
Vanity Widths and How an 800mm Round Mirror Fits
| Vanity width | Mirror relationship | Practical note |
|---|---|---|
| 600mm single vanity | Mirror overhangs 100mm each side | Looks bold; keep wall cabinets clear of the circle |
| 750mm single vanity | Overhangs 25mm each side | Near-matching width with strong visual balance |
| 900mm single vanity | Mirror sits 50mm narrower each side | Centred with clean margins; the easiest fit |
| 1200mm double vanity | One 800mm circle covers about two-thirds of the span | Use two mirrors or one wide rectangle for two users |
If you're still settling the vanity itself, work through the sizing and storage trade-offs in this guide to choosing a bathroom vanity before you lock in the mirror. The mirror should follow the vanity centreline, not the wall centreline. On a double vanity, centre each mirror over its own basin, then check that the two circles don't visually merge into one stretched oval.
Placement and Clearances
Aim for a centreline near 1550mm to 1650mm from the finished floor, adjusted for the people who'll use it most. Leave the bottom edge roughly 100mm to 150mm above the splashback or basin top so you can clean behind tapware and water doesn't sit against the lower edge. Check tall spouts, wall cabinets and open shelves against the curve, because a circle steals corner space a rectangle would keep.
Practical rule: Tape an 800mm circle on the wall, mark the basin centre, then check your face from standing height and a partner's height before anyone drills.
Room checks matter just as much. Swing the door fully, open any shaving cabinet nearby, and measure to side walls so the glass doesn't crowd a corner. If you need storage for medicines and chargers, a flat wall mirror won't replace a cabinet, and that's worth deciding now rather than after tiling.
The honest trade-off is simple. An 800mm round can look perfect in a compact room yet gives less edge-to-edge task light and usable reflection than a rectangular mirror of the same width, especially for two people sharing. Tiles Mate lists LED mirror shapes as arch, pill and rectangular, with mirror types covering shaving cabinets and wall mirrors, so compare shapes on function rather than photos. Confirm the circle's dimensions against your vanity, basin and wall measurements before installation. Reflected light also changes how tiles read, and YourHome guidance on condensation recommends running exhaust ventilation during showering and discharging bathroom air outdoors, which shapes where steam and light behave in a small room.
Specs That Decide Quality and Running Costs
Diameter is the easy spec. On an 800mm round, quality shows up in depth, supply voltage, IP rating, colour temperature, lumens, CRI and controls, because those decide whether the light is flattering, safe in its zone and cheap to run.
Physical and Electrical Specs
Start with the body. A slim 800mm mirror around 21mm deep looks sharp on flat tile, but it leaves little room for a driver, cable slack or a junction point behind the glass. A deeper body can be easier to wire and service, though it projects further and needs clearance from taps, shelves and tall users. Frameless edges look clean and show chips sooner, while a framed edge can protect the perimeter and change the cleaning routine.
Confirm supply voltage, low-voltage or mains, the IP rating for the exact installed zone, and written approval for hardwiring before you shortlist. Low-voltage models still need a driver position you can reach; mains-fed units need cable size and switching sorted before tiling. I would not rely on a listing photo for any of that.
Light Quality You Can Actually Judge
- Colour temperature: 3000K feels warm at night, around 4000K stays neutral for grooming, and 5000K to 6500K reads as cool daylight that can flatten skin tones.
- Brightness in lumens: compare similar 800mm models rather than chasing one universal number, because diffuser design changes how much light reaches the face.
- Colour Rendering Index: CRI 80 is acceptable, while CRI 90 or above gives more accurate skin tone for make-up and shaving.
- Controls: look for a touch sensor that works with damp fingers, memory of the last setting, confirmed dimmer compatibility, and a demister you can switch separately.
The running-cost case is strongest when the mirror replaces separate halogen task lights. The Australian Government energy guidance on lighting puts lighting at approximately 5% to 10% of the average Australian household electricity budget, and says LEDs use about 75% less energy than halogen while typically lasting 5 to 10 times longer. Payback still depends on daily run time, tariff and installed cost.
Sticker price is not installed price. Hardwiring adds licensed electrician labour and certification, and moving a cable after tiling adds patching. Compare the LED driver warranty, seal warranty, service access and the cost to get power to the right point behind the glass, then verify dimensions and specifications before installation.
Edge-Lit, Backlit and Anti-Fog Options Compared
Light placement changes what you see in the glass more than the LED badge does. On an 800mm round mirror, judge where the beam lands, how much of the face is lit, and whether the feature still works once steam and hardwiring enter the job.
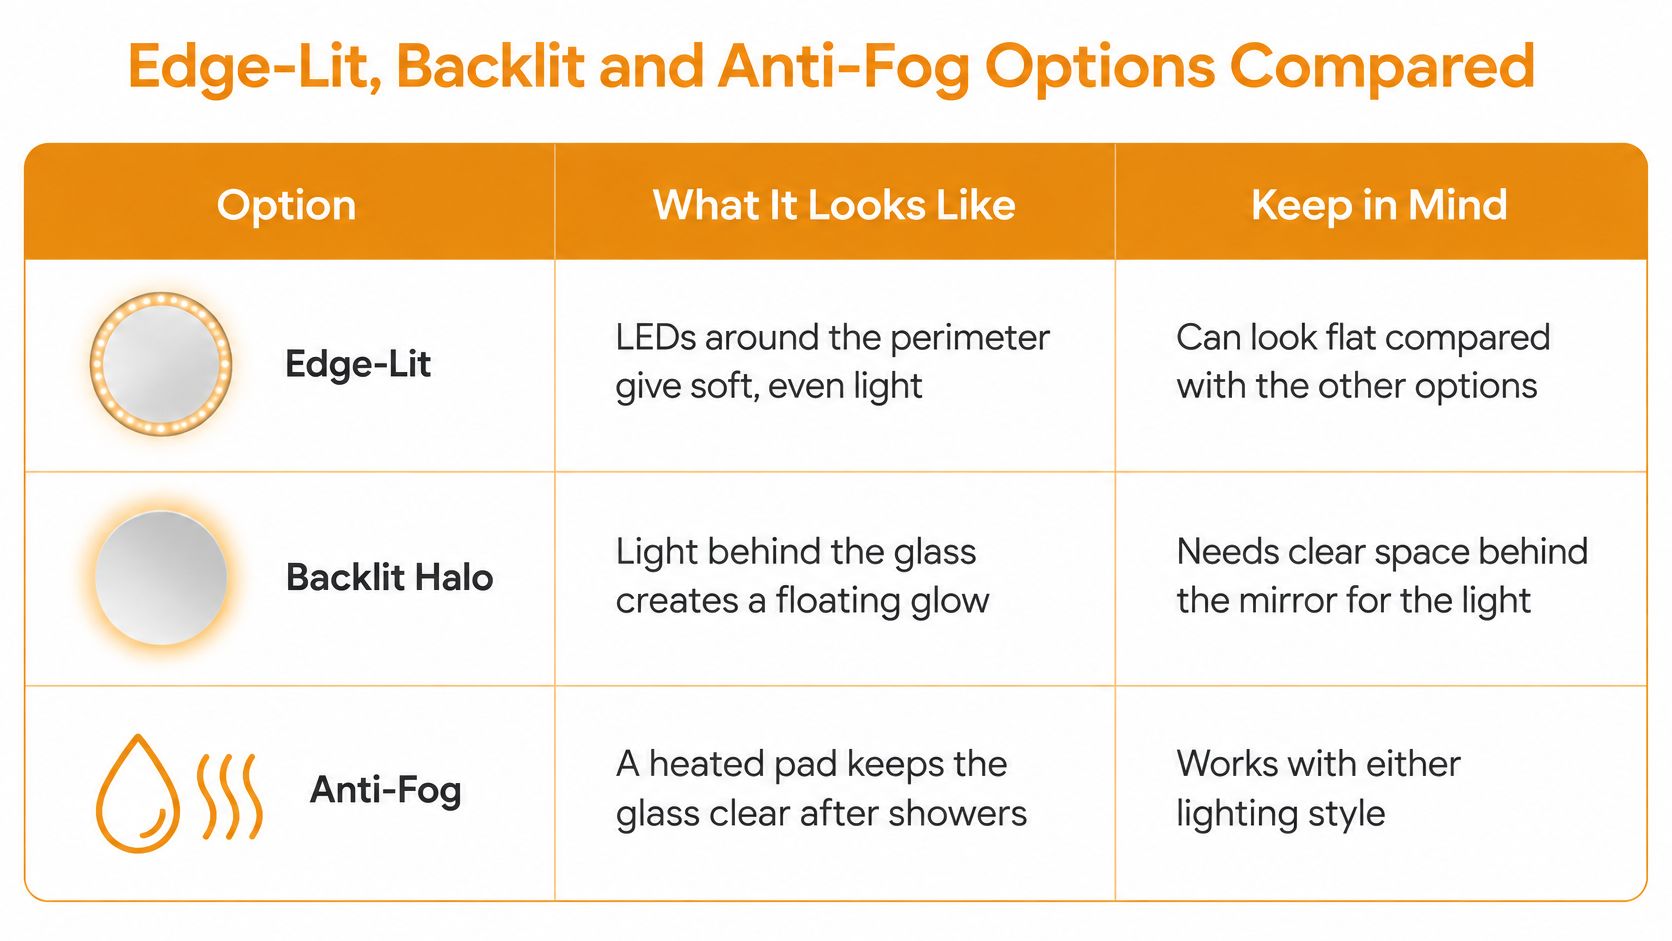
Light Placement and Feature Options Compared
| Option | What it does | Best for | Trade-off |
|---|---|---|---|
| Edge-lit | LEDs around the perimeter throw light toward the face | Soft, even general light | Can look flat for close grooming |
| Backlit halo | Light behind the glass creates a glow on the wall | Ensuites and mood lighting | Weak as a stand-alone task light |
| Front-lit panel | Diffused light across the mirror face | Daily grooming over a basin | Usually costs more than edge-lit |
| Heated demister pad | Warms the glass to stop fog forming | Steamy bathrooms without strong extraction | Clears only the pad area and needs correct wiring |
| Touch and dimmer control | Lets you lower output and set a memory level | Night use and shared bathrooms | Dimmer must match the LED driver |
For daily grooming over a basin, I'd put front-lit or edge-lit with CRI 90 or above first. Direct face light reduces the shadow under the chin and brow that sends people leaning over the vanity. If halo designs are on the shortlist, the SitePro Bathrooms guide to backlit mirrors is useful context for how that wall glow behaves as ambient light when a separate fitting handles close work.
A backlit halo suits an ensuite or feature wall where mood matters and another light source covers shaving or make-up. On its own it can leave the face in relative shadow while the wall looks bright. A halo plus front light combination gives low-output atmosphere and usable task light when you raise the level.
For steam, a heated demister pad keeps working after anti-fog coatings fade, but it draws extra power, clears only the heated patch, and belongs on a circuit planned before tiling. Read this practical guide to LED mirrors with a demister before assuming the whole 800mm circle stays clear. A bathroom mirror label does not prove position suitability either: electrical compliance follows the installed zone, not the diameter, so match the IP rating to the zone table and use a licensed electrician for hardwiring, RCD-protected circuits or a demister feed.
Family bathroom: front-lit plus demister. Ensuite: halo plus front light with dimming. Powder room: edge-lit is usually enough, since nobody is showering there.
Electrical Zones and IP Ratings Explained
Two bathrooms can take the same 800mm round mirror and place it in different legal positions. The deciding factor is where the glass sits relative to the bath, shower and basin, not its diameter. That position sets the minimum ingress protection the mirror needs, and it decides how much of the job belongs to a licensed electrician.
Wet-Area Zones and Minimum IP Ratings for a Bathroom Mirror
| Zone | Typical position | Minimum IP rating | Supply and protection note |
|---|---|---|---|
| Zone 0 | Inside a bath or shower tray | IPX7 | Maximum 12V supply; check the spec sheet |
| Zone 1 | Directly above a bath or shower tray within the zone height | IPX4 | Licensed electrician; 30 mA RCD on the circuit |
| Zone 2 | The band beyond Zone 1 around a bath or shower | IPX4 | Confirm with electrician if the mirror is near a shower |
| Outside Zones 0 to 2 | Most basin-only wall positions | IPX4 or higher for a damp bathroom | RCD protection on the bathroom circuit; electrician confirms the position |
Zone 0 is inside the bath or shower tray itself, so a mirror shouldn't be your plan there. Zones 1 and 2 cover the wettest wall areas above and beside baths and showers, where splashing and steam are expected.
A basin on its own usually sits outside Zones 0 to 2, and that is where most 800mm mirrors end up. Compact Melbourne bathrooms complicate it. When the vanity sits beside a shower screen, or the shower runs without a screen at all, the mirror's edge can reach into Zone 2 even though the centreline looks safely over the basin. Measure from the edge of the glass, not the middle.
Don't guess the zone from a product photo. Measure from the bath rim, shower tray and screen line, then get the zone confirmed on site.
Protection and Paperwork
Bathroom circuits need a residual-current device rated at 30 mA or less. That protection lives in the switchboard or circuit, not in the mirror, so your electrician has to verify it rather than assume an older home already complies. Renovations in established houses regularly uncover circuits that predate current expectations.
Ask for the specification in writing before you buy:
- IP rating: Stated by the manufacturer, matched to your confirmed zone.
- Supply voltage and wiring method: Plugged in, hardwired, or low-voltage with a separate driver.
- Hardwiring approval: Explicitly approved, not implied by a short lead or a removable plug.
- Cable entry point: Centred or offset, so the power point lands behind the glass.
That last point matters more on a round mirror than a rectangle. A centred cable entry gives you one viable position for the supply; an offset entry dictates which way the mirror hangs and can clash with a driver box that needs clearance behind the glass.
A plug-in mirror isn't automatically suitable near water, and cutting off a plug to hardwire a unit that wasn't approved for it can void warranty and create a compliance problem. In Victoria, fixed electrical work must be done by a licensed electrician, who issues a Certificate of Electrical Safety.
Take five questions to that electrician: Which zone is this in? Is the IP rating sufficient in writing? Is it approved for hardwiring? Is the circuit RCD-protected? Where exactly should the cable enter?
How to Mount a Round LED Mirror Safely
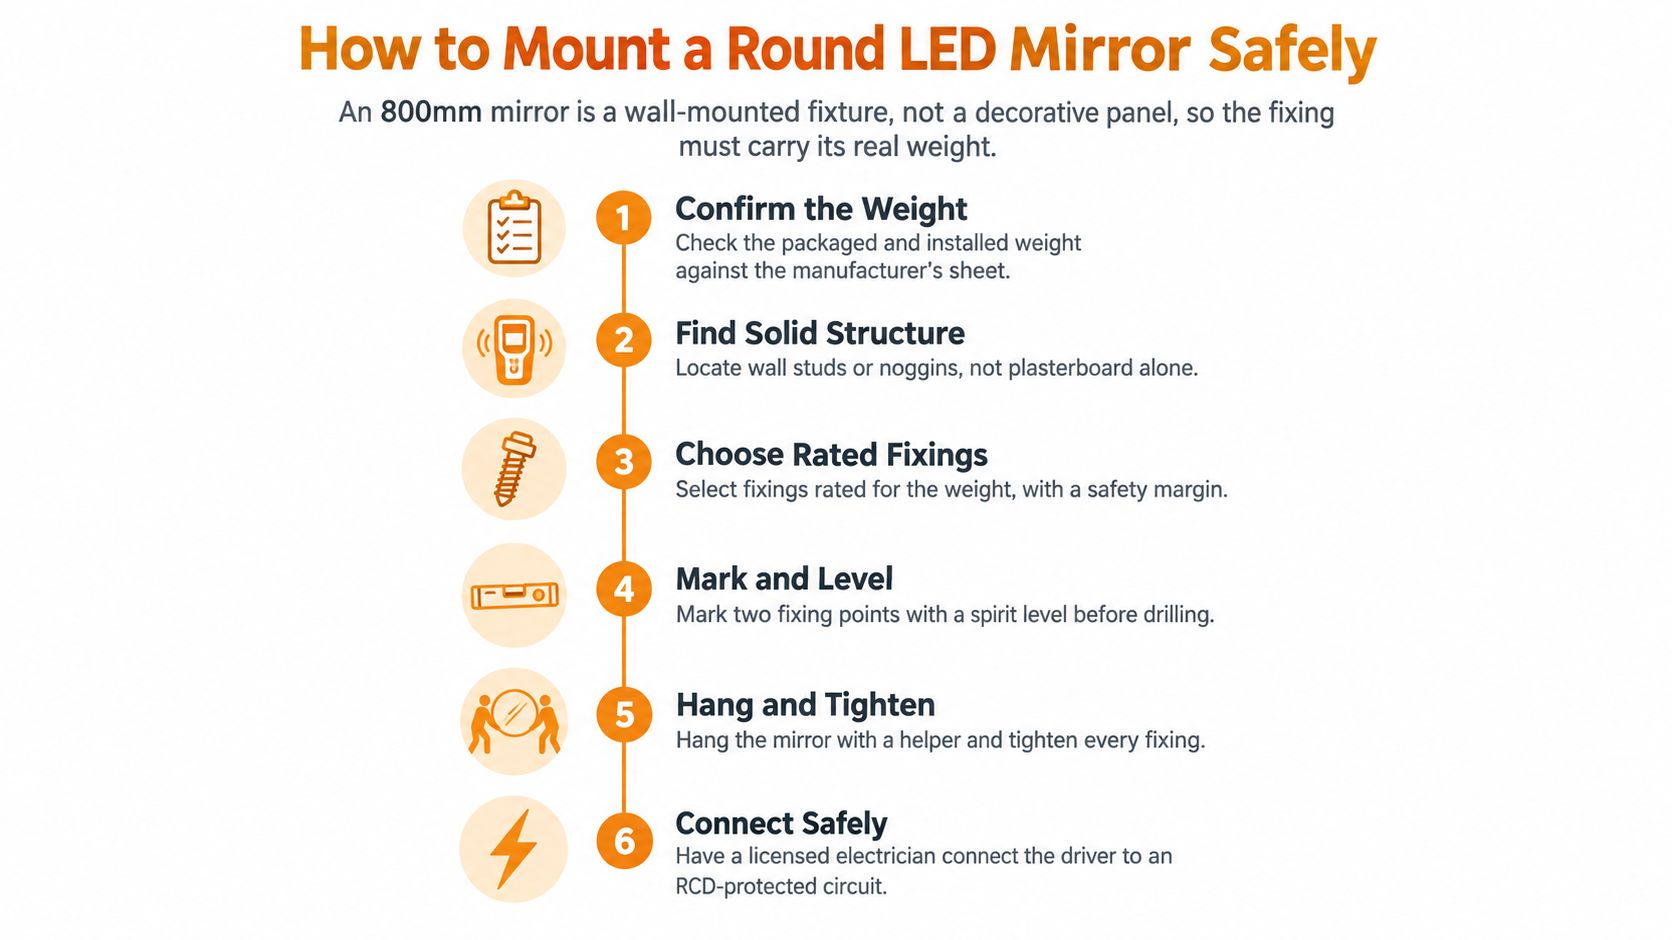
The costliest mistake happens before anyone picks up a drill: treating an 800mm LED mirror like a picture frame and relying on tile adhesive alone. This is a wall-mounted fixture with real mass and live wiring behind it. Detachment, cracked tiles and broken glass almost always trace back to fixings that were never rated for the load.
The order below is the safe sequence, from first measurement to the last check.
- Confirm the weight: Check packaged and installed weight on the spec sheet, because anchors must be rated for the actual mass, not a guess.
- Confirm size and height: Recheck diameter, centreline and bottom-edge clearance against the vanity, basin and spout before marking.
- Locate solid structure: Use a stud finder to find studs, noggins or masonry, with a small test drill in an inconspicuous spot if readings are unclear.
- Set the cable route early: Decide cable entry and switch position before the wall is closed or tiled, with supply behind the mirror at its connection point.
- Mark and level: Mark the centreline and fixing points, then level with a laser or spirit level. A round mirror hides small level errors, but its light ring and brackets don't.
- Drill tiles correctly: Use a tile-drilling bit at low speed with water, tape the surface to stop wandering, and fit nylon or equivalent plugs suited to the substrate.
- Fit mechanical support: Use a split batten or rated anchors to transfer load into framing or masonry, and treat any manufacturer-approved adhesive as secondary support.
- Terminate and test: Have the electrician connect and test the circuit and RCD before the mirror is finally hung, while access is still easy.
- Check concealed services: Verify screws and battens don't contact hidden wiring or plumbing, especially on walls shared with showers.
The Australian LED mirror installation guide from BelBagno recommends wall anchors rated for the mirror's actual mass or a manufacturer-approved adhesive system, along with tile-drilling methods that use nylon or equivalent plugs on tiled walls. Brief your installer against that standard, and verify the mirror's dimensions and fixing points against the spec sheet before installation starts.
This short video shows the physical handling and alignment involved, and makes clear why two people should lift and position the glass.
Hang it once, check the level and light operation, then tighten fixings evenly. Repeated lifting on and off the brackets is how edges get chipped.
Fog, Moisture and Upkeep in Melbourne Bathrooms
An anti-fog label doesn't solve fogging. On a cool Melbourne winter morning, warm shower steam hits cold glass in a small room and condenses. A heated pad only clears the area it warms, so unheated edges can mist while the centre stays clear, and no pad compensates for a fan that barely moves air.
Ventilation Does the Heavy Work
The National Construction Code provisions on condensation management specify a minimum bathroom exhaust flow rate of 25 L/s and require certain bathroom exhaust systems to be interlocked with the light and run for at least 10 minutes after switch-off. Run the fan during every shower, not after you notice the mirror has fogged. Leave a door undercut or gap for make-up air, because a sealed door can starve even a correctly sized fan.
Check where the duct goes. A fan that discharges into the roof space moves moisture from your bathroom to your ceiling cavity, where it feeds mould and damp insulation. It should discharge outdoors through a roof cowl, eave vent or wall outlet.
If your mirror fogs daily, fix extraction first and demisting second. Reversing that order buys you a clear centre circle in a damp room.
Mirror Symptoms, Likely Causes and Fixes
| Symptom | Likely cause | Fix |
|---|---|---|
| Fog stays after showering | Fan too short or not running | Run the fan during and for 10 minutes after |
| Fog only at the edges | Unheated perimeter | Use edge heat or a demister pad |
| Black spots around the frame | Condensation on sealant | Clean, dry, and check fan discharge |
| Flicker or hum on the dimmer | Dimmer not matched to the LED driver | Fit an LED-compatible dimmer |
| Cloudiness inside the glass | Seal failure or moisture ingress | Claim under warranty; electrician to inspect |
Black spots are usually mould on sealant or dust held in condensation, not a fault inside the glass. Clean the area, dry it fully, then fix the moisture source or it'll return within weeks. Cloudiness you can't wipe from the front surface is different. That suggests moisture behind the mirror coating or inside a sealed unit, which is a warranty conversation, not a cleaning problem.
A Simple Upkeep Routine
Wipe monthly with a clean microfibre cloth and a non-abrasive, non-ammonia glass cleaner. Spray the cloth, not the mirror edges, so liquid doesn't run into the backing, frame joint or electrical housing. Dry the lower edge after heavy steam, because that's where water sits longest.
Don't use scouring pads, vinegar soaks or bathroom mould sprays on the glass edge and touch sensor. If the unit flickers, the touch control stops responding, or you smell hot wiring, switch it off and have a licensed electrician inspect connections, driver access and moisture ingress. For hardwired mirrors, future replacement access should've been planned at installation, so keep the model number, driver details and fixing method in your renovation file.
Pairing the Mirror with Tiles and Finishes
Put a round mirror against a wall of 600x1200 tiles and the circle becomes the focal point almost automatically. The large format has few grout lines, so there's little visual competition, and the curve breaks up a room built from straight vanity edges, basin rims and screen lines.
The finished effect is easier to judge from a complete wall than from a product cut-out.
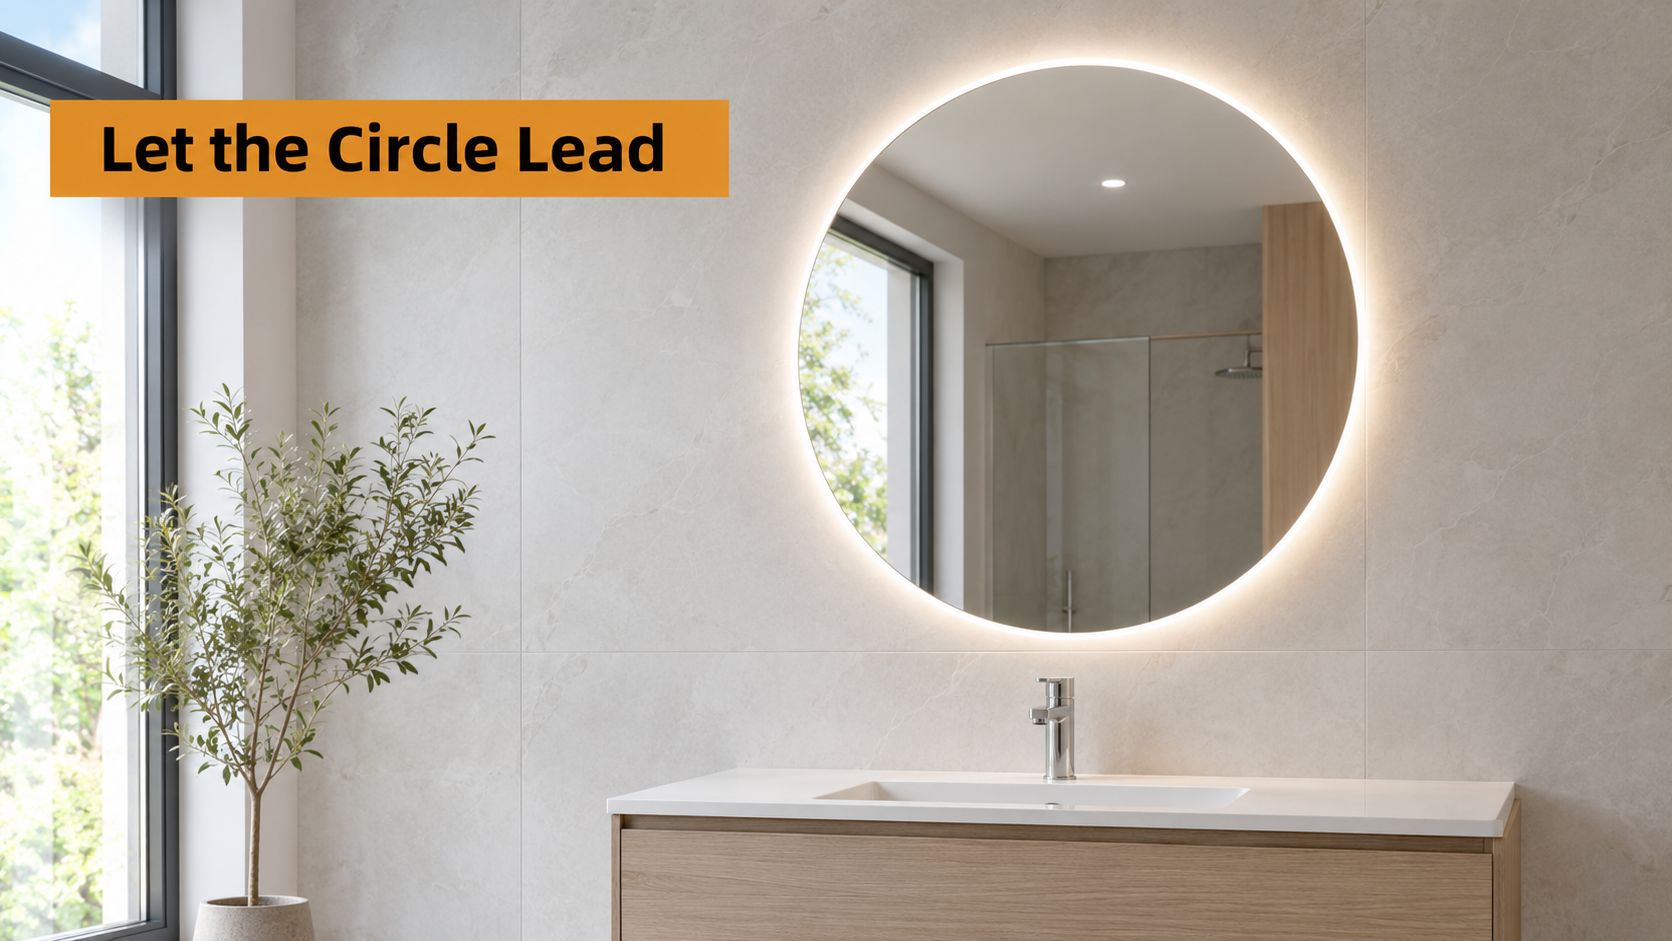
Four Pairings That Work
- Scandinavian: Gloss white subway tile in 75x300, warm 3000K light and brushed nickel. The small tile adds texture while the warm light stops white surfaces feeling clinical.
- Marble-look: Large-format marble-look tiles, a black or brass frame and 4000K light. Neutral light shows veining clearly without turning grey tones blue.
- Industrial: Matt grey 300x600 or 600x600 tiles, a black frame and cooler light. Matt surfaces absorb glare, so the light ring reads as a deliberate outline.
- Small-room trick: Lighter tiles with grout matched closely to the tile. Fewer contrasting lines make the wall recede and the reflection feel larger.
If you're gathering schemes, compare these combinations against broader modern bathroom tile ideas and narrow to one direction before choosing grout. Grout colour shifts under LED light more than many homeowners anticipate. A mid-grey grout that looks soft in daylight can read almost black beside a bright front-lit ring.
Reflection and Metal Rules
Gloss tiles around the mirror reflect light back into the room and make a small bathroom feel brighter, but they also bounce the LED ring and can create glare at eye level. Matt tiles absorb that spill and calm the scene, which suits ensuites used at night. Neither is better in isolation. It depends on whether the room needs brightness or restraint.
Use one metal across tapware, mirror frame and light fittings where you can. Black tapware with a brass frame and chrome accessories gives you three competing finishes in a small sightline, and the mirror ends up looking like the mistake even when it isn't. Frameless glass is the safe option if your tapware finish is already fixed and hard to match.
Test the pairing in the room. Prop a sample tile behind where the mirror will sit, tape up a printed photo at full 800mm width, and view it at night under light as close as possible to your chosen colour temperature. Then check the same tile and grout sample in morning daylight. If it works in both, it'll work once it's grouted and wired.
Confirm Your Mirror Choice Before You Order
Don't order a Round LED Mirror 800mm from diameter and a photo alone. Run this checklist and get the answers in writing:
- Vanity and centreline: Measured width, basin centre, mirror height and tapware clearance confirmed on the wall.
- Zone and IP rating: Installed zone identified, with the manufacturer's IP rating stated for that position.
- Wiring method: Supply voltage, cable entry point and explicit approval for hardwiring if you don't want a visible lead.
- Wall and fixings: Substrate located, installed weight known, and rated mechanical fixings selected.
- Exhaust: Fan capacity, run-on behaviour and outdoor discharge point checked.
- Light quality: Colour temperature, CRI, brightness and dimmer compatibility matched to how you'll use the mirror.
- Warranty: LED driver, demister, touch control and mirror seal covered, with replacement access planned.
Ask the supplier for those specifications before ordering, then have your licensed electrician review the spec sheet and wall position before the tiler starts. That order saves you moving cables through finished tiles. Customers must verify dimensions, colours, quantities and other specifications before installation, and our range includes tapware, showers, toilets, basins, bathtubs, kitchen sinks and LED mirrors, so you can check the mirror against the fittings it'll sit with rather than in isolation.
Choosing an 800mm round LED mirror alongside your tiles, vanity and tapware is easier when you can compare dimensions, finishes and fitting specs in one place before installation. Browse the range and get practical help matching the mirror to your bathroom layout at Tiles Mate Pty Ltd, then confirm the final specifications with your electrician before you order.