




Bahtubs
by Shivam Tayal 19 Oct 2026 0 Comments
A typical Australian bath can hold 400–600 litres, while a bath session uses roughly 150–200 litres. That makes choosing a bath more than an aesthetic decision: you need to account for water use, plumbing, structural support, tile layout and waterproofing.
You might be standing in a Melbourne bathroom with a new tub on the floor and a tiler asking where the wall tiles should finish. It's tempting to treat the bath as a fixture you can choose after the rest of the room, but by then its length, rim height and waste position may already conflict with the tile set-out or plumbing. Choose the bath early, then coordinate the surrounding work around its actual dimensions.
Why the Bathtub Decision Comes First in a Melbourne Renovation
A bath is not a towel rail. Its footprint and connections affect the work behind the finished surfaces, so changing the specification late can mean moving plumbing, altering framing or redoing tile.
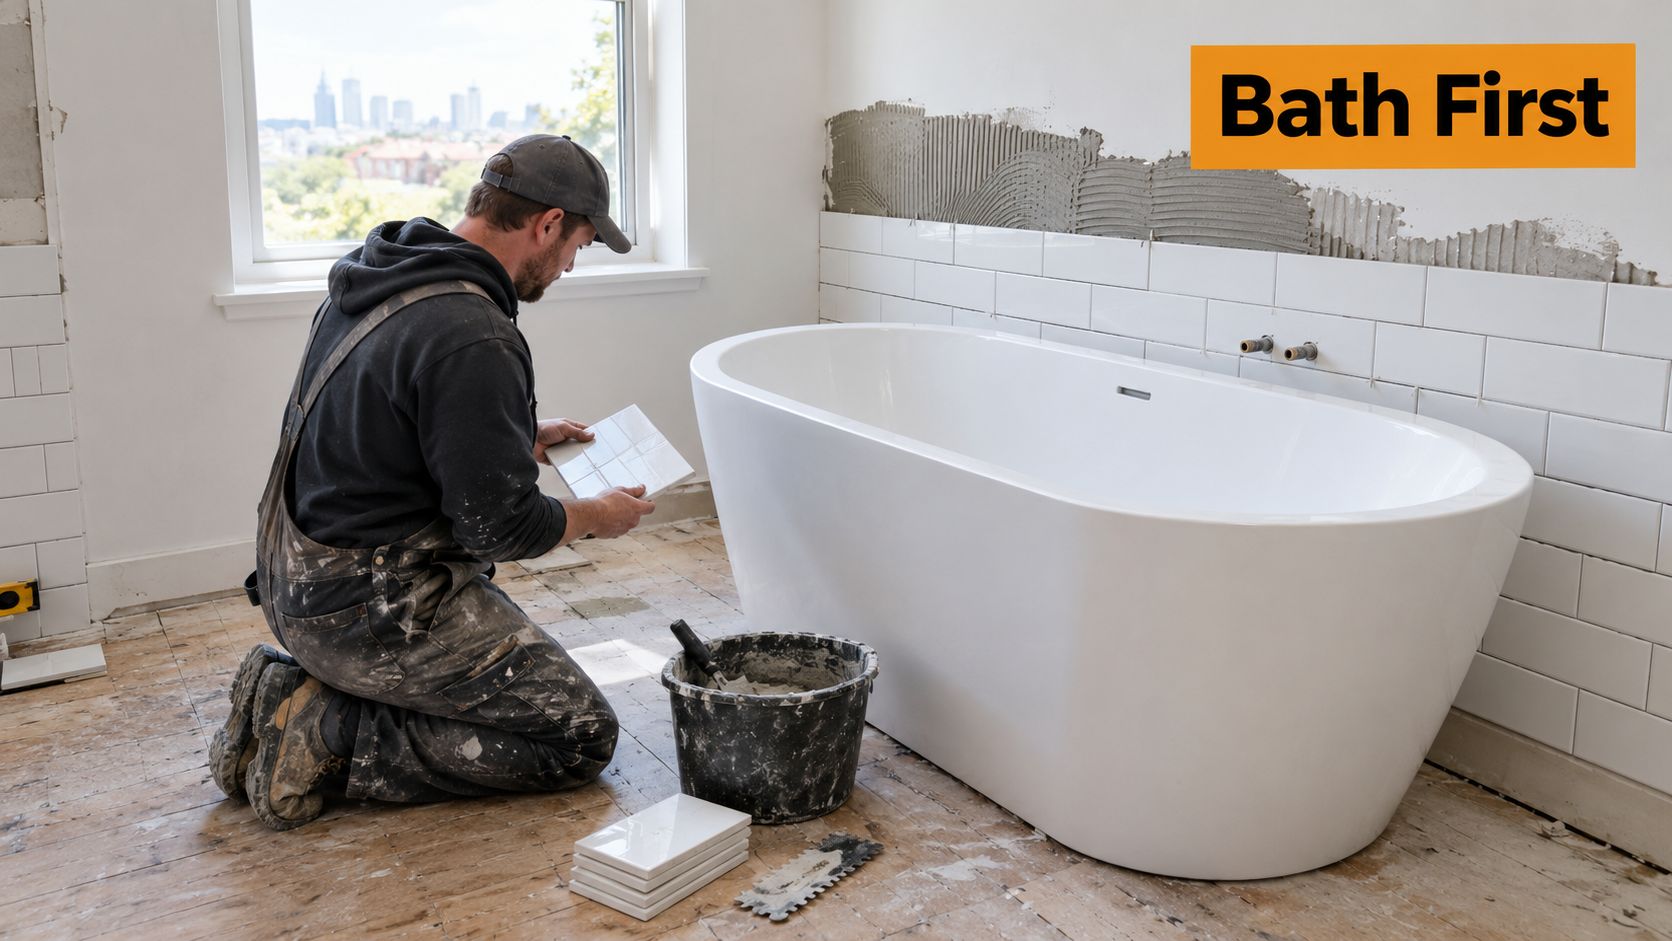
Start with the room, not the showroom. Measure the finished wall-to-wall space, the doorway and the route into the bathroom. Then compare those measurements with the manufacturer's external bath dimensions, including the rim and any projections. Confirm the waste location and tap arrangement before the plumber sets out pipework.
Set the bath before setting the tile
Once the bath is selected, the designer, plumber, waterproofer and tiler can coordinate their work. The bath's rim height affects where a tile course or feature band lands. Its position determines which walls and junctions need protection, while its waste and overflow locations constrain plumbing.
This is why I don't recommend ordering tile and hoping the bath will fit the grid later. For a practical sequence covering the wider renovation, use this bathroom renovation planning guide, then confirm the bath specification on site before trades begin.
Site rule: Don't sign off the tile set-out until the actual bath dimensions and waste position are confirmed.
A short site meeting can resolve those details before materials are ordered. That's far cheaper than removing finished tile or reopening the floor because the selected bath differs from the assumed model.
The Main Bathtub Types and Where Each One Works Best
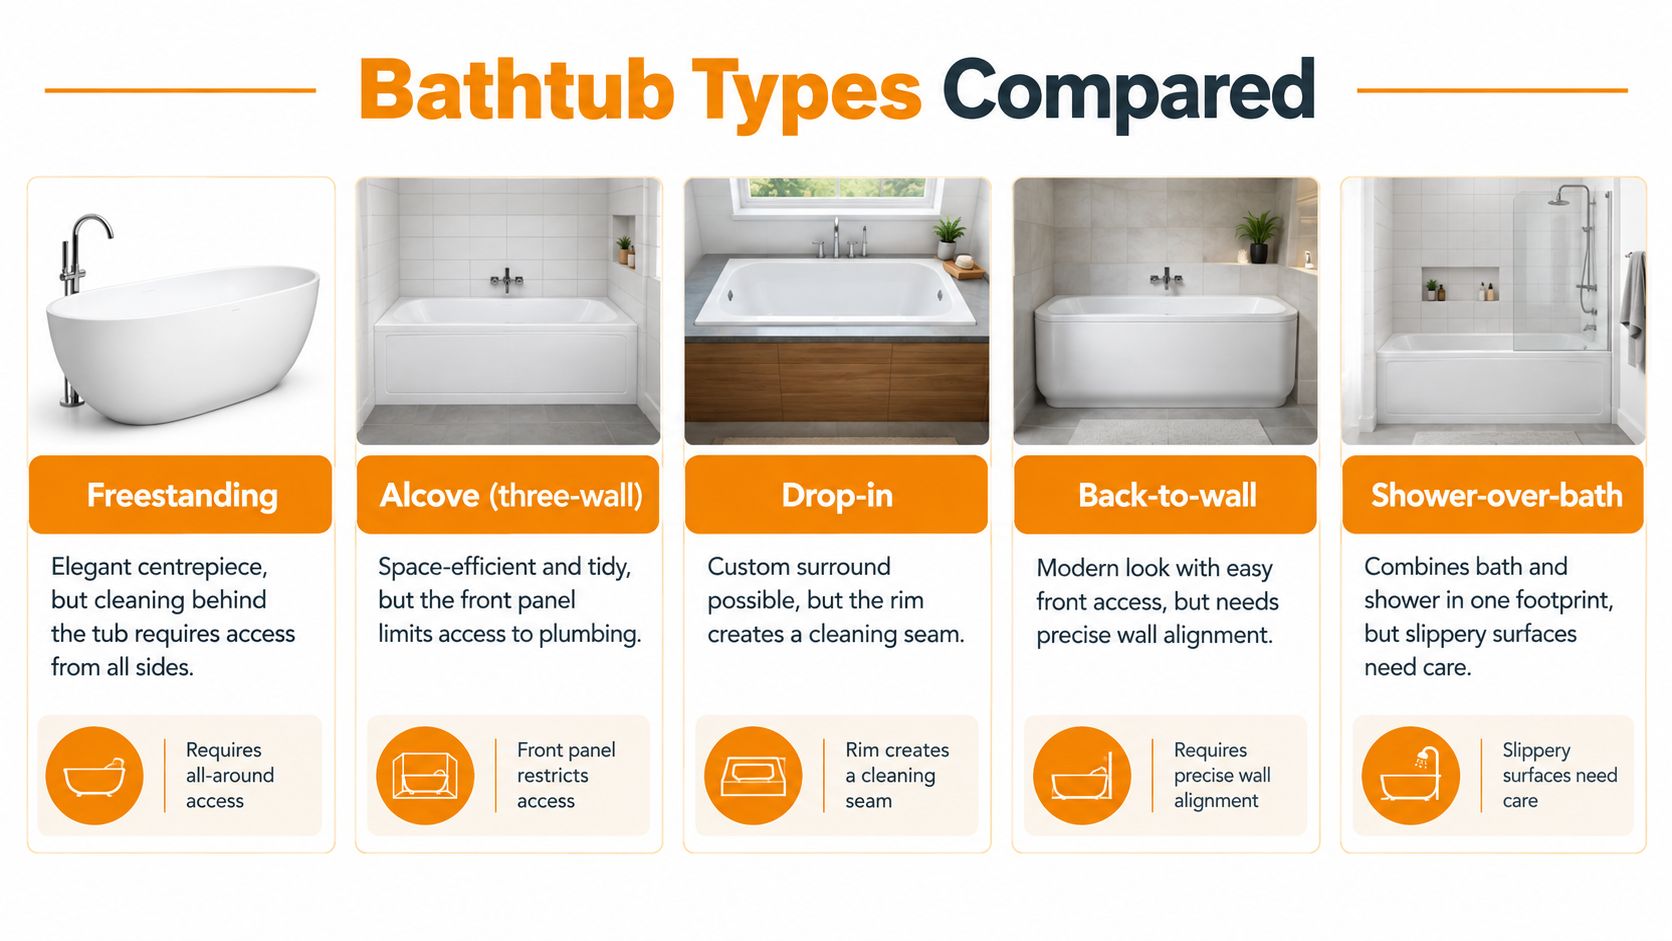
Choose the bath type to suit the room's use and geometry. A freestanding tub is a sculpture on a plinth: it needs breathing room and access around it. An alcove bath is more like a fitted wardrobe, making use of a wall-to-wall recess with fewer exposed sides.
Match the style to daily use
- Freestanding: Makes a strong visual feature, but you need to clean behind it and reach the floor around its full perimeter. Check that the room leaves enough circulation space.
- Alcove: Fits between three walls, so it uses floor area efficiently and can work well with a tiled surround. The front panel can make plumbing access less convenient.
- Drop-in: Sits within a deck or surround, giving you room to create a ledge. That rim creates an extra seam to keep clean, and the deck must be coordinated with the tile finish.
- Back-to-wall: Sits flush against a wall, combining a sculptural shape with easier front access for cleaning. It depends on accurate wall alignment and careful detailing at the rear.
- Shower-over-bath: Combines bathing and showering in one footprint. It can suit a compact family bathroom, but the surface, screen and entry need to work safely for everyone using it.
Think about where the taps can go, whether a screen needs to open, and how you'll clean the joints around the bath. A freestanding model can look out of place if there's no practical way to reach behind it; an alcove model can feel cramped if its screen obstructs entry.
This comparison is a starting point, not a substitute for a measured plan. The right option is the one that fits your room and routine, not the most striking display model.
Sizing a Bathtub for Real Victorian Bathrooms
Many conventional Australian residential baths are around 1500–1700 mm long, 700–800 mm wide and 400–450 mm deep. Those dimensions affect more than comfort. They determine whether the bath can get through the doorway, where the waste falls relative to the floor structure and how the tile courses meet the rim.
Check the external dimensions
A product described as a 1700 mm bath may have external details that change how it fits. Use the manufacturer's dimension sheet and confirm the rim thickness, waste and overflow positions, and any projection beyond the nominal length. Measure the path from the entry to the bathroom as well as the final space. A tub that fits the room can still be impossible to manoeuvre into it.
Tile modules matter, too. Against 600 mm wall tiles, a 1700 mm bath leaves a 100 mm remainder, which may call for a deliberate cut or feature strip. A 1600 mm model gives a different set-out; whether it works better depends on the wall and the chosen tile layout.
| Bath length | Bath depth | Rim height above finished floor | Tile-module reminder |
|---|---|---|---|
| 1500–1700 mm | 700–800 mm | Confirm from manufacturer's drawing | Set out the tile against the actual bath and wall dimensions |
| 1600 mm example | Confirm model dimensions | Confirm from manufacturer's drawing | Check how the selected tile module lands at each end |
| 1700 mm example | Confirm model dimensions | Confirm from manufacturer's drawing | Allow for the 100 mm remainder against 600 mm tiles |
Depth and rim height deserve equal attention. A deep bath can put the rim higher than expected, changing the tile finish and splash detailing. A wide bath can crowd the room or prevent a shower screen from opening properly. A narrow model may save space but feel uncomfortable to use.
For layout ideas suited to tighter rooms, see Flacks Flooring suggestions. Use them as inspiration, then check the dimensions against your doorway, circulation space and tile grid.
Materials Compared Acrylic Steel Stone and Cast Iron
Bath material affects how the tub feels, sounds and behaves under load. Think of acrylic as a kayak, pressed steel as a saucepan, stone composite as a chopping board and cast iron as a skillet. Each has a clear personality, but suitability depends on the room and the floor beneath it.
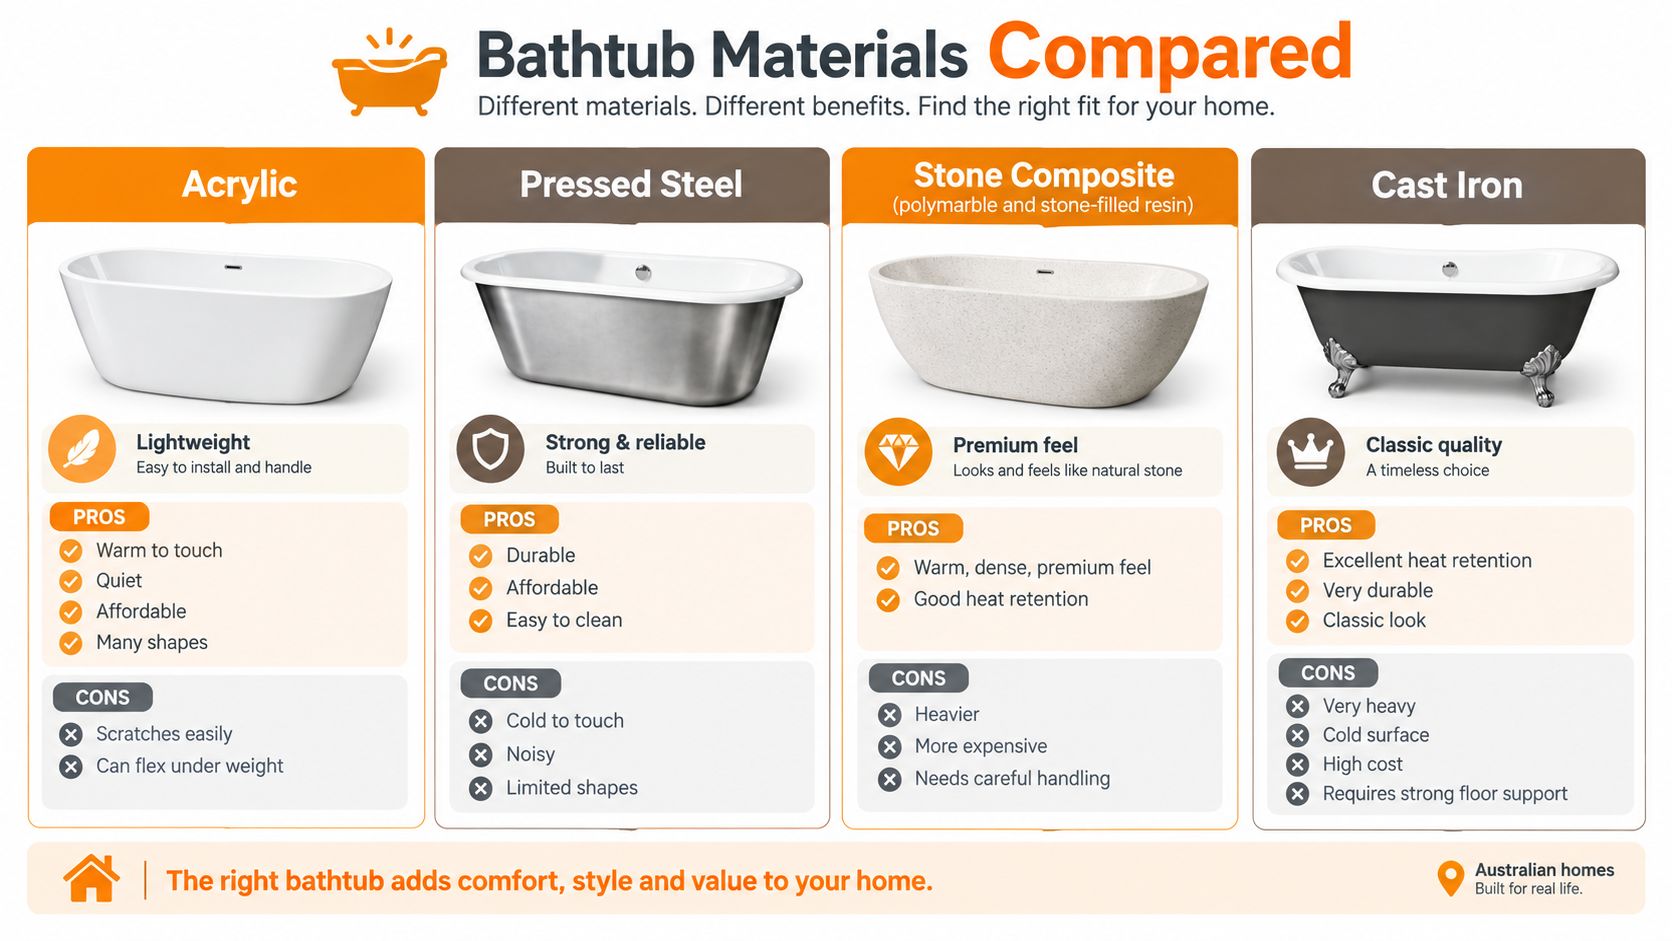
Acrylic is light, warm to the touch and available in many shapes. It can suit an upper-storey bathroom where moving a heavier tub is a concern. The trade-off is that it can scratch or flex, depending on its construction and support.
Pressed steel is durable, easy to clean and usually an economical choice for a family bathroom. It can feel cold and sound noisier when water hits it, and the shapes are often less varied. Good installation and a properly prepared base matter.
Match weight and feel to the project
Stone composite, including polymarble and stone-filled resin, feels solid and retains warmth well. That density contributes to a premium feel, but it also makes handling and installation more demanding. Check the product's weight and installation requirements rather than assuming the floor can take it.
Cast iron offers a classic appearance and strong heat retention, but it's very heavy and costly. In a heritage home, it may suit the architecture, provided the floor has been assessed and can support the load.
My straightforward recommendations are:
- For an upper-storey apartment: Choose a well-supported acrylic bath unless a structural assessment supports a heavier alternative.
- For a primary ensuite: Consider stone composite when a solid feel and heat retention are priorities, and the floor can support it.
- For a budget-conscious family bathroom: Pressed steel is a practical option if you're comfortable with its cooler, noisier feel.
- For a heritage renovation: Use cast iron only after confirming access and floor support.
Don't compare materials on the showroom feel alone. Ask how the bath is supported, what the installation requires, and how the maker expects scratches, chips or surface damage to be handled.
Waterproofing and Plumbing Around the Bath
Where a bath is within 75 mm of a wall, the NCC Housing Provisions require that wall to be water-resistant to at least 150 mm above the vessel, across its full length. Exposed surfaces below the bath lip must also be water-resistant, and the wall–floor junction must be waterproof along the full extent of the bath. See the NCC wet-area waterproofing and water-resistance requirements.
That placement can reduce splashing onto the wall, but it concentrates attention on the bath rim, junctions, shelves and plumbing penetrations. If a tap or spout passes through a horizontal surface, that penetration needs waterproofing. The fitting should be sealed to the substrate or detailed using a suitable proprietary flange system.
Coordinate the sequence before tiling
Confirm the bath set-out and waste position first. Then agree on one coherent compliance pathway under the NCC Housing Provisions or AS 3740, document the waterproofing details, and have penetrations sealed before tile goes down. Don't combine requirements from different pathways without clear documentation.
The costly mistake is sending the tiler to work around a bath that has been placed but not prepared. The tiler needs the final position, rim height, tile finish and membrane details, not a rough guess. For context on coordinating the plumbing, find bathtub plumbers and confirm responsibilities with the licensed professionals on your project.
For a Melbourne renovation, treat bath set-out, membrane, tile layout and plumbing as one plan. A small design review before ordering can catch a conflict while it's still easy to fix.
Coordinating Bathtubs With Tile and Finish Choices
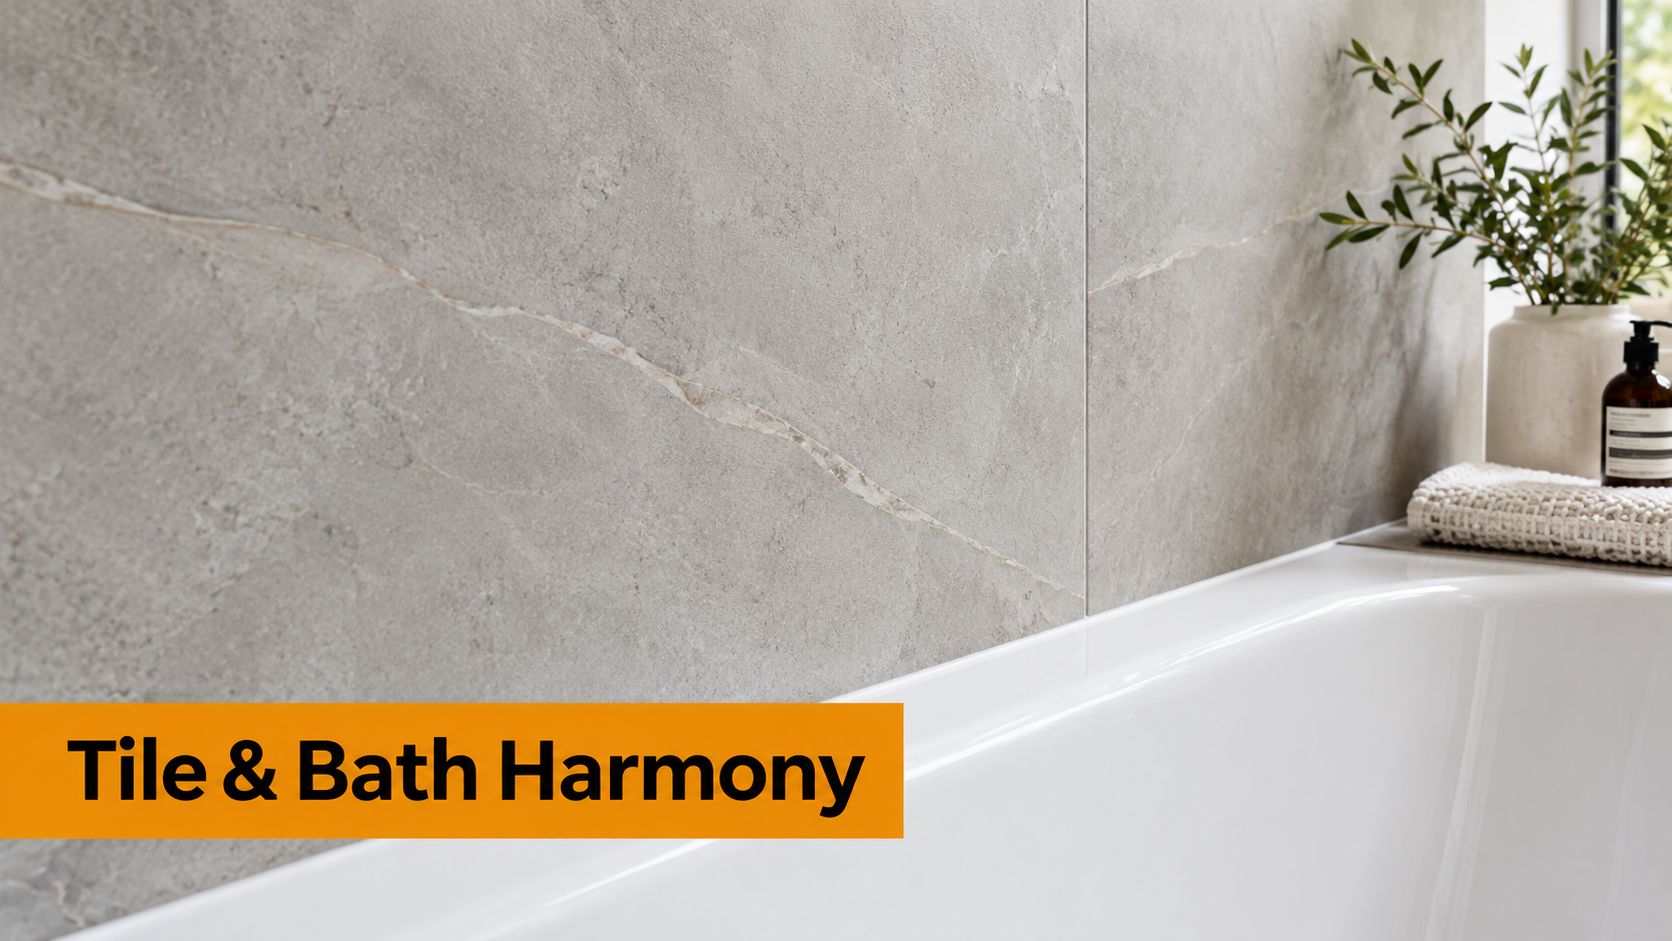
The bath and tile should be chosen together. A glossy wall tile may show water spots more readily than a matt or honed finish, while a well-planned tile module can make the rim look deliberate rather than like an obstacle the tiler had to work around.
Large-format porcelain can reduce the number of grout lines in a splash zone. Marble-look porcelain, including Calacatta or Statuario styles, can provide a stone appearance without the same upkeep considerations as natural marble. Around the bath, consider a matt or honed finish for a more forgiving everyday surface.
Set the tile finish around the actual rim
Full-height tiling gives the wall a continuous finish and can make cleaning straightforward. Half-height tiling with a feature strip can work if the strip aligns with the bath rim or another clear line. A decorative band at the spout is another option, but only when its height and width are set out before installation.
Use the same coordination discipline for floor tiles. Select a finish suitable for the surrounding wet area and check the product's slip rating rather than choosing by appearance alone. Grout colour also changes the look: a close match can soften the grid, while contrast makes every joint more prominent.
Before ordering, ask the tiler to confirm:
- Bath position: Mark the final footprint and rim height.
- Tile set-out: Check cuts at both ends and align feature details.
- Penetrations: Confirm tap and spout locations before waterproofing.
- Floor finish: Verify suitability for the wet area and intended use.
A useful guide to choosing bathroom tiles can help you compare finishes and formats, but the actual bath should be selected before tile quantities and feature strips are finalised. That's how you avoid a narrow sliver of tile where a clean joint should be.
Slip Safety Water Use and Everyday Liveability
A bath that looks right can still be the wrong choice if it makes the room awkward or unsafe. A filled bath can contain 400–600 litres of water, with the tub and water potentially exceeding 600 kg in total. A bathing session may use around 150–200 litres, so consider household habits, hot-water capacity and whether the floor needs assessment. These Australian guidance figures are discussed in coverage of the Australian bathtub and hot-tub market.
Question the freestanding-bath reflex
In a small Melbourne bathroom, compare three layouts on the same measured plan: a 1700 mm freestanding bath, a 1500 mm alcove bath, and a shower-only design. The freestanding option needs access around the tub and space to clean it. The alcove can use a recess more efficiently and combine a bath with a shower, while a shower-only layout may give more room for entry and movement.
The best answer depends on who uses the bathroom. A bath can be valuable for children or household members who regularly soak, but it can also consume floor area and add cleaning and detailing work. Australian renovation coverage reports that 53% of surveyed respondents identified tub removal as a way to increase shower space. A separate consumer report ranked the bath third among important bathroom products, selected by 35% of respondents, behind the shower enclosure and tiling. See Australian bathroom-renovation and consumer findings.
Plan safety before the tiler closes the walls. Choose suitable surrounding floor tiles, consider where grab rails might be needed, and assess low-entry or walk-in options for ageing in place. For any format, ask whether the entry, bathing position and controls will remain manageable as household needs change.
Budgeting and Where to Source a Bathtub in Melbourne
Budget in the right order: choose the bath, confirm its set-out, then fix plumbing and waterproofing details before finalising tile quantities and trims. There isn't a reliable universal price for each material or style because the installed cost depends on the bath, access, site conditions, plumbing changes and finish specification. Get written quotes against the actual product and room plan.
A common budgeting error is ordering the bath and tile on separate timelines. If the bath arrives late or its dimensions differ from the assumed model, the tiler may need to revise the set-out or wait for confirmation. Plan the lead times together and include delivery access in the order, especially where narrow hallways or stairs complicate handling.
Take this checklist to the showroom
- External dimensions: Use the manufacturer's drawing, not just the advertised length.
- Waste and overflow: Mark their exact positions for the plumber.
- Rim height: Check where the wall tile should finish.
- Tile module: Confirm how the selected format meets the bath and wall.
- Floor finish: Verify suitability and slip rating for the surrounding area.
- Waterproofing pathway: Document the chosen NCC or AS 3740 approach.
- Tap set-out: Confirm wall or deck mounting and seal details.
- Delivery access: Measure the route from the entrance to the bathroom.
For a broader project cost framework, consult this bathroom renovation cost breakdown. Then compare product, plumbing and tiling quotes using the same specification, so you're not mistaking an incomplete allowance for a lower total.
Tiles Mate Pty Ltd supplies bathroom tiles and flooring from its Melbourne-based operation, with a curated porcelain and natural stone range, sample options and a free design consultation. Bring your bath dimensions and tile plan to Tiles Mate Pty Ltd to coordinate the finishes before ordering.