



LED Shaving Cabinet 900mm Specs and Costs
by Shivam Tayal 29 Oct 2026 0 Comments
Most buying advice starts with width, as if matching a 900 mm cabinet to a 900 mm vanity settles the decision. It doesn't. A cabinet can fit the wall on paper and still fail because the power lands in a restricted zone, the driver can't be reached for service, or the light sits above your face instead of on it. Width is the easy measurement. The zone, the connection and your eye line are the ones that decide whether the cabinet works.
What a 900mm LED Shaving Cabinet Includes
A LED shaving cabinet 900mm wide isn't ordinary furniture, and the 900 mm label doesn't mean it's 900 mm high. It's a shallow, wall-hung medicine cupboard with a mirrored door on the front and LEDs built into or around that door, usually centred over one basin. Think of it as hidden shelves wearing a ring light. Because it contains fixed electrical parts, you can't judge it the way you'd judge a plain cupboard.
Start with the lookup, because prices and stated sizes vary more than the shared 900 mm name suggests.
2026 Australian 900 mm LED shaving cabinet listings
| Listing | Stated size | Listed price | Year |
|---|---|---|---|
| BelBagno 900 mm LED shaving cabinet | 900 × 125 × 700 mm | AUD $1,125 | 2026 |
| Harvey Norman BelBagno Smart LED | 900 mm; other dimensions not stated | AUD $1,125 | 2026 |
| Buildmat Otti LED Newport | 900 mm; other dimensions not stated | AUD $701 | 2026 |
| Acqua Tetra LED | 600 × 900 mm; confirm which side is width | AUD $954 | 2025 |
BelBagno Australia listed a 900mm LED shaving cabinet at AUD $1,125 in 2026, with overall dimensions of 900 × 125 × 700 mm, so you get width, depth and height in one line. Harvey Norman Australia listed a BelBagno 900mm Smart LED shaving cabinet at AUD $1,125 in 2026. Buildmat Australia listed an Otti LED Newport 900mm shaving cabinet at AUD $701 in 2026.
The fourth row needs care. Acqua Bathrooms Australia listed a Tetra LED 600 × 900 mm shaving cabinet at AUD $954 in 2025. That order may be height by width, so don't assume it's 900 mm wide until you've checked the drawing. Across this shortlist, the working cabinet-only band is about $700 to $1,125 before an electrician, wall repair or tiles.
What That Money Commonly Buys
You're normally paying for the carcass, one or more mirrored doors, internal shelves and the LED driver that powers the light. Some models add a demister pad behind the mirror and a touch or sensor switch. None of that tells you the door swing, whether shelves adjust, or where the cable enters, so read the installation drawing, not just the front photo.
For broader layout thinking before you commit to one fitting, bathroom renovation guidance for East Texas homeowners shows how cabinets sit within a full refit rather than as isolated purchases. Our own notes on choosing a bathroom cabinet for a tiled wall cover the local side of that coordination. Use the table to shortlist on budget and depth, then measure your finished wall instead of trusting a vanity brochure.
Lighting Storage and Size Specs to Check
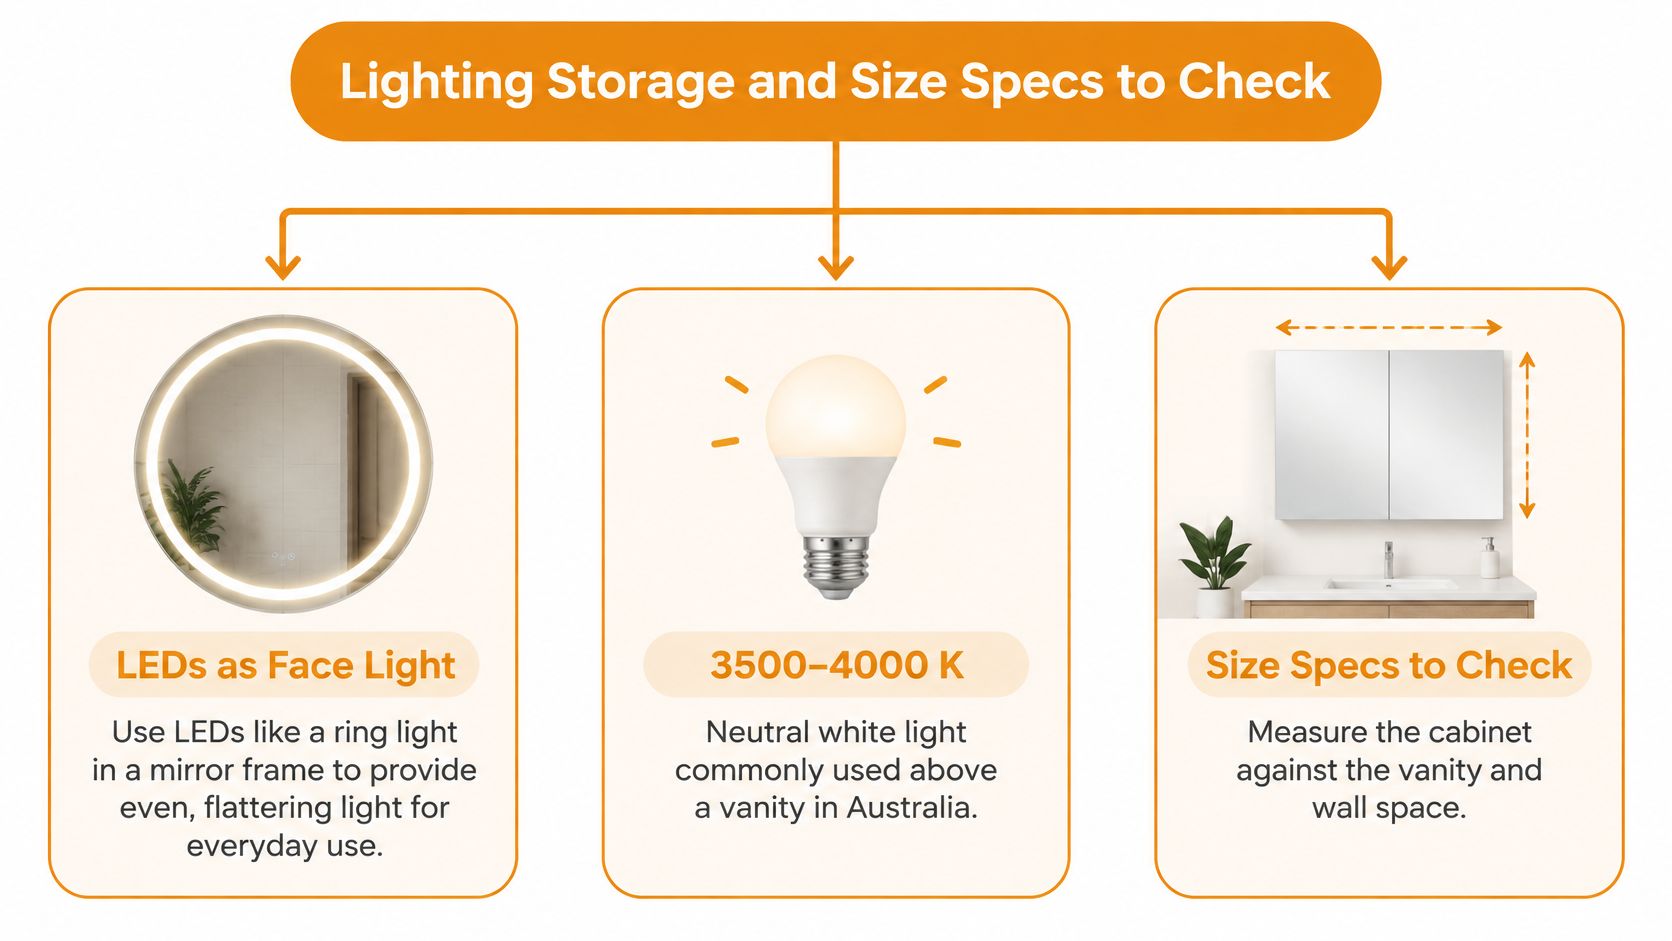
Treat the LEDs as a face light, like a ring light built into a mirror frame, not as a small ceiling light. That distinction matters because grooming happens on a vertical surface, your face, while ceiling lights are made to wash a room. A wide cabinet can still light you badly.
The hierarchy below puts face lighting first, then the numbers that prove it.
The Shadow Test
Hold one image in mind. A top-only strip leaves dark pockets under your brow, nose and chin, exactly where a razor or makeup brush needs detail. Vertical side light or a full perimeter diffuser fills those pockets from both directions, so you see stubble and colour evenly. Light thrown only from behind the cabinet looks soft in photos but leaves your face in shade.
Lighting targets for a 900 mm shaving cabinet
| Check | Practical target | Why it matters |
|---|---|---|
| Colour temperature | About 3500–4000 K | Neutral white for grooming without a strong blue cast |
| Colour rendering | At least CRI 90 where available | Skin tone, shaving and makeup colour stay believable |
| Light position | Perimeter or vertical side light | Top-only light shadows brow, nose and chin |
| Optical fit | Face inside the main lit field | A wide cabinet can still miss the face if mounted too high |
| Room lighting | Separate ambient circuit | One cabinet module is task light, not the whole bathroom |
Australian bathroom-lighting guidance from Blue Leaf Bath commonly recommends approximately 3500–4000 K for lighting above a vanity, and a colour-rendering index of at least CRI 90 where available supports accurate shaving, makeup application and colour matching. Don't select by wattage. Record the maker's lumen output and diffuser dimensions, then check the mounting height so your face sits inside the main lit field with the cabinet centreline matched to the basin.
If the cabinet is your task light, plan a separate ceiling or ambient circuit for the rest of the room. The Tampa Bay homeowners' lighting installation guide explains that layered approach for general lighting, and our guide to pairing a bathroom mirror with surrounding light covers the mirror side. One integrated module rarely does both jobs well.
Storage Inside 125 mm
Depth is where brochures mislead. A 125 mm deep carcass sounds generous until you stand a tall skincare bottle, an electric shaver and a water flosser inside and try to close the door. Check usable shelf depth after the door and hinges, whether shelves adjust or stay fixed, and whether the door is soft-close. A demister, where fitted, is a heated pad behind part of the mirror. It clears a patch of glass. It doesn't dehumidify the room.
Copy four numbers from the spec sheet: colour temperature, CRI, external depth, and door-swing clearance. If a seller can't give you those, you're buying a photo, not a specification.
IP Ratings and Victorian Bathroom Zones
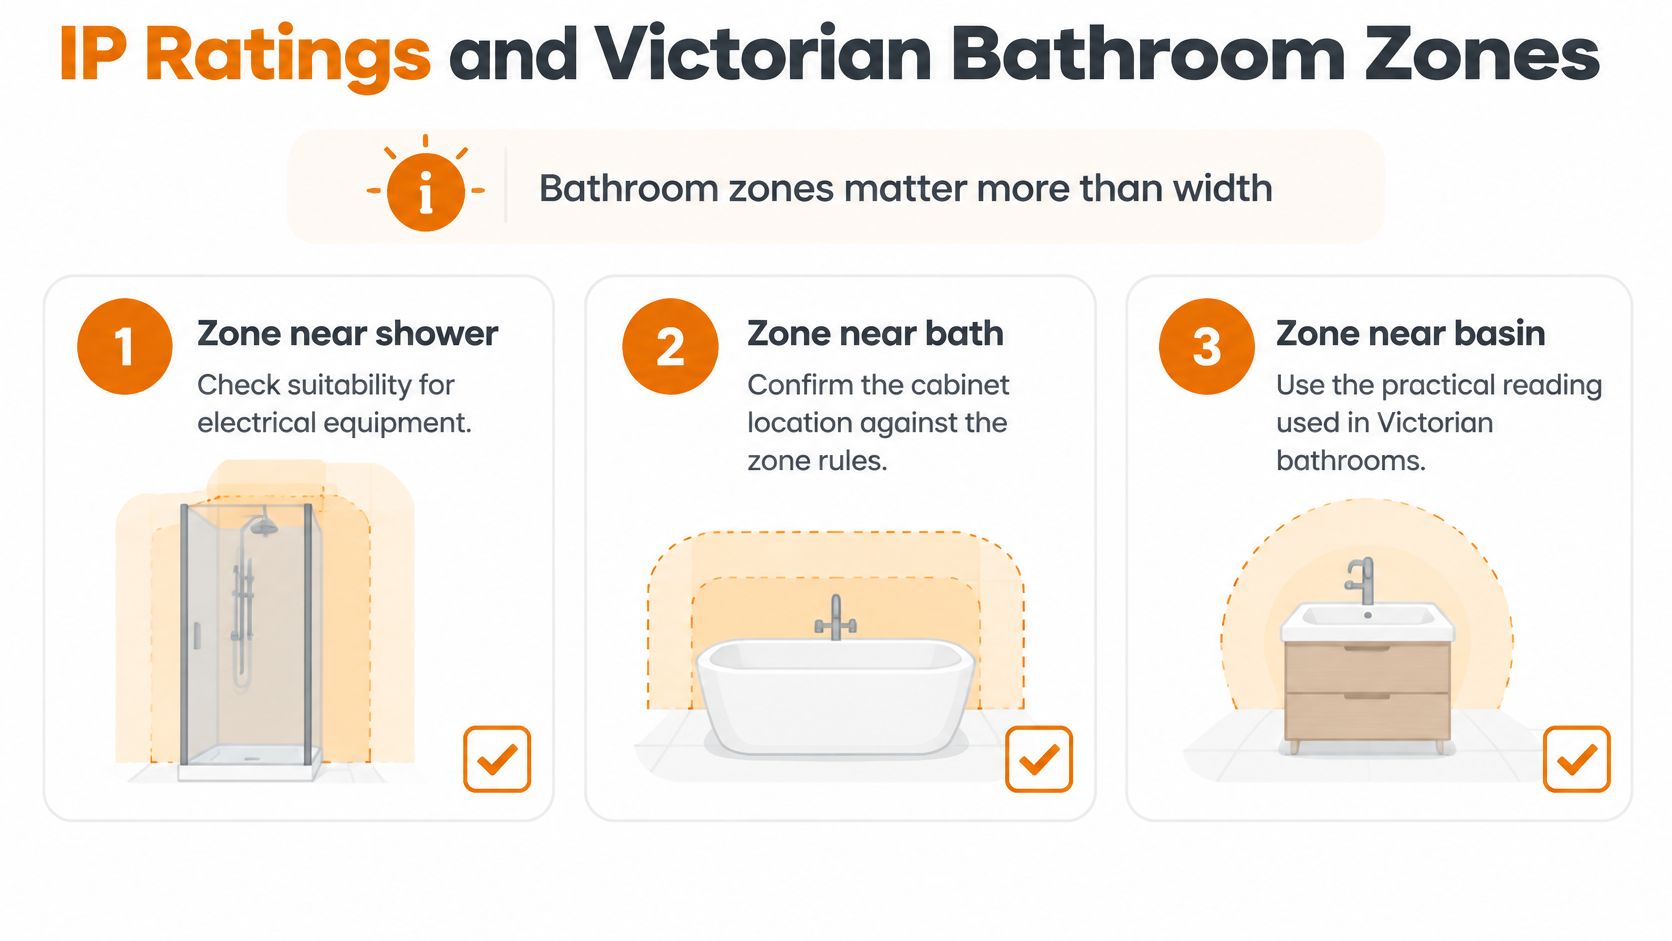
Move your attention from the vanity to the shower, bath and basin. Where the cabinet sits relative to those fixtures controls what electrical protection it needs. A cabinet over a basin in a dry corner faces a different risk from one beside an open shower.
The checklist below frames the three locations your electrician will work through.
Reading the Zones in Plain Language
Plumbline's guidance on electrical bathroom products explains that AS/NZS 3000:2018 bathroom zones generally require light fittings in Zone 1 to achieve at least IPX4, while some Australian technical guidance specifies IPX5 for Zone 1 light fittings and IPX4 for Zone 2. For a splash-prone cabinet position, look for a manufacturer-declared rating of IP44 or higher, and IP65 where direct spray is plausible.
Bathroom zone protection for a shaving cabinet
| Location | Protection cited | Cabinet decision |
|---|---|---|
| Inside the bath or shower, Zone 0 | Not a fitting location for this cabinet | Do not specify a shaving cabinet here |
| Zone 1, close to bath or shower | At least IPX4; some guidance says IPX5 for lights | Use a whole-cabinet wet rating, IP65 if direct spray is plausible |
| Zone 2 | IPX4 commonly cited | IP44 or higher on the assembled cabinet, not the strip alone |
| Outside the zones but still a bathroom | No excuse for an unrated interior mirror | Still confirm splash, steam, driver access and switch position |
IP44 means protection against solid particles above 1 mm and against water splashes. It isn't immersion protection, and it isn't a licence to aim a shower jet at the door gap. Steam, condensation and wet hands still test every seal in the unit.
The Rating That Actually Counts
Watch for one edge case. A product page may rate only the LED strip, while moisture enters through the doors, cable penetrations, vents and driver enclosure. The rating you need covers the complete assembled cabinet. If the documentation doesn't say that clearly, ask before ordering, not after the tiles are drilled.
A 900 mm body often spans the full vanity, so the electrical connection, driver and any demister supply must stay accessible for servicing. Switches and power points can't sit inside restricted zones, and a plug-in model isn't a loophole. It still needs a legal GPO in an allowed position. Moisture problems behind cabinetry also damage wall linings, which is why guidance on when wet drywall needs replacement is worth reading before you seal a damp wall behind new joinery.
Before you order, confirm the zone, whole-cabinet IP rating, supply voltage, driver location, condensation management and clearances. A licensed Victorian electrician should complete the fixed wiring and issue the required electrical safety documentation.
Where a 900mm Cabinet Fits Real Bathrooms
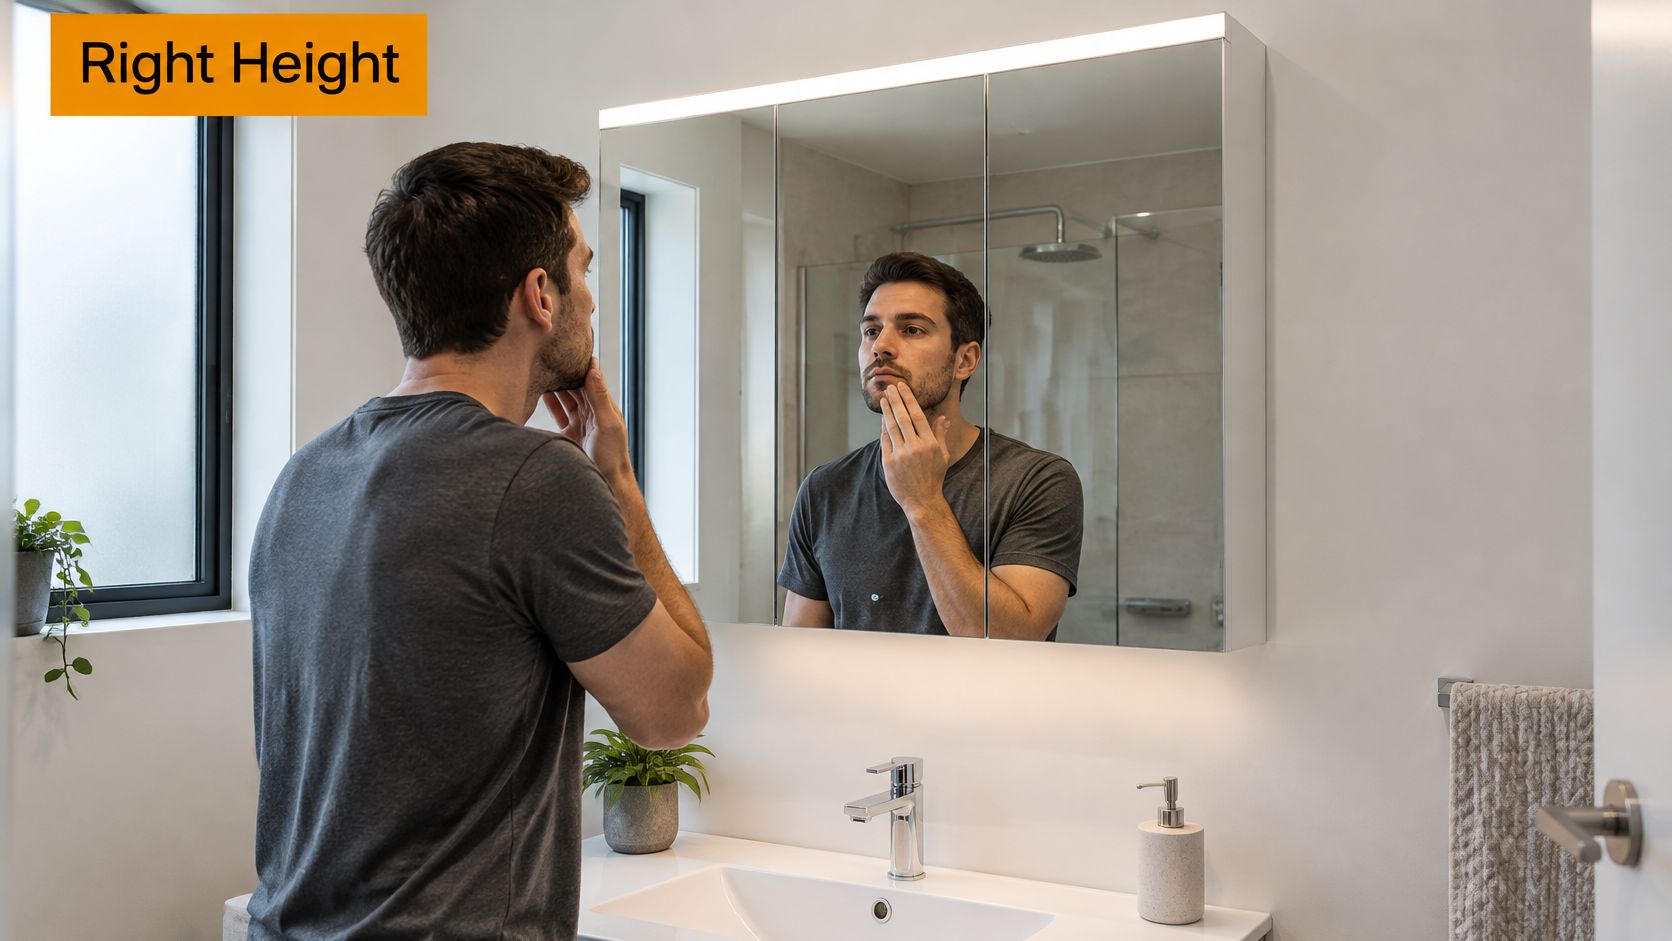
Say the wall measures exactly 900 mm. That still doesn't answer the useful question, which is where the bottom edge, mirror centre and light band sit for the person standing, or sitting, in front of it.
The photo below shows the relationship you're checking, face centred in the mirror with light falling evenly rather than from overhead.
Australian guidance on bathroom vanity dimensions describes 900mm single-basin vanities as popular, but notes there's no mandatory residential vanity-height rule, while accessible guidance discusses approximately 800mm basin height, knee clearance and larger approach space. The same source notes a cabinet above a conventional 850–900mm vanity may suit tall standing users but not children, seated users or ageing-in-place plans. A separate 900mm × 1200mm clear zone in front of the toilet in NCC-related guidance is a floor-space rule, not evidence that 900 mm is the right cabinet width.
Four Rooms, Four Failure Points
- Standard ensuite: Centre the cabinet on the basin and set the height so the main user's face sits in the lit band. It fails when the bottom edge is placed for the splashback, not the eye line.
- Narrow bathroom: The vanity may be nominally 900 mm, yet a side wall, shaver socket or wall sconce eats the clearance. It fails at the door swing, which hits the side wall before the shelf is reachable.
- Family bathroom: Extra storage helps, but one mounting height can't serve every eye line. It fails when the only adjustable shelf sits above a child's reach and daily items migrate back to the bench.
- Livable renovation: Check the seated approach, knee clearance and front clearance first. It fails when width was maximised but a seated user can't get close enough to use the mirror.
Low ceilings, tall tapware, a high splashback and a shower screen reflected in the glass can each make a wider mirror worse, not better.
The short video below is useful for visualising how the cabinet sits above a basin once the wall is finished.
Measure from finished tile faces, not bare studs, because tile and adhesive thickness shrink the clear width. Confirm the actual cabinet height, depth, hangers and door swing against those finished dimensions before you pay.
Installation Order and Typical Costs
Renovation order decides whether this is a simple fit or an expensive reopening of a finished wall. The cabinet itself is one line item. The wiring position is the commitment you can't undo cheaply.
The process below compresses the sequence into the decisions that must happen before tiling.
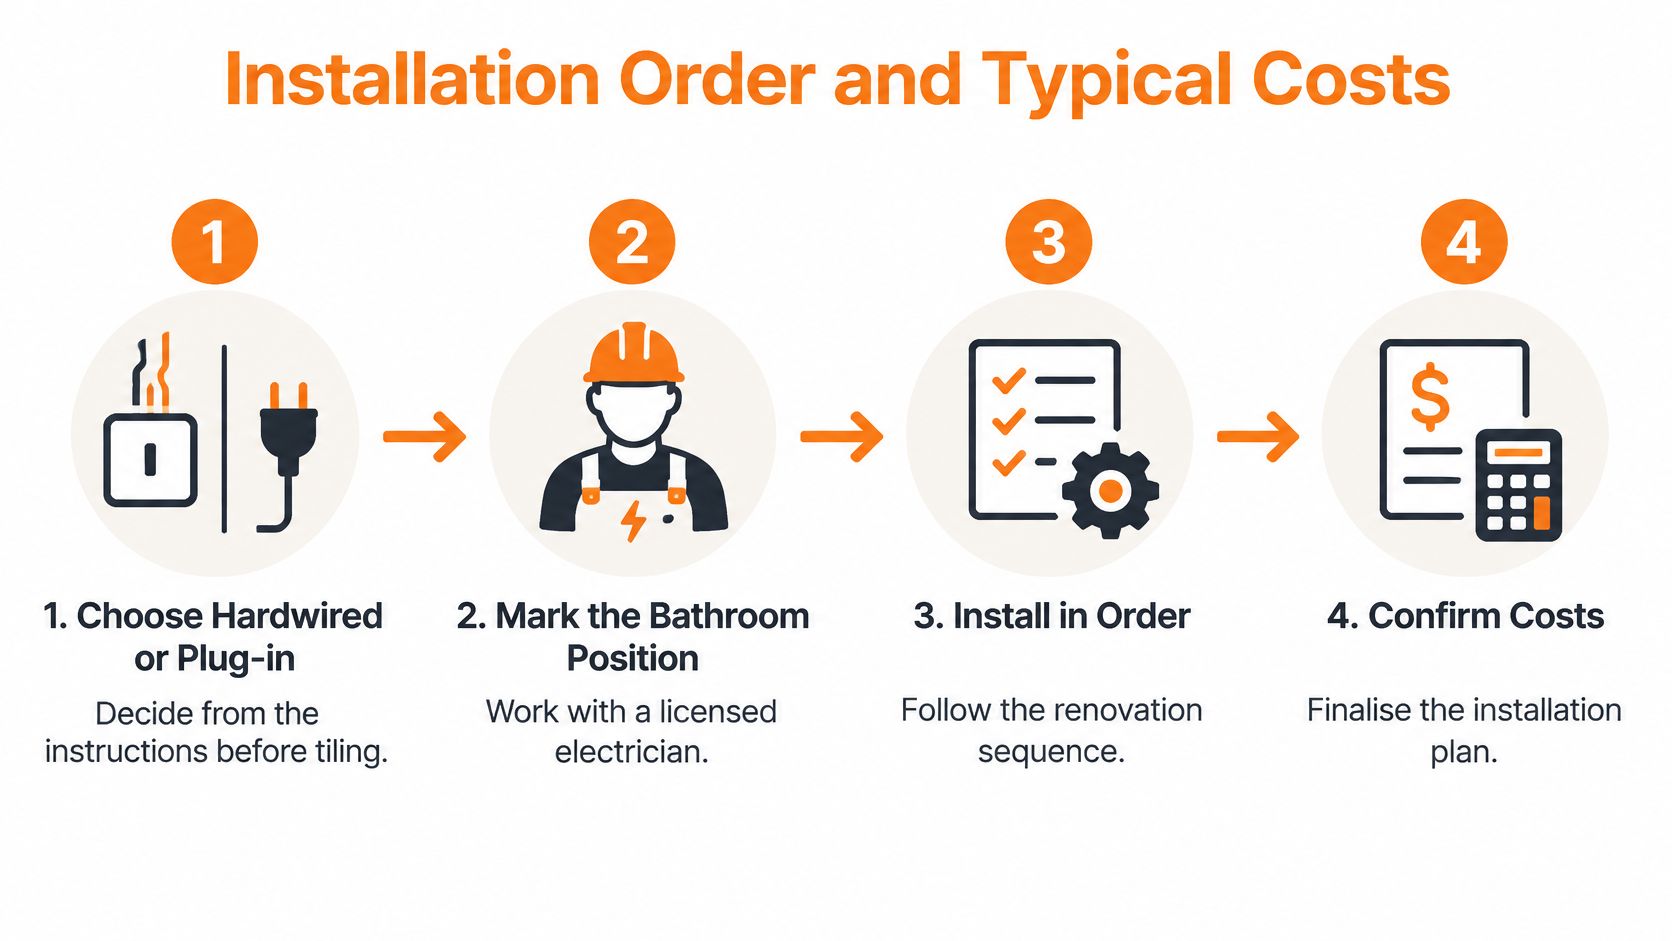
The Sequence in Order
- Choose hardwired or plug-in: Decide from the manufacturer's instructions before the wall is tiled, because the two options need different connection points.
- Mark the zone and switch: With a licensed electrician, confirm the bathroom zone and place either a fixed connection with an accessible isolation point or a legal GPO.
- Rough in early: Run the electrical rough-in before waterproofing and tiling. In older Victorian bathrooms the existing power is often in the wrong place or hidden behind a stud.
- Finish the wall: Waterproof, tile and set the vanity so you know the true finished face and bench height.
- Hang and check: Fix the cabinet level on the finished wall, then test door swing and confirm the driver stays reachable.
- Connect and test: The electrician connects the LEDs, demister and switching, then tests the complete assembly.
- Keep the paperwork straight: Product instructions describe the fitting. They aren't electrical certification, so file the compliance documentation separately.
Standards Australia's listing for AS/NZS 3000:2018 identifies it as the standard specifying requirements for the design, construction and verification of electrical installations, including selection and installation of electrical equipment. That's why the connection, switch arrangement and location relative to showers or baths get checked against the wiring rules, not against a showroom display.
Where the Money Goes
Budget the cabinet within the researched AUD $701 to $1,125 range, then price the hidden items separately. Electrician labour differs between a simple final connection and running a new circuit. Patching where an old mirror came off costs money, and repairing waterproofing after opening a finished wall costs more. Our bathroom renovation cost breakdown helps you place those items in a full project budget.
Running cost is the smaller number. Australia's federal Energy website states household lighting represents approximately 5%–10% of the average household electricity budget, while LED lamps use about 75% less energy than halogen lamps and last five to ten times longer. The expensive mistake isn't the power bill. It's discovering the connection sits in a restricted zone after the tiles are on.
How to Maintain the Mirror and LEDs
Once the cabinet is certified and fixed, your job is cleaning and observation, not electrical work. Wipe the glass and frame with a non-abrasive cleaner and a soft cloth, the same way you'd treat any mirror you don't want scratched.
Don't flood the top edge or run water into the door gap. Splash protection isn't permission to hose the cabinet down after a shower. Wipe obvious water off the frame, and keep the maker's vents clear so the driver can shed heat instead of cooking inside a sealed box.
Doors, Hinges and the Demister
Check hinges and soft-close dampers when a door starts to drop or bang. On a wide door, a small hinge misalignment shows up as a visibly uneven gap, and it only gets worse if you ignore it. Use the demister for short grooming periods while the mirror is fogged. Leaving it on all day turns a small heated pad into a needless heater.
If the LEDs flicker, a section goes dark or the demister stops, that fault lives in the driver, the connections or the fixed circuit. Stop there.
A licensed electrician should isolate and test those parts, and replacements should be components the manufacturer allows. You can clean the mirror and describe the symptoms clearly. You shouldn't open a hardwired driver enclosure. An accessible driver and a written IP rating, confirmed at purchase, are what make that later service possible without removing tiles.
Measure Then Confirm the Connection
Order only after the wall, the zone and the eye line are marked on the actual bathroom, not on a brochure. These five steps close the gaps that width alone leaves open.
- Measure the finished faces: Write down the clear width between side walls, and note the splashback top, any shaver socket and any sconce that competes for the same wall.
- Set the centreline and eye line: Mark the basin centre, hang the cabinet on that line, and set the bottom edge so the main user's face sits in the lit field. A standing adult on an 850–900 mm bench needs a different setting from a seated brief built around an 800 mm basin height with knee clearance.
- Confirm the connection before waterproofing: Have a licensed Victorian electrician mark the zone, verify a whole-cabinet rating of IP44 or higher, or IP65 where direct spray is plausible, and place an accessible isolation point or legal GPO outside restricted zones.
- Price the whole job: Allow AUD $701 to $1,125 for the cabinet on current listings, then add the electrician, wall patching and any reopened waterproofing as separate lines.
- Change the plan early: If width, zone or eye line fails, change the model or the rough-in before paying, while the wall is still open.
When the mirror shares a tiled wall with the basin, coordinate those lines with the tile layout first, then return to the electrician's marked connection rather than choosing by shape names alone. Our LED mirror shapes are arch, pill and rectangular, across shaving cabinets and wall mirrors, but shape comes after the three checks above.
Tiles Mate Pty Ltd supplies LED mirrors, tiles, basins and tapware for Melbourne bathroom renovations, so you can coordinate your 900 mm shaving cabinet with the tiled wall, vanity and fittings around it in one order. Bring your finished wall measurements and your electrician's marked connection point, and we'll help you match a cabinet and tile combination that fits both. Start your selection with Tiles Mate Pty Ltd today.